I still remember the first time I learned how to cup coffee like a pro – it was a game-changer for my career as a barista. The instructor told me that cupping coffee is not just about throwing some beans in a cup and adding hot water; it’s an art that requires patience, attention to detail, and a willingness to slow down. But what I’ve found over the years is that many people are misinformed about the process, believing it to be some sort of mysterious ritual that only coffee experts can master. The truth is, cupping coffee is accessible to anyone willing to learn and practice.
In this article, I’ll share my personal approach to how to cup coffee, cutting through the noise and misconceptions that surround this topic. You’ll learn the essential steps to elevate your coffee tasting experience, from selecting the right beans to paying attention to the nuances of flavor and aroma. My goal is to empower you with practical advice and a deeper understanding of the cupping process, so you can start exploring the world of specialty coffee with confidence. By the end of this guide, you’ll be equipped with the knowledge to cup coffee like a pro and discover new flavors that will take your coffee journey to the next level.
Table of Contents
Guide Overview: What You'll Need
Total Time: 30 minutes to 1 hour
Estimated Cost: $20 – $50
Difficulty Level: Easy
Tools Required
- Coffee Grinder (burr grinder recommended)
- Scale (digital or analog)
- Kettle (for heating water)
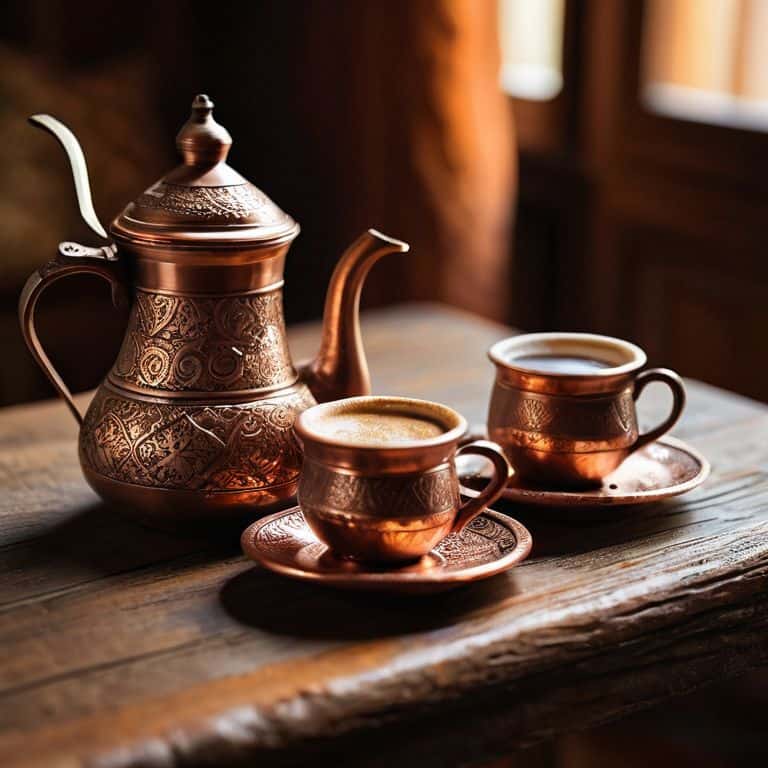
- Coffee Cups (at least 2)
- Spoon (for measuring and stirring)
- Thermometer (optional, for precise temperature control)
Supplies & Materials
- Green or Roasted Coffee Beans (depending on personal preference)
- Fresh Water (filtered or bottled)
- Sugar or Sweetener (optional)
- Milk or Creamer (optional)
Step-by-Step Instructions
- 1. First, prepare your senses by finding a quiet, distraction-free space where you can fully focus on the cupping experience. Make sure the room is well-ventilated, and the water you’re using is of high quality, as this will significantly impact the taste of the coffee.
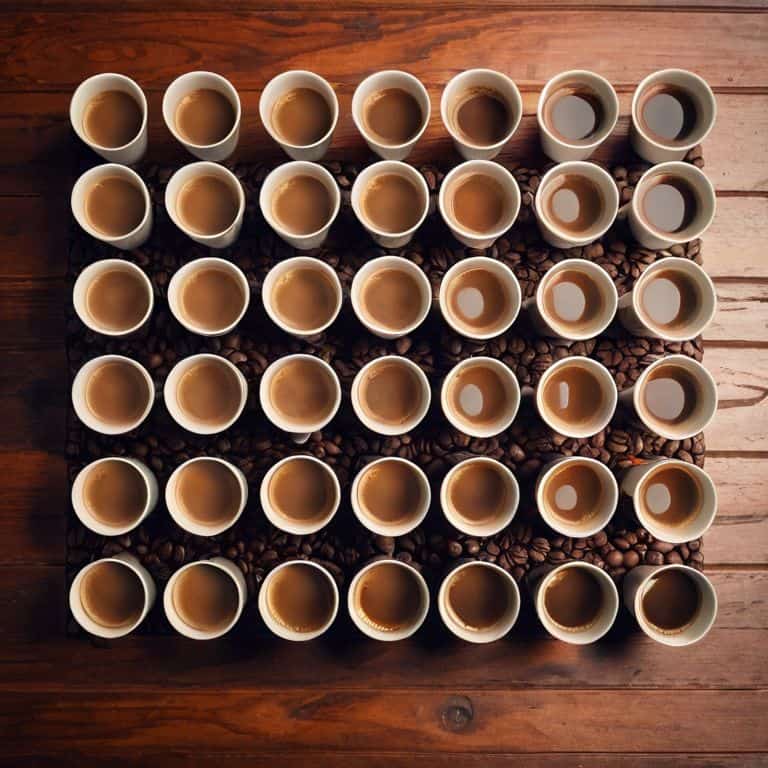
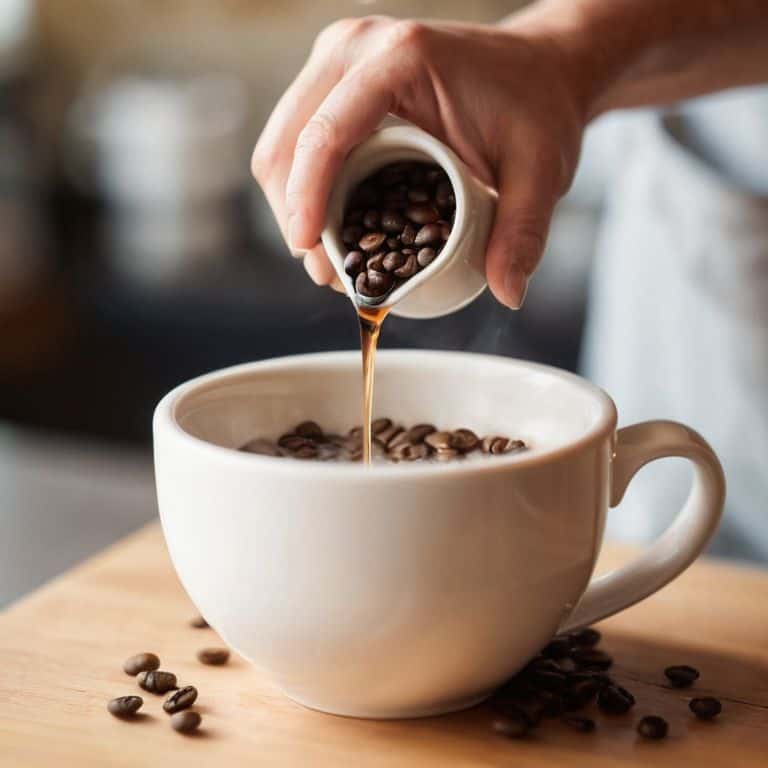
- 2. Next, _select the coffees_ you want to cup, considering factors like origin, processing method, and roast level. I like to start with a variety of single-origin coffees to really appreciate the nuances of each bean. Use a scale to measure out _exactly_ 17 grams of coffee for each cup, as this is the standard amount for professional cupping.
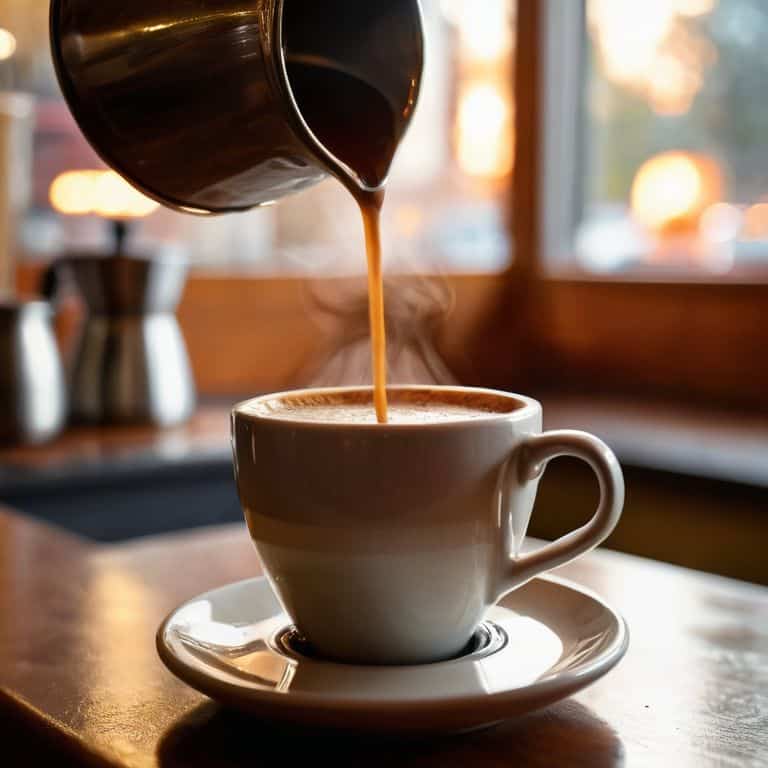
- 3. Now, heat your water to the ideal temperature, which is between 93°C and 96°C. I’m quite particular about this, as water that’s too hot can burn the coffee, while water that’s too cold won’t extract properly. Use a thermometer to get it just right, and make sure your kettle is clean and free of any residual flavors.
- 4. Grind the coffee beans to the correct grind size, which should be slightly coarser than sand. This is crucial, as a grind that’s too fine can lead to over-extraction, while a grind that’s too coarse won’t extract enough. I use a burr grinder to ensure consistency and to avoid generating heat, which can damage the beans.
- 5. Place the ground coffee into the cupping bowls, making sure to _level out_ the surface. This is important for even extraction and to prevent any channels from forming in the coffee. Use a straight edge or a specialized cupping tool to get the surface perfectly flat.
- 6. Pour the heated water over the coffee in a _smooth, continuous motion_, starting from the center and moving outwards in a circular pattern. Make sure to pour all the water within about 10 seconds to ensure even saturation. The ideal water-to-coffee ratio is around 1:15 to 1:17, so use enough water to reach a total of about 270-290 grams per cup.
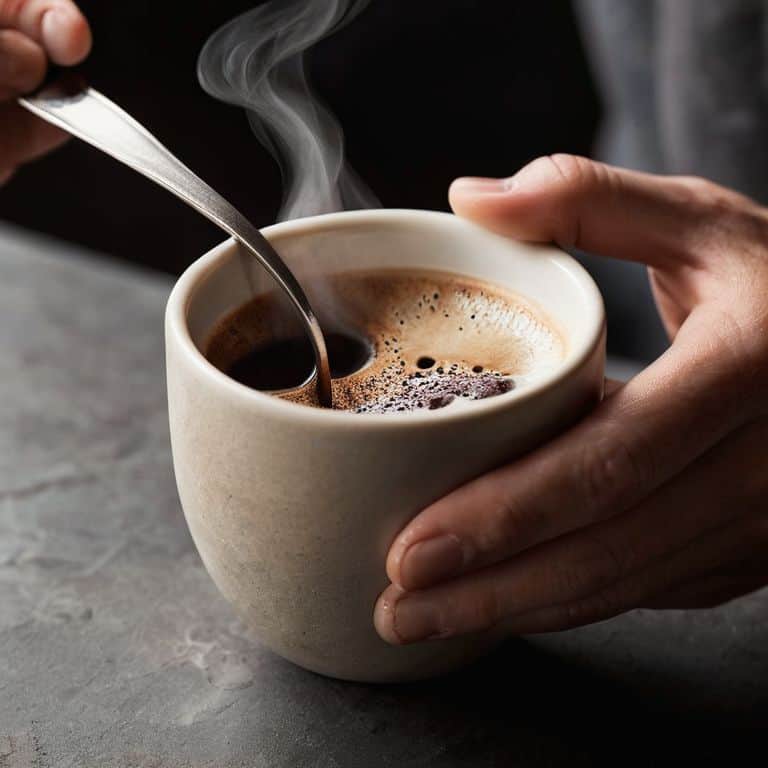
- 7. Allow the coffee to steep for 4 minutes, which will give the grounds enough time to fully extract. During this time, take a moment to appreciate the _aroma_ of the coffee, as this can give you clues about the flavor profile. After 4 minutes, use a spoon to _break the crust_ that has formed on the surface, being careful not to disturb the coffee too much.
- 8. Finally, _skim off_ any remaining grounds from the surface, and take your first sip. Pay attention to the _body, acidity, and flavor_ of the coffee, and take notes on your observations. Remember, the goal of cupping is to experience the coffee in its purest form, so try to avoid any distractions and focus on the sensory experience.
How to Cup Coffee
As I delve deeper into the world of coffee cupping, I’ve come to realize that sensory evaluation of coffee is an art that requires patience, attention to detail, and a willingness to explore the nuances of each bean. When assessing the flavor profile of a particular coffee, it’s essential to consider the coffee flavor profiling techniques that will help you uncover the unique characteristics of the brew. This includes evaluating the coffee’s acidity, body, and overall flavor notes.
To take your coffee cupping game to the next level, I recommend experimenting with different coffee aroma assessment methods. This can include evaluating the coffee’s dry aroma, as well as its wet aroma after adding hot water. By paying attention to these subtle details, you’ll be able to develop a more comprehensive understanding of the coffee’s flavor profile and identify areas for improvement. Specialty coffee tasting notes can also be a valuable resource in this process, providing a framework for evaluating and describing the complex flavors and aromas present in high-quality coffees.
In my experience, the key to mastering coffee cupping lies in developing a consistent and rigorous approach to coffee quality control methods. This includes carefully controlling variables such as water temperature, coffee-to-water ratio, and brewing time to ensure that each cup is extracted to its full potential. By combining these techniques with a deep understanding of coffee flavor profiling and aroma assessment, you’ll be well on your way to becoming a skilled coffee cupper and unlocking the full flavor potential of your favorite beans.
Coffee Cupping Techniques Uncovered
Now that we’ve covered the basics, let’s dive into the nuances of coffee cupping techniques. For me, it’s all about precision and patience. I’m talking about using a thermometer to ensure the water is at the perfect temperature – between 93°C and 96°C – and carefully measuring out the coffee to water ratio. It’s a sensory experience, and I want you to feel like you’re right there with me, slurping and savoring each cup.
As a certified Q Grader, I can tell you that the key to unlocking the true flavors of a coffee is in the details. It’s about noticing the subtle differences in aroma, acidity, and body. I like to think of it as a form of active meditation – being fully present and immersed in the experience. By slowing down and tuning in, you’ll start to pick up on the unique characteristics of each coffee, and that’s where the magic happens.
Sensory Evaluation of Coffee Simplified
Now that we’ve covered the fundamentals of coffee cupping, let’s dive into the sensory evaluation. This is where the magic happens, and you get to truly experience the coffee. I like to think of it as a meditation – you’re fully present, focusing on the flavors, aromas, and textures. Start by slurping the coffee to aerate it, then note the acidity, body, and flavor profile. Pay attention to the finish, too – how long the flavors linger.
As you evaluate, remember that it’s not just about identifying flavors, but also about understanding how they interact. Is the acidity bright and snappy, or dull and flat? How does the body feel in your mouth – is it rich and velvety, or thin and weak? By breaking it down in this way, you’ll start to develop a deeper appreciation for the nuances of coffee and be able to pinpoint exactly what you like and don’t like about a particular brew.
Elevate Your Cupping Game: 5 Essential Tips
- Start with freshly roasted and ground coffee to ensure optimal flavor and aroma expression
- Use water at the ideal temperature, between 93°C and 96°C, to bring out the nuances in your coffee
- Invest in a quality cupping spoon and familiarize yourself with the proper scooping technique to avoid contamination and ensure consistency
- Pay attention to the coffee’s body, acidity, and flavor profile during the sensory evaluation, and take notes to track your observations
- Practice, practice, practice – cupping coffee is a skill that develops over time, so don’t be discouraged if you don’t pick up on everything at first, keep experimenting and refining your technique
Unlocking the Perfect Cup: 3 Essential Takeaways
Cupping coffee is not just about tasting; it’s a sensory journey that requires patience, attention to detail, and a willingness to understand the nuances of each bean
Mastering the art of cupping involves developing your senses to detect subtle differences in flavor, aroma, and texture, and being able to articulate these findings with precision
By embracing the cupping process as a form of active meditation, and obsessing over the smallest details – from water temperature to grind size – you’ll be well on your way to unlocking the secrets of the perfect cup, and joining the pursuit of the elusive ‘god shot’
The Heart of Cupping
Cupping coffee isn’t just about tasting notes and scores – it’s about surrendering to the journey of discovery, where every sip is a testament to the farmer’s craft, the roaster’s art, and the barista’s passion.
Julian Vale
Mastering the Art of Coffee Cupping
As we’ve journeyed through the world of coffee cupping, it’s clear that precision and patience are key to unlocking the full potential of each bean. From the initial steps of preparing your cupping station to the nuanced process of sensory evaluation, every detail matters. By following the techniques outlined in this guide, you’ll be well on your way to developing a discerning palate and a deeper appreciation for the art of coffee cupping. Whether you’re a seasoned barista or a curious newcomer, the practice of cupping coffee offers a unique opportunity to connect with the craftsmanship and tradition that underlies this beloved beverage.
As you continue to refine your cupping skills, remember that the pursuit of the perfect cup is a lifelong journey, not a destination. It’s about embracing the nuances of flavor and aroma that each coffee has to offer, and elevating your senses to appreciate the subtle differences between them. So, keep exploring, keep learning, and most importantly, keep cupping – for in the world of coffee, there’s always another discovery waiting just around the corner.
Frequently Asked Questions
What is the ideal water temperature for cupping coffee to bring out the optimal flavor profile?
For me, the sweet spot is between 93°C to 96°C. Any higher, and you risk extracting bitter notes; any lower, and you’ll miss out on the full flavor potential. I’ve found that 94.5°C is my go-to temperature for cupping – it brings out the optimal balance of acidity and sweetness in the coffee.
How do I properly calibrate my senses to detect subtle notes and nuances in the coffee's aroma and taste?
To calibrate your senses, start by isolating individual notes in the aroma and taste. Focus on one variable at a time, like acidity or body. Train yourself to recognize these subtleties by comparing different coffees side by side. I like to use a flavor wheel to help pinpoint specific notes – it’s a game-changer for developing your palate.
Can you recommend a standard protocol for recording and tracking cupping notes to ensure consistency and accuracy in evaluating different coffee samples?
I swear by a detailed cupping notes template – it’s my bible. I record everything: aroma, flavor, acidity, and mouthfeel. Consistency is key, so I use a standardized scoring system, too. It’s all about precision and replicating that perfect cup.