I still remember the first time I mastered the blooming pour for pour-over – it was like a revelation, a moment of pure coffee nirvana. But before that, I was stuck in a rut, believing the myth that a perfect pour-over requires a rigid, mechanical process. The truth is, how to do a blooming pour for pour-over is all about feel and intuition. It’s a delicate dance between water and coffee, where the goal is to coax out the optimal flavors. I’ve spent years honing my skills, experimenting with different techniques, and I’m excited to share my knowledge with you.
In this article, I’ll cut through the noise and give you the honest, no-hype advice you need to take your pour-over game to the next level. You’ll learn the secrets to mastering the blooming pour, from the initial bloom to the final pour. I’ll share my tips on how to do a blooming pour for pour-over, including the importance of water temperature, grind size, and pouring technique. By the end of this guide, you’ll be well on your way to brewing pour-overs like a pro, with a deep understanding of the nuances that separate a good cup from a great one.
Table of Contents
Guide Overview: What You'll Need
Total Time: 30 minutes to 1 hour
Estimated Cost: $20 – $40
Difficulty Level: Intermediate
Tools Required
- Pour-over coffee dripper (e.g., Hario V60 or similar)
- Kettle (for heating water)
- Coffee grinder (optional, but recommended)
- Scale (for measuring coffee and water)
- Spoon or pouring device (for blooming pour technique)
Supplies & Materials
- Specialty coffee beans (freshly roasted and ground)
- Filter paper (specific to the pour-over dripper used)
- Water (filtered or spring water recommended)
- Sugar or creamer (optional, for taste preference)
Step-by-Step Instructions
- 1. First, heat your water to the optimal temperature, which is between 195°F and 205°F. I like to use a thermometer to ensure precision, as the ideal temperature can vary depending on the coffee beans and roast level. Make sure to use fresh, filtered water to prevent any impurities or odors from affecting the taste of your coffee.
- 2. Next, measure out the right amount of coffee for your pour-over. I recommend using 17-18 grams of coffee for a standard 300ml cup. You can adjust this ratio to your liking, but this is a good starting point. Use a scale to ensure accuracy, as the weight of the coffee can greatly impact the flavor of the final brew.
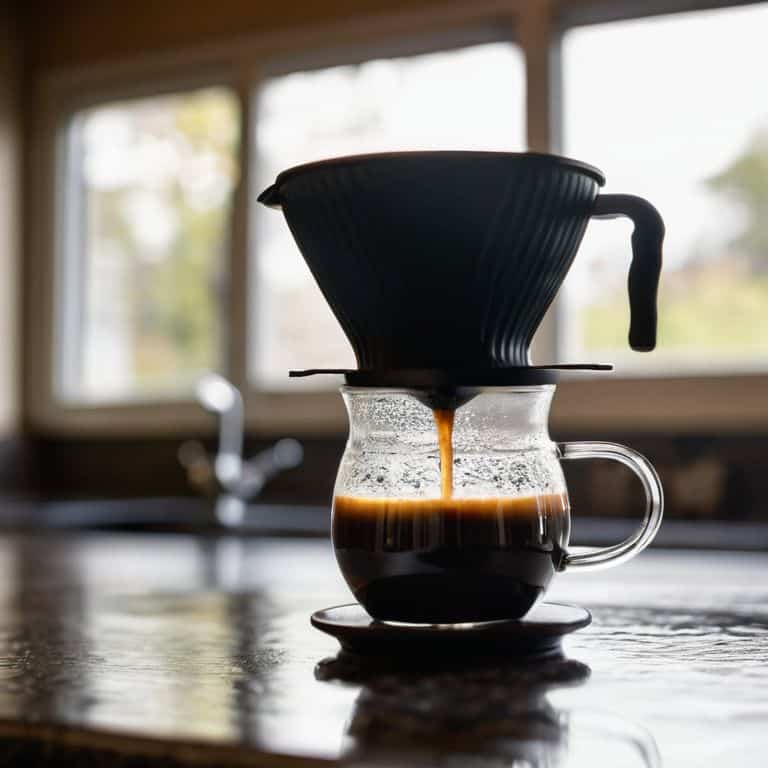
- 3. Now it’s time to prepare your pour-over equipment. Place the filter in the pour-over dripper and rinse it with hot water to remove any paper taste and preheat the device. This step is crucial in achieving a clean and balanced flavor in your coffee.
- 4. Carefully pour the measured coffee into the filter, making sure to level it out evenly. You want to create a flat surface to ensure even extraction. Use a gentle touch to avoid compacting the coffee, which can lead to channeling and an uneven brew.
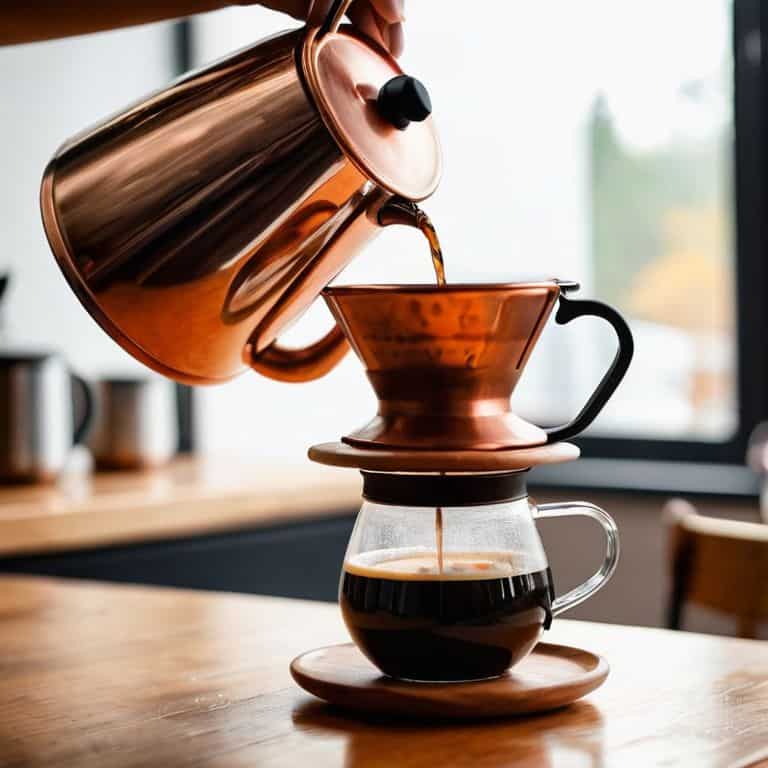
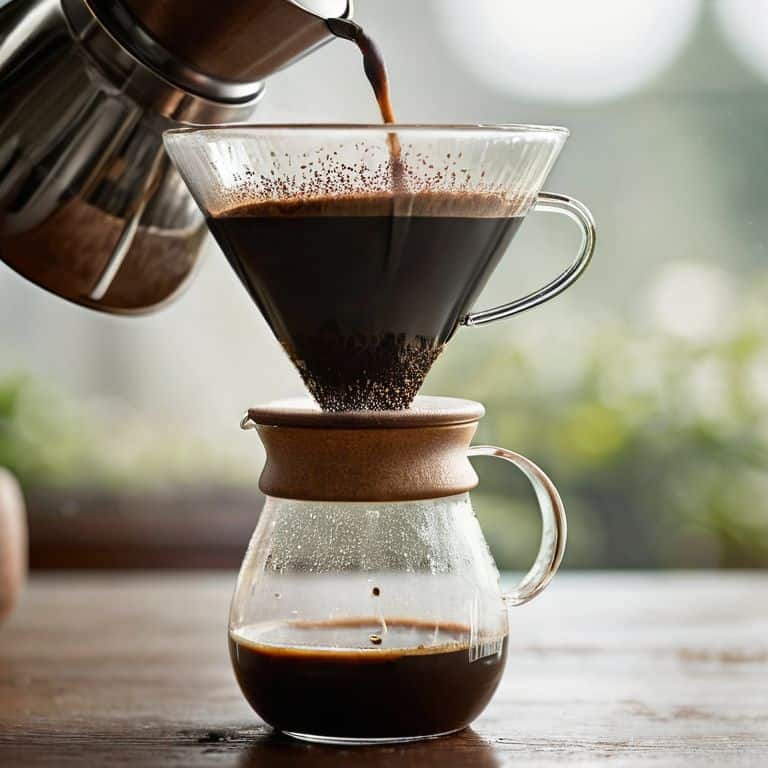
- 5. The blooming pour is where the magic happens. Start by pouring a small amount of water, about 30-40 grams, over the coffee in a circular motion. This initial pour is designed to saturate all the grounds and release the CO2. Allow the coffee to bloom for about 45 seconds to 1 minute, depending on the coffee’s freshness and roast level.
- 6. After the blooming phase, it’s time for the main pour. Pour the remaining water, about 260-270 grams, in a steady, continuous stream. Try to pour in a smooth, flowing motion, moving the pouring kettle in a circular pattern to evenly saturate all the grounds. Aim to complete this pour within 2-3 minutes, depending on the desired strength and body of your coffee.
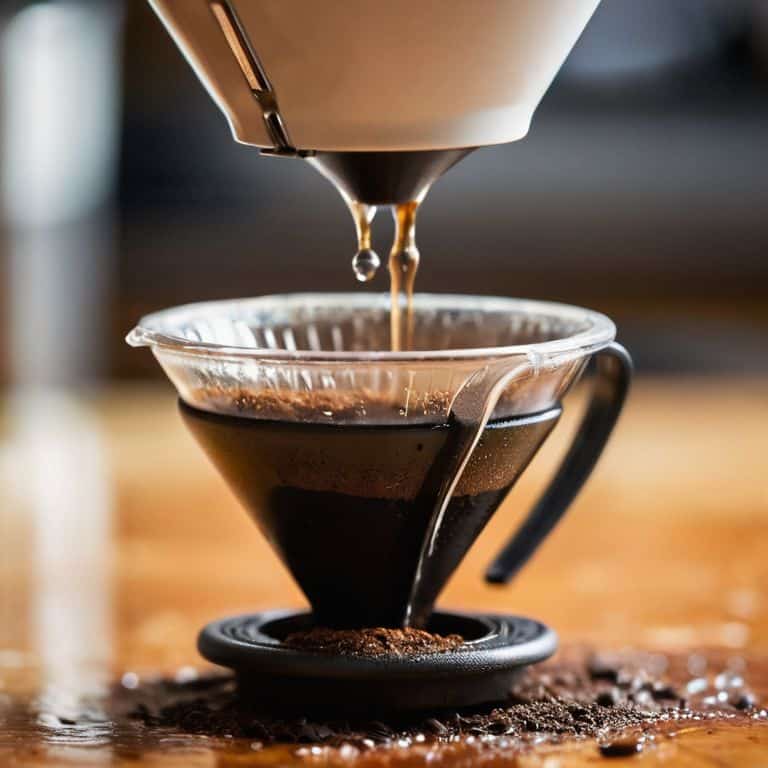
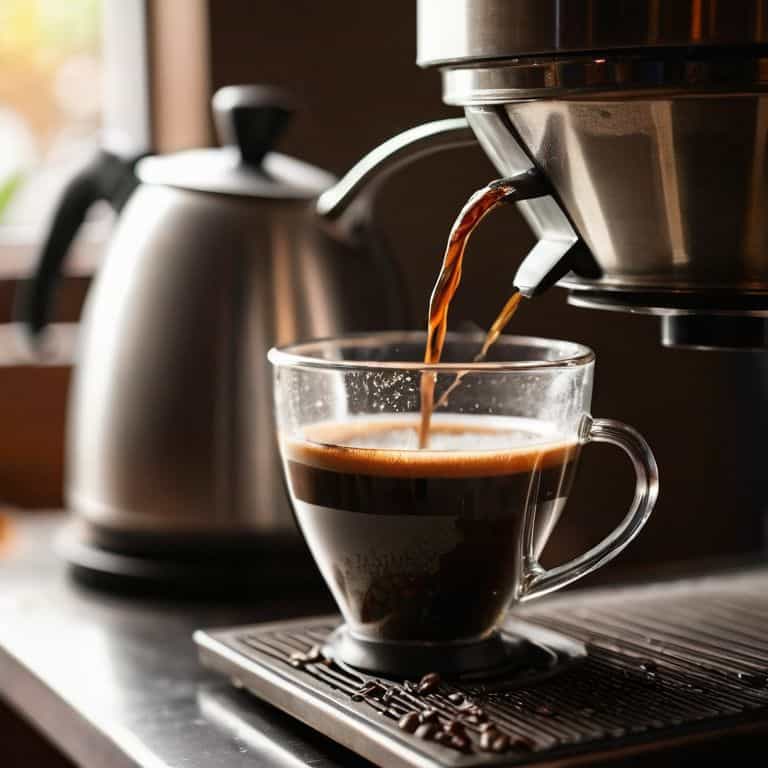
- 7. Finally, allow the coffee to drip through the filter and into your cup. This should take about 2-3 minutes, depending on the coarseness of the grind and the pour-over device. Once the dripping has slowed to a trickle, remove the filter and discard the grounds. Your coffee is now ready to drink, and with a little practice, you’ll be able to achieve a perfectly balanced and flavorful cup every time.
Brewing Rebellion
As I delve deeper into the world of pour-over coffee, I’ve come to realize that mastering the blooming technique is an art that requires patience and practice. It’s not just about pouring water over coffee grounds, but about understanding the intricate dance between the coffee grind size for pour over and the brewing temperature. I’ve found that a ratio of 1:15 to 1:17 is ideal for pour-over coffee, allowing for a balanced extraction that brings out the unique flavors of the coffee.
When it comes to pour over brewing temperature, I’ve noticed that even a slight deviation from the optimal range can affect the final result. Aim for a temperature between 195°F and 205°F to ensure a smooth and full-bodied flavor. Additionally, coffee bloom time optimization is crucial, as it allows the coffee to release its CO2 and prepare for the brewing process. I recommend a bloom time of around 45 seconds to 1 minute, depending on the coffee’s origin and roast level.
By experimenting with these variables, you’ll be able to develop your own unique manual pour over coffee methods that suit your taste preferences. Remember, the key to a great pour-over is to find a balance between the coffee grind size, brewing temperature, and bloom time. With practice and patience, you’ll be able to achieve a perfectly balanced cup of coffee that showcases the beauty of the pour over coffee ratio.
Mastering Pour Over Coffee Ratio
Mastering the pour-over coffee ratio is where the magic happens. I’m talking about that perfect balance between coffee and water that brings out the unique flavors of your bean. For me, it’s all about experimentation – I like to start with a 1:15 ratio and adjust to taste. The key is to find what works for you and your equipment, and don’t be afraid to tweak it. I’ve spent hours dialing in the perfect ratio for my Gesha plant’s latest harvest, and it’s amazing how a tiny adjustment can elevate the entire cup.
Optimizing Coffee Grind Size
To truly unleash the flavors in your pour-over, you need to dial in the perfect grind size. I’m talking about a grind that’s so precise, it’s like a symphony of particles. Too fine, and you’ll end up with a bitter brew; too coarse, and it’s weak and underwhelming. For me, the sweet spot is around 1.2 to 1.4 mm – it allows for the perfect balance of extraction and flow.
Experiment with different grind sizes to find what works best for your equipment and the coffee you’re using. Remember, it’s all about feel and intuition, so don’t be afraid to tweak and adjust until you hit that perfect note.
Unlocking the Secrets of the Blooming Pour: 5 Essential Tips
- Start with the right water temperature – I’m talking between 200°F and 205°F, anything outside this range and you’re already off to a bad start
- Experiment with your pour speed, it’s all about finding that sweet spot where the water and coffee meet in perfect harmony, think of it as a waltz, not a sprint
- Don’t be shy with the initial pour, aim for about 40-50 grams of water to really get those coffee grounds singing, this is where the magic happens, folks
- Pay attention to the bloom, it’s not just about the quantity of water, but also the quality of the interaction between the water and the coffee – you want to see a nice, even saturation, like a gentle rain shower on a spring morning
- Practice, practice, practice – mastering the blooming pour is all about developing a sense of touch and timing, so don’t get discouraged if it takes a few tries to get it just right, remember, every great barista started somewhere
Key Takeaways for the Perfect Blooming Pour
Mastering the blooming pour technique requires a deep understanding of coffee-to-water ratio, and I always aim for a 1:15 to 1:17 ratio for the perfect balance of flavors
Experimenting with grind size is crucial, as it affects the flow rate and overall extraction – I recommend a medium-coarse grind for pour-over to allow for the right amount of bloom and body
Water temperature and quality are often overlooked, but they can make or break your pour-over; I swear by using water between 200°F and 205°F, and filtering it to eliminate any impurities that might affect the taste of my carefully crafted coffee
The Blooming Truth
The blooming pour is not just a technique, it’s a meditation – a symphony of water, coffee, and time, where every variable is a note that can harmonize or discord, and the perfect pour is the one that resonates deepest within you.
Julian Vale
Embracing the Art of Pour-Over
As we’ve explored the nuances of the blooming pour, it’s clear that mastering this technique is all about finding your own rhythm and balance between coffee and water. We’ve discussed the importance of optimizing coffee grind size and understanding the perfect pour-over coffee ratio. These elements, combined with a deep appreciation for the sensory experience of brewing, will elevate your pour-over game and bring you closer to that elusive god shot. Remember, the journey to pour-over perfection is just as important as the destination, and it’s the small, precise adjustments that will make all the difference in your brew.
As you continue on your pour-over journey, I encourage you to embrace the beautifully imperfect nature of this craft. Don’t be discouraged by setbacks or inconsistencies – instead, view them as opportunities to learn and refine your technique. With patience, dedication, and a willingness to experiment, you’ll find that the simple act of brewing coffee becomes a form of active meditation, a chance to connect with the world around you and appreciate the small, exquisite details that make life worth savoring. So go ahead, take a deep breath, and let the pour-over process become your own personal brewing rebellion.
Frequently Asked Questions
What is the ideal water temperature for a blooming pour in pour-over coffee?
For a blooming pour, I swear by water at 205°F to 208°F – it’s the sweet spot. Any cooler, and you risk under-extraction; any hotter, and you’ll burn those delicate coffee oils. Trust me, the difference is palpable. I’ve spent countless hours tweaking temps to find this range, and it’s been a game-changer for my pour-overs.
How do I know if I'm using the right amount of coffee for the blooming pour, and what's the best way to measure it?
For me, it’s all about the 1:15 to 1:17 ratio. I weigh my coffee to the gram, aiming for around 30-32 grams for a 500ml pour-over. This balance allows for a full bloom and a rich extraction. Invest in a scale, trust me, it’s a game-changer for dialing in your pour-over.
Can the type of coffee filter used affect the blooming pour, and are there any specific filter materials that are recommended?
Absolutely, the filter type can impact the blooming pour. I swear by paper filters for a cleaner, more nuanced flavor. Metal filters can produce a heavier body, but may clog and disrupt the pour. For a balanced bloom, I recommend a high-quality paper filter, like those from Hario or Chemex – they allow for the perfect balance of flow and flavor.