I still remember the frustration of trying to dial in my espresso for the first time. Everyone told me it was all about tweaking the grind setting, but no one explained why or how to actually do it. It wasn’t until I won the national Barista Championship that I realized the truth: dialing in your espresso is not just about adjusting the grind, but about understanding the delicate balance between water temperature, coffee-to-water ratio, and extraction time. If you’re struggling to get that perfect shot, you’re not alone – and that’s exactly why I’m excited to share my expertise on how to dial in your espresso.
In this article, I’ll cut through the noise and give you the honest, no-nonsense advice you need to take your espresso game to the next level. You’ll learn how to identify the key factors affecting your shot, from the finest grind adjustments to the optimal brewing temperature. By the end of this guide, you’ll be equipped with the knowledge and skills to dial in your espresso like a pro, and consistently pull shots that would make even the most discerning barista proud. So, if you’re ready to unlock the secrets of the perfect espresso, let’s dive in and explore the art of how to dial in your espresso.
Table of Contents
Guide Overview: What You'll Need
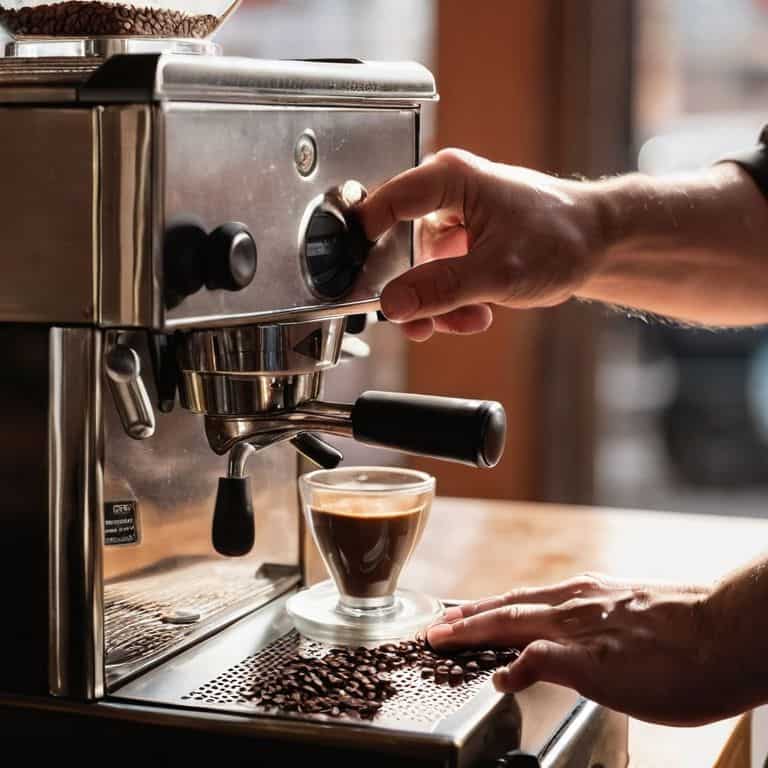
Total Time: 30 minutes to 1 hour
Estimated Cost: $0 – $50
Difficulty Level: Intermediate
Tools Required
- Espresso Machine (with built-in grinder)
- Scale (for precise measurements)
- Tamper (for evenly compressing grounds)
- Distribution Tool (optional, for optimal grounds distribution)
Supplies & Materials
- Coffee Beans (fresh, high-quality beans)
- Water (filtered, at optimal temperature)
- Espresso Machine Cleaning Solution (for maintaining equipment)
Step-by-Step Instructions
- 1. First, do this: start with a clean slate. Purge your espresso machine, and make sure it’s free from any old coffee oils or residue. I like to run a mix of water and espresso machine cleaner through the group head to get it squeaky clean. This is essential to ensure you’re not introducing any variables that could affect the taste of your espresso.
- 2. Next, select your coffee beans. I’m a bit of a nerd when it comes to coffee, and I love experimenting with different roasts and origins. For dialing in your espresso, you’ll want to choose a high-quality bean that’s freshly roasted. I personally prefer a single-origin Ethiopian or a blend with a high percentage of Brazilian beans.
- 3. Now it’s time to grind your beans. This is where the magic happens, folks. You’ll want to adjust your grind setting to achieve the perfect flow. I like to start with a medium-coarse grind and adjust from there. Remember, the grind is all about finding that sweet spot where the water flows through the coffee at just the right rate.
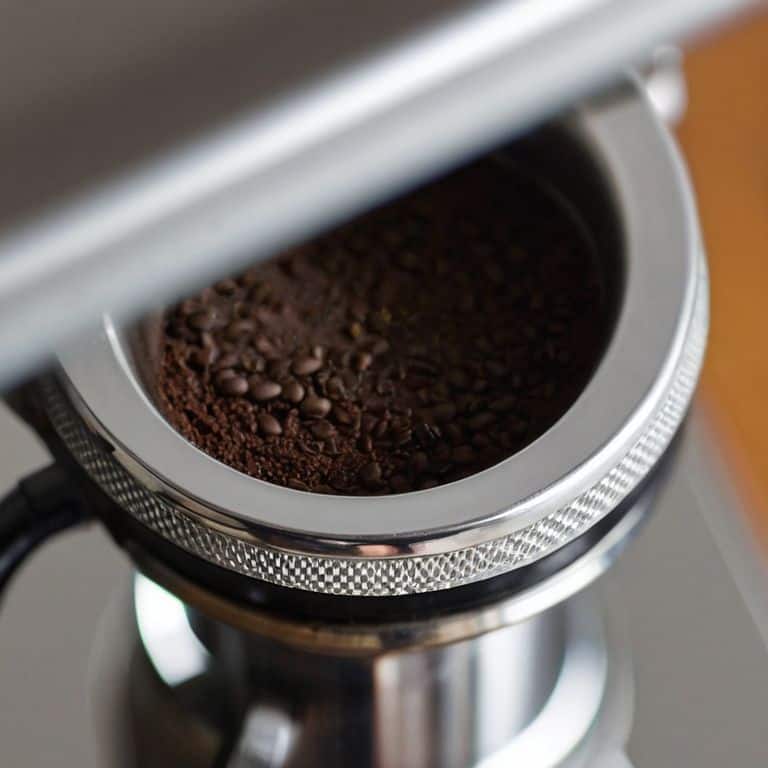
- 4. With your beans ground, it’s time to load the portafilter. Make sure to level out the grounds and give the portafilter a gentle tap to settle the coffee. I like to use a scale to measure out exactly 17-18 grams of coffee for a double shot. This ensures consistency and helps you dial in your shot more accurately.
- 5. Place the portafilter in the group head and secure it tightly. You don’t want any air leaks or channeling, which can affect the flavor of your espresso. Give the portafilter a firm twist to make sure it’s locked in place.
- 6. Next, set your brewing parameters. I like to start with a temperature of around 195-198°F (90-92°C) and adjust from there. You’ll also want to set your shot volume and brewing time. I aim for a shot volume of around 2 ounces (60 ml) and a brewing time of 25-30 seconds.
- 7. Now it’s time to pull the shot. Place a demitasse cup under the spout and turn on the machine. Watch as the espresso flows into the cup, and take note of the flow rate and volume. If it’s too fast or too slow, you’ll need to adjust your grind or brewing parameters accordingly.
- 8. Finally, taste and adjust. This is the most critical part of the process. Take a sip of your espresso and evaluate the flavor. Is it balanced and smooth, or is it bitter and over-extracted? Make notes and adjust your grind, brewing parameters, or coffee-to-water ratio as needed. Remember, dialing in your espresso is all about finding that perfect balance, and it may take a few tries to get it just right.
Dialing in Espresso
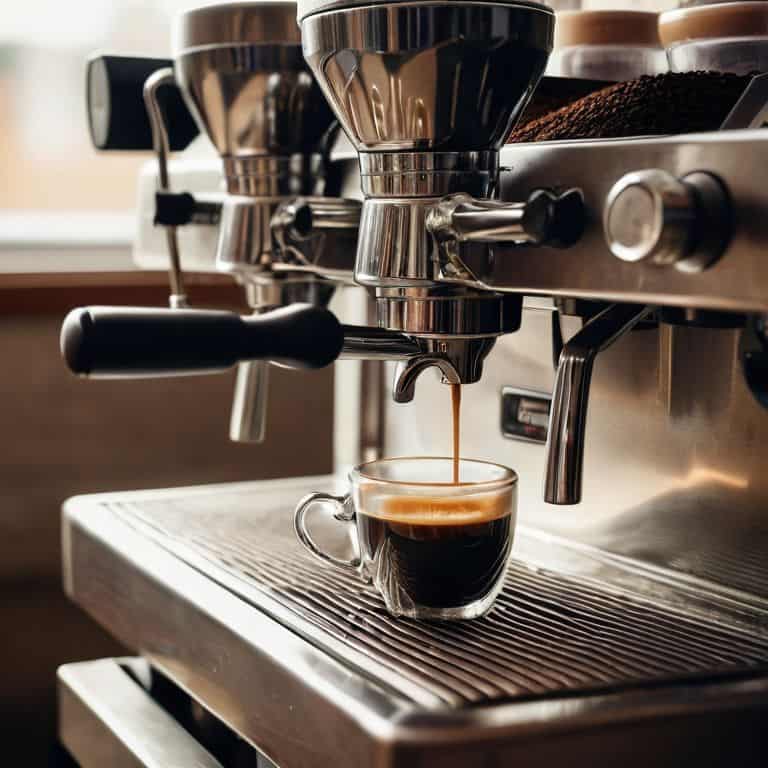
As I delve deeper into the world of espresso, I’ve come to realize that espresso machine calibration is crucial for achieving that perfect shot. It’s not just about tweaking the grind, but also ensuring your machine is running at optimal levels. I recall my days as a barista in Melbourne, where we’d spend hours calibrating our machines to get the perfect flow. It’s a painstaking process, but trust me, it’s worth it.
When it comes to coffee bean roast levels, I’m a firm believer in experimenting with different profiles to find the one that works best for you. Lighter roasts can bring out a brighter, more acidic flavor, while darker roasts can add a deeper, richer tone. It’s all about finding that balance and optimal brewing temperature to bring out the best in your beans. I’ve spent countless hours tweaking my roast levels and brewing temps to get that perfect shot, and it’s a journey I highly recommend.
For those just starting out, I’d say the key to mastering espresso is to focus on one variable at a time. Don’t try to tackle everything at once – start with your grind, then move on to your machine calibration, and finally, experiment with different coffee bean roast levels. And when you’re ready, don’t forget to practice your steaming milk techniques to take your espresso game to the next level.
Calibrating Machines for Perfection
To take your espresso game to the next level, you need to calibrate your machine for precision. This means understanding the intricacies of your equipment and making adjustments to ensure optimal performance. I’m talking about tweaking the temperature, adjusting the pump pressure, and fine-tuning the grind settings. It’s a process that requires patience, attention to detail, and a willingness to experiment.
By calibrating your machine, you’ll be able to unlock its full potential and consistently produce high-quality espresso. It’s not just about following a recipe, but about understanding the dynamics at play and making deliberate choices to achieve the perfect shot. For me, it’s about finding that sweet spot where the flavors balance and the crema is just right. With a calibrated machine, you’ll be well on your way to achieving cafe-quality results in the comfort of your own home.
Troubleshooting the Perfect Shot
When I’m troubleshooting, I look for one thing: balance. Is the shot too bright? I’ll check my grind size and adjust it to allow for a smoother flow. Is it too bitter? Perhaps my water temperature is off, or I need to descale my machine. The key is to identify the variable that’s throwing off the equilibrium. I recall a particularly finicky machine I worked with in Berlin – it required a precise 1.5-degree adjustment in water temperature to bring out the optimal flavors.
By methodically checking each component, from grind to tamp to brewing time, I can pinpoint the issue and make targeted adjustments. It’s a process of elimination, really. And when I finally hit that sweet spot, the result is nothing short of magical. The flavors pop, the crema is silky, and I know I’ve achieved the perfect shot.
Dialing in Perfection: 5 Key Tips to Elevate Your Espresso
- Adjust your grind setting in tiny increments – I’m talking 0.1mm at a time – to find the sweet spot where your espresso flows like honey
- Monitor your brewing temperature with an obsessive eye: the ideal range is between 195°F and 205°F, but I aim for 198°F for that perfect balance
- Experiment with different roast levels to find the one that makes your heart sing – for me, it’s a medium to light roast that brings out the nuances in my Gesha beans
- Pay attention to the sound of your espresso machine: a smooth, even hiss is music to my ears, indicating a perfectly balanced shot
- Taste, adjust, repeat: don’t be afraid to pull shot after shot until you hit that elusive ‘god shot’ – it’s all about the pursuit of perfection, and I’m right there with you
Key Takeaways for the Perfect Espresso
Dialing in your espresso is a deliberate process that requires precision and patience, starting with calibrating your machine and tweaking the grind to achieve the perfect flow
Troubleshooting is an essential part of the process, and understanding how to adjust variables like temperature, pressure, and coffee-to-water ratio can make all the difference in achieving a cafe-quality shot
By mastering the art of espresso dial-in and continually refining your technique, you’ll be well on your way to unlocking the secrets of the ‘god shot’ and enjoying exceptional coffee in the comfort of your own home
The Art of Precision
Dialing in your espresso is not just about adjusting settings, it’s about understanding the symphony of flavors and textures that unfold with every subtle tweak, a journey that requires patience, precision, and a passion for the pursuit of perfection.
Julian Vale
Mastering the Art of Espresso
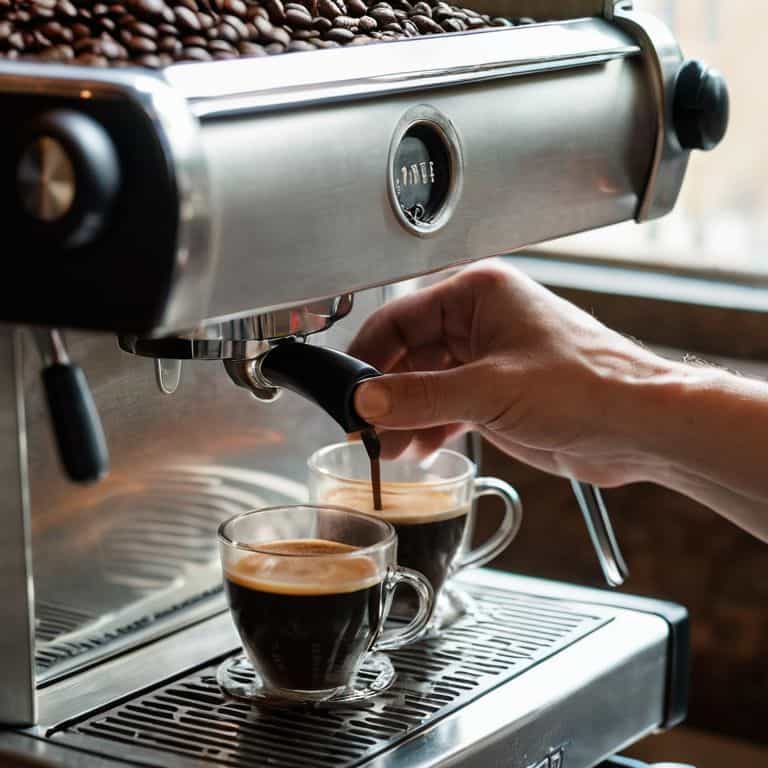
As we conclude our journey to dial in your espresso, remember that it’s all about finding the perfect harmony between your machine, the coffee beans, and your technique. We’ve covered the essential steps, from calibrating your machine for perfection to troubleshooting the perfect shot. It’s crucial to understand that every detail matters, from the grind size to the water temperature, and that practice makes perfect. By following these guidelines and continuously refining your skills, you’ll be well on your way to creating cafe-quality espresso in the comfort of your own home.
Now, as you embark on this pursuit of the perfect shot, keep in mind that it’s a journey, not a destination. It’s about the process of discovery, the joy of experimentation, and the satisfaction of crafting something truly exceptional. So, don’t be afraid to try new things, to push the boundaries of what’s possible, and to always strive for excellence in every shot. With dedication and passion, you’ll unlock the full potential of your espresso machine and create a truly transcendent coffee experience.
Frequently Asked Questions
What's the ideal grind size for my espresso machine and how often should I adjust it?
For me, the ideal grind size is around 200-250 microns, but it depends on your machine and beans. I adjust my grind every 1-2 days, or whenever I switch roasts, to ensure optimal flow and extraction. It’s all about finding that sweet spot, so don’t be afraid to tweak and taste until you hit perfection.
How do I know if my espresso machine needs calibration and what are the steps to calibrate it?
To ensure your machine is calibrated, check the group head temperature and pressure gauge – they should be within 0.5 degrees and 1 bar of the ideal range. If not, descale and realign the brewing system. I also recommend recalibrating the grind and tamper to guarantee a perfect seal, it’s all about precision.
What are the most common issues that can prevent a perfect shot and how can I troubleshoot them?
To troubleshoot the perfect shot, I’ve found that common culprits include inconsistent grind size, incorrect water temperature, and improper tamping. Check your machine’s calibration, ensure a precise grind, and adjust your brewing technique to pinpoint the issue. For me, it’s all about precision and patience to nail that perfect shot.
