As I sit here, surrounded by the aroma of freshly roasted coffee cherries, I’m reminded of the common myth that a guide to home coffee roasting is a complicated, expensive process. But the truth is, it’s quite the opposite. With a few simple tools and a willingness to experiment, anyone can unlock the full flavor potential of their favorite beans. I’ve spent years working with coffee farmers in Latin America and Africa, and I’ve seen firsthand the care and dedication that goes into producing high-quality coffee. Now, I’m excited to share my knowledge with you and help you get started on your own home coffee roasting journey.
In this article, I’ll provide you with practical advice and straightforward guidance on how to roast coffee beans at home. We’ll cover the basics of a guide to home coffee roasting, from choosing the right equipment to understanding the importance of roast levels and processing methods. My goal is to empower you with the knowledge and confidence to take control of your coffee game and start enjoying the rich, nuanced flavors that only freshly roasted coffee can provide. Whether you’re a coffee newcomer or a seasoned aficionado, I invite you to join me on this journey into the world of home coffee roasting and discover the joy of coaxing out the perfect cup from your favorite beans.
Table of Contents
- Guide Overview: What You'll Need
- Step-by-Step Instructions
- A Guide to Home Coffee Roasting
- Beyond the Bean Coffee Roast Levels and Temperature Control
- Unlocking Flavor Coffee Roasting Techniques for Beginners
- Bringing the Farm to Your Table: 5 Essential Tips for Home Coffee Roasting
- Key Takeaways for the Home Coffee Roaster
- The Heart of Home Roasting
- Embracing the Art of Home Coffee Roasting
- Frequently Asked Questions
Guide Overview: What You'll Need
Total Time: 1 hour 15 minutes
Estimated Cost: $20 – $50
Difficulty Level: Easy
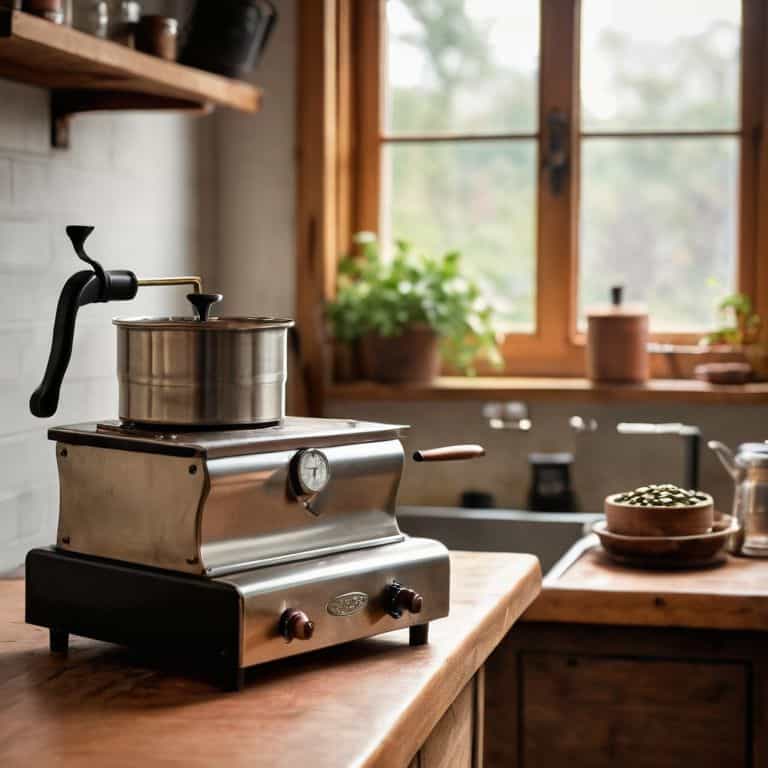
Tools Required
- Heat Gun (or other heat source)
- Thermometer (to monitor temperature)
- Wooden Spoon (for stirring)
- Pan (with a 6 inches diameter)
- Colander (for cooling coffee beans)
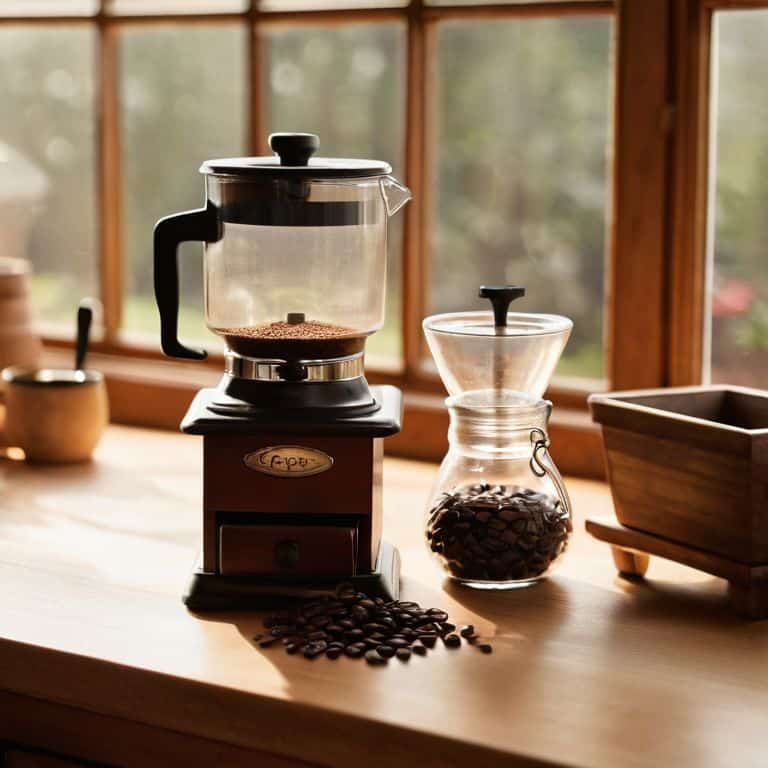
Supplies & Materials
- Green Coffee Beans (available at specialty stores)
- Baking Sheet (for cooling coffee beans)
- Paper Bags (or airtight containers for storage)
Step-by-Step Instructions
- 1. First, you’ll need to select the right equipment for home coffee roasting. This includes a small-batch roaster, a heat gun, or even a simple skillet. I prefer using my small-batch roaster, as it allows for a more precise control over the roasting process. When choosing your equipment, consider the size of your batches and the level of control you need.
- 2. Next, you’ll need to source high-quality green coffee beans. I always look for beans that have been carefully hand-picked and processed, as this ensures the best possible flavor. Consider the origin of the beans, as well as the processing method used, as these factors can greatly impact the final flavor of your roasted coffee.
- 3. Now it’s time to prepare your beans for roasting. This involves measuring out the right amount of beans for your batch and making sure they are evenly distributed in your roasting equipment. I like to use a scale to ensure accuracy, as this can affect the final flavor of your coffee.
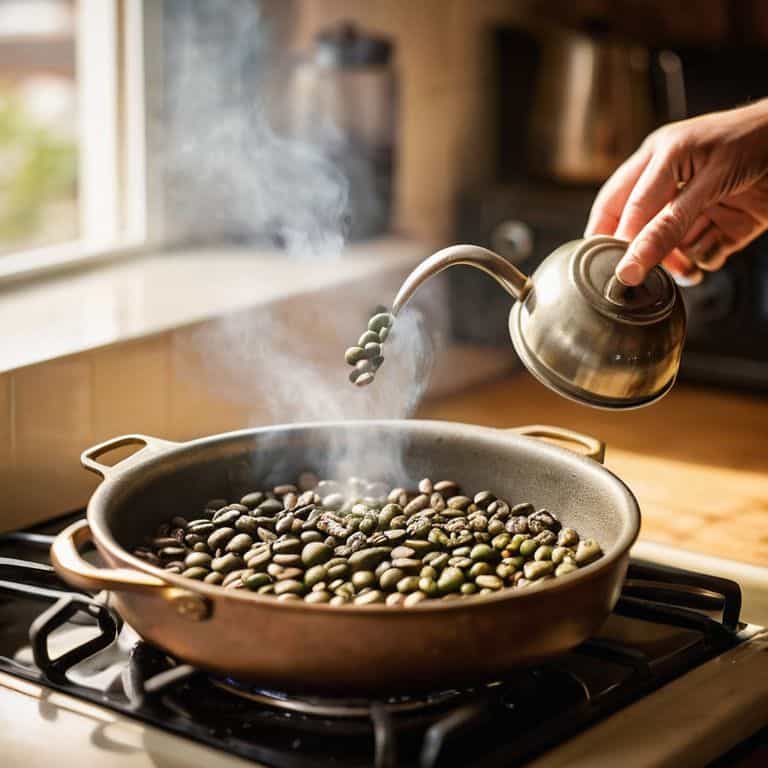
- 4. With your beans prepared, it’s time to start the roasting process. If using a small-batch roaster, simply turn it on and wait for the beans to reach the desired roast level. If using a heat gun or skillet, you’ll need to constantly stir the beans to ensure even roasting. Keep an eye on the temperature and roast time, as these can greatly impact the final flavor.
- 5. As your beans reach the desired roast level, it’s time to cool them down. This is an important step, as it helps to stop the roasting process and prevent the beans from becoming over-roasted. I like to use a tray or pan to cool my beans, as this allows for good airflow and helps to bring the temperature down quickly.
- 6. Once your beans have cooled, it’s time to store them properly. This involves placing them in an airtight container to preserve the flavor and aroma. I like to use a glass jar with a tight-fitting lid, as this helps to keep the beans fresh for a longer period.
- 7. Finally, it’s time to grind and brew your freshly roasted coffee. I like to use a burrs grinder to grind my beans, as this helps to preserve the flavor and aroma. When brewing, consider the water temperature and coffee-to-water ratio, as these can greatly impact the final flavor of your coffee. With these steps, you’ll be well on your way to enjoying delicious, small-batch roasted coffee in the comfort of your own home.
A Guide to Home Coffee Roasting
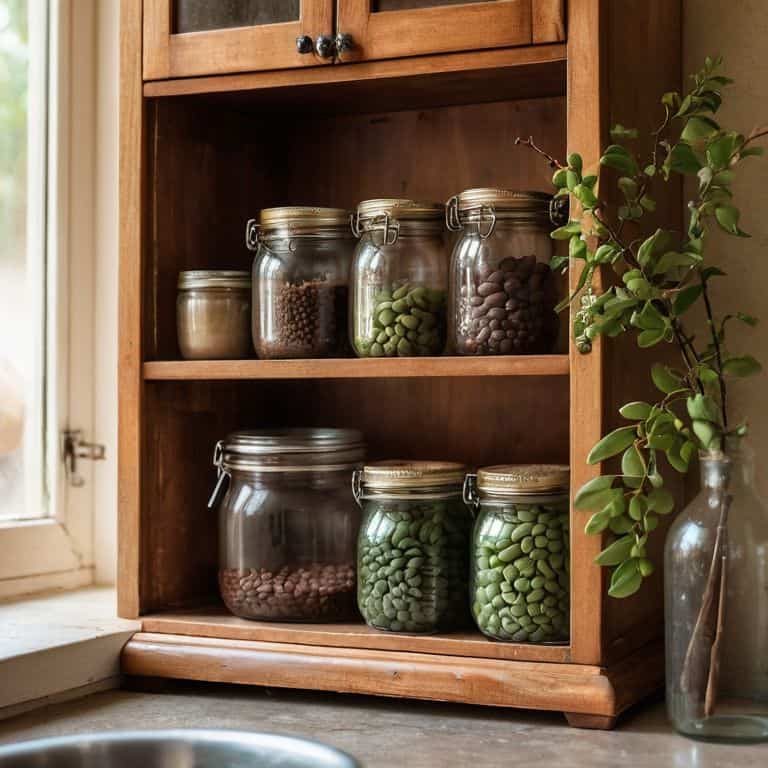
As I delve deeper into the world of home coffee roasting, I’m reminded of the importance of coffee roasting techniques for beginners. It’s a journey that requires patience, experimentation, and a willingness to learn. One of the most crucial aspects of home roasting is understanding how to store green coffee beans properly. This involves keeping them in a cool, dry place, away from direct sunlight and moisture. By doing so, you’ll be able to preserve the unique flavor profiles and aromas of your cherished coffee cherries.
When it comes to troubleshooting common home roasting issues, I’ve found that coffee roast levels explained can be a game-changer. Understanding the nuances of light, medium, and dark roasts can help you identify and resolve problems with your roast. For instance, if your coffee is tasting too bitter, it may be due to over-roasting. By adjusting your coffee roasting temperature control, you can achieve a more balanced flavor. It’s all about finding that sweet spot, where the flavors are rich and full-bodied, without being overpowering.
As you continue on your home coffee roasting journey, I encourage you to explore different coffee roasting equipment reviews. This will help you find the perfect setup for your needs and budget. Remember, the key to mastering home coffee roasting is to be gentle, yet firm, when coaxing out the flavors of your green coffee beans. With practice and dedication, you’ll be able to unlock the full potential of your coffee, and experience the rich, velvety smoothness that only a perfectly roasted cup can provide.
Beyond the Bean Coffee Roast Levels and Temperature Control
As I delve into the world of home coffee roasting, I’m reminded of the countless hours I’ve spent on coffee farms, witnessing the meticulous care that goes into cultivating each cherry. When it comes to roast levels, the temperature control is where the magic happens. I’ve found that even the slightest adjustment can dramatically alter the flavor profile, bringing out notes of chocolate or citrus.
For me, the ideal roast is one that balances the innate characteristics of the bean with the subtle nuances of the roasting process. I’ve experimented with various temperature controls, from the gentle warmth of a drum roaster to the intense heat of a fluidbed roaster. The key is to coax out the unique flavors of each bean, whether it’s the bright acidity of a Kenyan AA or the rich, velvety smoothness of a Brazilian Santos.
Unlocking Flavor Coffee Roasting Techniques for Beginners
As I reflect on my years of working with coffee farmers, I’m reminded that the key to unlocking flavor lies in the roasting technique. For beginners, it’s essential to understand the basics of heat transfer and bean development. I always advise starting with a simple approach, such as the “listen and look” method, where you pay attention to the sounds and aromas of the roasting process. This will help you develop an ear for the “first crack” and an eye for the perfect roast level.
By experimenting with different roasting times and temperatures, you’ll begin to coax out the unique characteristics of each coffee cherry. Remember, the goal is to bring out the inherent flavors of the bean, rather than imposing your own. With practice, you’ll develop a sense of intuition, allowing you to make subtle adjustments and unlock the full potential of your coffee.
Bringing the Farm to Your Table: 5 Essential Tips for Home Coffee Roasting
- Start with high-quality, freshly harvested green coffee cherries to ensure the best possible flavor in your roasted coffee
- Experiment with different roast levels to find your perfect balance, from the bright acidity of a light roast to the deep, rich notes of a dark roast
- Pay attention to the processing method of your coffee cherries – natural, washed, or honey – as it significantly impacts the flavor profile of your final roast
- Invest in a good thermometer and learn to control the temperature of your roasting environment, as this will greatly affect the consistency and quality of your roast
- Keep a roast journal to track your experiments, note flavor profiles, and refine your techniques over time, just as a cartographer maps new territories to understand the lay of the land
Key Takeaways for the Home Coffee Roaster
Experimenting with different roast levels and techniques can significantly alter the flavor profile of your coffee, allowing you to find the perfect balance that suits your taste preferences
Understanding the origin of your coffee beans, including factors like soil acidity and processing methods, is crucial for appreciating the complex flavors and nuances of single-origin coffees
Home coffee roasting is not just about the technical process, but also about connecting with the story behind each bean, from the farm where it was grown to the cup where it’s enjoyed, enhancing your overall coffee experience
The Heart of Home Roasting
Home coffee roasting is not just about transforming beans, it’s about uncovering the hidden stories of the earth and the people who nurture them, one roast at a time.
Samuel Jones
Embracing the Art of Home Coffee Roasting

As we conclude this journey through the world of home coffee roasting, it’s essential to remember that the process is just as important as the end result. We’ve covered the basics of roasting, from understanding the nuances of coffee beans to the art of temperature control. By mastering these techniques, you’ll be able to unlock the full potential of your coffee, bringing out the unique flavors and characteristics that make each bean special. Whether you’re a seasoned pro or just starting out, the key to success lies in experimentation and a willingness to learn, always keeping in mind the terroir and processing methods that shape the final product.
As you embark on your own home coffee roasting adventures, I encourage you to think beyond the cup and consider the story behind the bean. From the farmers who carefully cultivate and harvest the cherries to the roasters who coax out their distinct flavors, every step of the journey is a testament to the power of passion and dedication. By embracing this craft, you’re not only elevating your daily coffee ritual but also becoming a part of a larger community that values quality, sustainability, and the pursuit of the perfect cup.
Frequently Asked Questions
What are the most common mistakes to avoid when starting to home roast coffee?
When starting to home roast, I see many enthusiasts fall into the trap of overheating or underheating their beans. Another common mistake is not monitoring the roast level, resulting in an inconsistent flavor. Trust me, I’ve been there too – it’s all about finding that sweet spot and being patient with the process.
How do I determine the optimal roast level for a specific coffee bean?
For me, determining the optimal roast level is all about understanding the bean’s terroir and processing method. I consider the coffee’s inherent acidity and body, then adjust my roast to bring out its unique characteristics. It’s a delicate dance, but one that’s worth perfecting to unlock the full flavor potential of those precious cherries.
Can I use a popcorn popper or other DIY method to roast coffee at home, or is a dedicated coffee roaster necessary?
While a dedicated coffee roaster is ideal, I’ve seen some amazing results from repurposed popcorn poppers and even skillet roasting. The key is to closely monitor temperature and agitation – it’s a bit more finicky, but with practice, you can coax incredible flavors from your cherries using DIY methods.