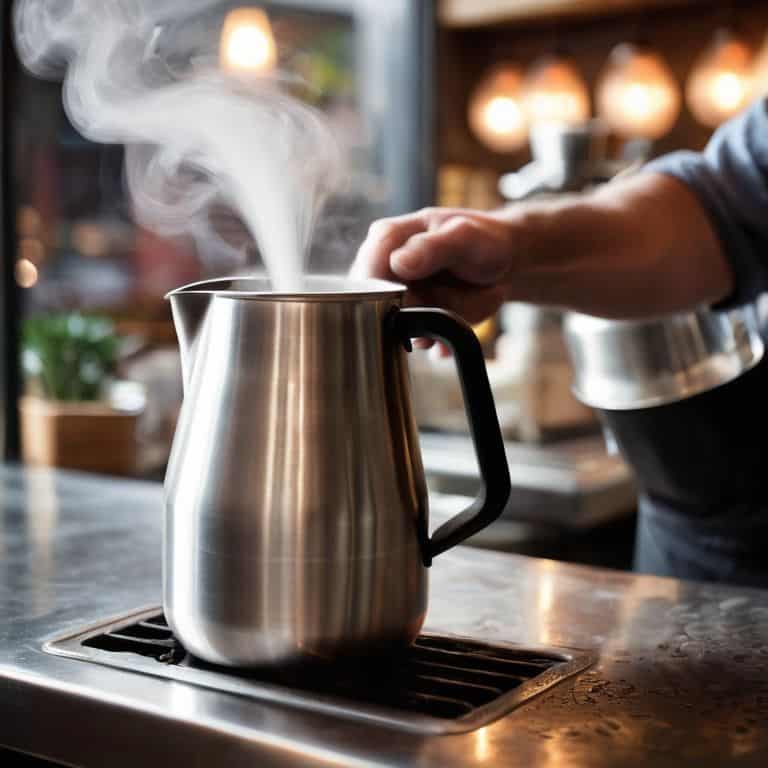
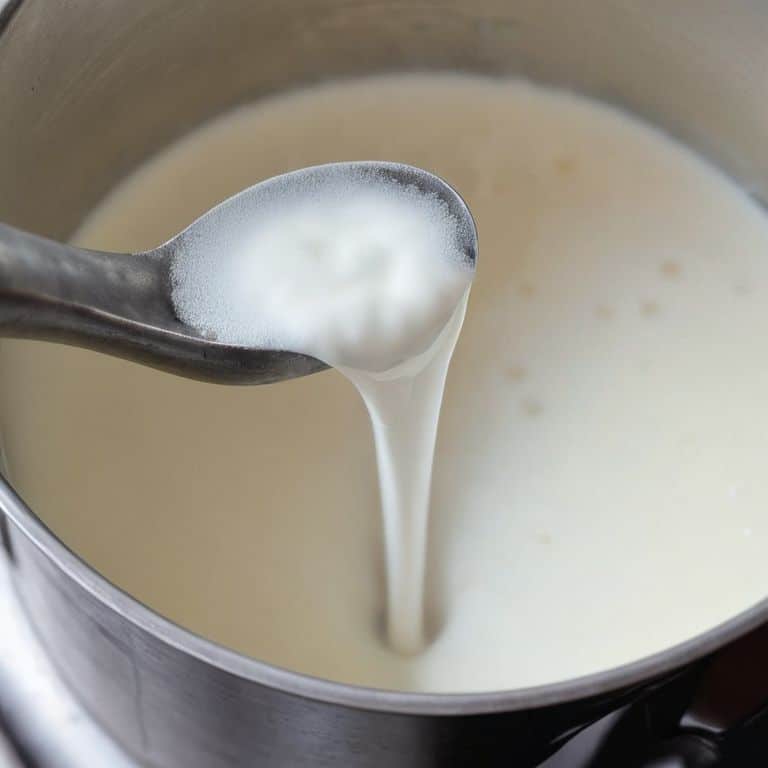
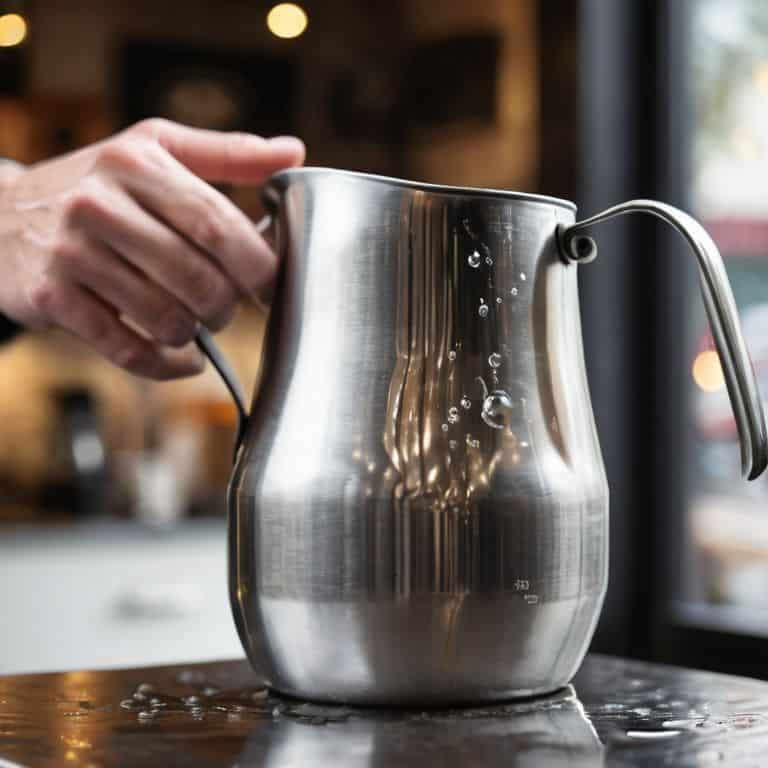
I still remember the day I realized that common milk steaming mistakes to avoid were the culprit behind my subpar lattes. I was working at a specialty coffee shop in Melbourne, and no matter how hard I tried, I just couldn’t seem to get the milk right. It was either too hot, too cold, or just plain sloppy. My manager at the time, a coffee legend, took one look at my steaming technique and said, “Julian, you’re over-aerating the milk.” That was the moment it clicked – I had been focusing on the wrong things, and it was time to go back to basics.
In this article, I’ll share with you the honest truth about milk steaming, and the common mistakes that even seasoned baristas make. You’ll learn how to identify and fix issues like inconsistent temperature, poor steam wand technique, and over-whipping the milk. By the end of this guide, you’ll be equipped with the knowledge to create silky, smooth milk that will elevate your coffee game to the next level. I’ll cut through the noise and give you practical advice on how to avoid common milk steaming mistakes, so you can focus on crafting the perfect cup every time.
Table of Contents
Guide Overview: What You'll Need

Total Time: 30 minutes to 1 hour
Estimated Cost: $0 – $20
Difficulty Level: Easy
Tools Required
- Steam Wand (from an espresso machine)
Supplies & Materials
- Milk (whole, skim, or a non-dairy alternative)
- Thermometer (optional, for precise temperature control)
Step-by-Step Instructions
- 1. First, purge the steam wand before you start steaming milk to remove any excess water that may have accumulated inside. This is a crucial step that many baristas overlook, and it can greatly affect the quality of your steamed milk. Make sure to purge the wand for about 2-3 seconds to get rid of any stale water.
- 2. Next, submerge the steam wand just below the surface of the milk, making sure not to aerate the milk too much. You want to create a smooth, silky texture, not a foamy mess. Hold the pitcher at an angle and gently insert the steam wand, taking care not to splash the milk or create too much foam.
- 3. Now, turn on the steam and begin to heat the milk to the optimal temperature, which is between 140°F and 160°F. Use a thermometer to monitor the temperature, and adjust the steam pressure accordingly. You want to heat the milk slowly and evenly, without scalding it or creating hot spots.
- 4. As you heat the milk, use a gentle stretching motion to introduce air into the mixture and create a smooth, velvety texture. Hold the pitcher at an angle and move it in a circular motion, using the steam wand to stretch and fold the milk. This will help to create a uniform consistency and prevent the milk from becoming too thick or too thin.
- 5. Once the milk has reached the optimal temperature, reduce the steam pressure and begin to silence the steam wand. This will help to prevent the milk from becoming too aerated or foamy. Hold the pitcher steady and use the steam wand to gently swirl the milk, creating a smooth and creamy texture.
- 6. Now, hold the milk at the optimal temperature for a few seconds to allow the flavors to mature and the texture to set. This is an important step that many baristas skip, but it can make a big difference in the quality of your steamed milk. Use this time to inspect the milk and make any necessary adjustments to the texture or temperature.
- 7. Finally, pour the steamed milk into your cup with a smooth, flowing motion, holding the pitcher at an angle and using the steam wand to guide the milk. Take care not to spill or splash the milk, and use a steady hand to create a beautiful, velvety texture that will complement your espresso perfectly.
Avoiding Milk Steaming Blunders

To truly master the art of milk steaming, one must also focus on milk steaming temperature control. This is where many baristas go wrong, as even a slight deviation from the ideal temperature can affect the quality of the microfoam. I’ve found that maintaining a temperature between 140°F and 160°F is crucial for creating a smooth, velvety texture.
When it comes to microfoam creation techniques, it’s all about the nuances of steam wand movement and milk flow. By adjusting the steam wand’s position and the flow of milk, you can create a variety of textures and patterns. For instance, a steady, gentle flow can produce a silky microfoam, while a more vigorous flow can create a thicker, more velvety texture.
In addition to temperature control and microfoam techniques, steam wand maintenance tips are also essential for optimal milk steaming performance. Regularly cleaning and purging the steam wand can help prevent clogs and ensure a smooth flow of steam. By combining these techniques with a solid understanding of milk steaming fundamentals, you’ll be well on your way to creating perfect, cafe-quality lattes and cappuccinos.
Mastering Milk Steaming Temperature Control
To truly master milk steaming, temperature control is key. I’m obsessed with getting it just right – between 140°F and 160°F. Any higher, and you’ll scald the milk, introducing a burnt flavor that’s hard to mask. Too low, and the milk won’t stretch properly, resulting in a lackluster microfoam. I recall my early days as a barista, struggling to achieve consistent temperatures. It wasn’t until I invested in a high-quality thermometer that I began to see significant improvements in my steaming technique.
By monitoring the temperature closely, you can make adjustments on the fly, ensuring that your milk reaches the ideal range. This level of precision may seem extreme, but trust me, it’s essential for crafting exceptional milk-based drinks. With practice, you’ll develop a sense of how to coax the perfect temperature from your steam wand, and your lattes will thank you.
Perfecting Microfoam Creation Techniques
To create sublime microfoam, I obsess over the nuances of steam wand positioning and milk flow. It’s all about introducing air at the perfect rate, creating a silky smooth texture that’s both delicate and robust. I’ve found that a slight tweak in steam wand depth can make all the difference – too deep and you’ll end up with a bubbly mess, too shallow and the milk won’t stretch properly.
By carefully calibrating the steam pressure and milk flow, you’ll be able to craft microfoam that’s nothing short of velvety. I like to think of it as a waltz between the steam and the milk, where every step is deliberately choreographed to produce a harmonious union of texture and flavor. With practice, you’ll develop a keen sense of how to coax the ideal microfoam from your steam wand, and when you do, you’ll know that you’ve truly mastered the art of milk steaming.
Steaming Screw-Ups to Sidestep: My Top 5 Tips

- Never heat your milk beyond 140°F to 150°F, as this can scald the milk and introduce an unpleasant burnt flavor
- Always purge your steam wand before and after use to eliminate any residual water and prevent it from diluting your steamed milk
- Use the right type of milk for the job – whole milk, skim milk, or a non-dairy alternative – as each has its own unique characteristics and steaming requirements
- Monitor the steam pressure and adjust as needed to achieve a silky, smooth microfoam that’s not too thick or too thin
- Pay attention to the sound of your steam wand, as a high-pitched whine can indicate that your milk is too cold or your steam pressure is too high, leading to subpar steaming results
Key Takeaways for Mastering Milk Steaming
Always monitor and adjust the steaming temperature to the ideal range of 140°F to 160°F for optimal microfoam creation and to prevent scalding the milk
Pay close attention to the texture and consistency of the microfoam, aiming for a smooth, silky finish that can hold its shape without being too stiff or too runny
Practice makes perfect: invest time in honing your milk steaming skills, focusing on precise temperature control, accurate steam wand positioning, and developing a keen sense of when to stop steaming for the perfect balance of texture and flavor
The Path to Perfect Foam
Milk steaming is not just about hotter temperatures and more steam power – it’s a delicate dance of heat, texture, and timing; one misstep can turn your silky microfoam into a sad, separated mess.
Julian Vale
Steaming to Perfection: A Conclusion
As we’ve explored the common milk steaming mistakes to avoid, it’s clear that mastering this art requires a deep understanding of temperature control, precise technique, and a keen eye for detail. By avoiding the pitfalls of overheating, underheating, and inadequate microfoam creation, you’ll be well on your way to crafting cafe-quality lattes and cappuccinos that will impress even the most discerning palates. Remember, the key to success lies in the nuances: the subtle dance of steam and milk, the delicate balance of texture and flavor.
So, as you continue on your journey to milk steaming mastery, I encourage you to embrace the pursuit of the perfect shot with passion and dedication. Don’t be afraid to experiment, to push the boundaries of what’s possible, and to always strive for that elusive, sublime union of flavors and textures that will leave your customers in awe. With practice, patience, and a willingness to learn, you’ll be well on your way to joining the ranks of the world’s top baristas – and, more importantly, to sharing your own unique brand of coffee magic with the world.
Frequently Asked Questions
What's the ideal temperature range for steaming milk to avoid scalding or underheating?
For me, the sweet spot is between 140°F and 160°F. Any higher, and you’ll scald the milk; any lower, and it won’t be hot enough. I aim for 152°F to 155°F, which yields a silky microfoam and a smooth, velvety texture. Trust me, this temperature range makes all the difference in your latte game.
How can I consistently produce microfoam with the right texture and stability for latte art?
To consistently produce microfoam with the right texture and stability, I swear by precise temperature control and a consistent steaming technique. Aim for a temperature between 140°F and 160°F, and adjust your steaming time to achieve a silky, smooth microfoam that’s perfect for latte art. It’s all about feel and sound – listen for that sweet spot where the milk starts to shimmer and the steam wand hums in harmony.
Are there any specific types of milk that are more prone to steaming mistakes, and how can I adjust my technique accordingly?
When it comes to steaming, I’ve found that non-dairy milks like almond and soy can be particularly finicky. They require a slightly lower temperature and a more gentle touch to avoid scorching or creating an unpleasant texture. Adjust your steam wand technique and experiment with micro-adjustments in temperature to find the sweet spot for each type of milk.


