I still remember the first time I attempted to make an Aeropress espresso-style shot – it was a disaster. The brew was over-extracted, bitter, and completely unbalanced. But that failure sparked a curiosity in me, and I spent countless hours experimenting with different techniques to perfect the craft. As a certified Q Grader and national Barista Champion, I’ve learned that the key to a great Aeropress shot lies in the nuances of water temperature and grind size. If you’re struggling to achieve that perfect balance, you’re not alone – and that’s exactly why I’m excited to share my expertise on how to make an Aeropress espresso-style shot that will rival your favorite cafe.
In this article, I’ll cut through the noise and give you the honest, no-hype advice you need to take your Aeropress game to the next level. You’ll learn the specific techniques I use to dial in the perfect shot, from measuring coffee to water ratio to mastering the art of slow and steady pouring. By the end of this guide, you’ll be equipped with the knowledge and skills to consistently produce cafe-quality Aeropress shots in the comfort of your own home. So, if you’re ready to unlock the full potential of your Aeropress and experience the thrill of pulling a perfect shot, let’s dive in and get started.
Table of Contents
- Guide Overview: What You'll Need
- Step-by-Step Instructions
- Mastering Aeropress Espresso
- Elevate Your Brew: 5 Expert Tips for a Killer Aeropress Espresso-Style Shot
- Key Takeaways for the Perfect Aeropress Espresso-Style Shot
- The Pursuit of Perfection
- Unlocking the Perfect Shot: A Conclusion
- Frequently Asked Questions
Guide Overview: What You'll Need

Total Time: 10 minutes
Estimated Cost: $0 – $20 (depending on the coffee beans)
Difficulty Level: Easy
Tools Required
- Aeropress coffee maker (with plunger and filter cap)
- Kettle (for boiling water)
- Scale (optional, but recommended for precise measurements)
- Spoon (for measuring coffee grounds)
Supplies & Materials
- Fine-ground coffee beans (choose your preferred roast and flavor)
- Filtered water (cold and fresh)
- Aeropress paper filters (if desired, for cleaner flavor and easier cleanup)
Step-by-Step Instructions
- 1. First, let’s start with the basics – grind size is crucial for an Aeropress espresso-style shot. You’ll want to grind your beans to a fine, almost espresso-like consistency. I recommend using a burr grinder to get the most consistent grind, and aim for a grind size that’s slightly finer than sand.
- 2. Next, prepare your Aeropress by rinsing it with hot water to ensure it’s free of any residual flavors or odors. This step may seem minor, but trust me, it makes a difference in the flavor profile of your final shot. While the Aeropress is still warm, add 17-18 grams of your finely ground coffee to the filter.
- 3. Now it’s time to heat your water to the ideal temperature – around 195°F to 205°F. Use a thermometer to get an exact reading, as this will affect the extraction of your coffee. I like to use a gooseneck kettle for precise pouring, and make sure to pour the water in a circular motion to evenly saturate all the grounds.
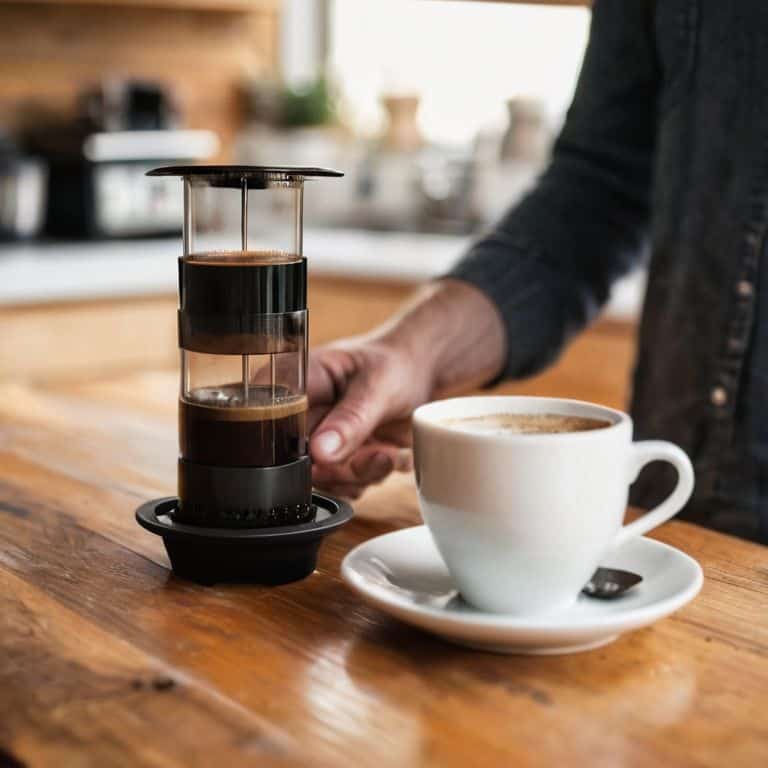
- 4. Place the plunger on top of the Aeropress, but don’t press down just yet. Allow the coffee to steep for exactly 2 minutes and 15 seconds – this will enable the perfect balance of flavors to be extracted. You can use a timer to ensure you’re getting the exact right steeping time.
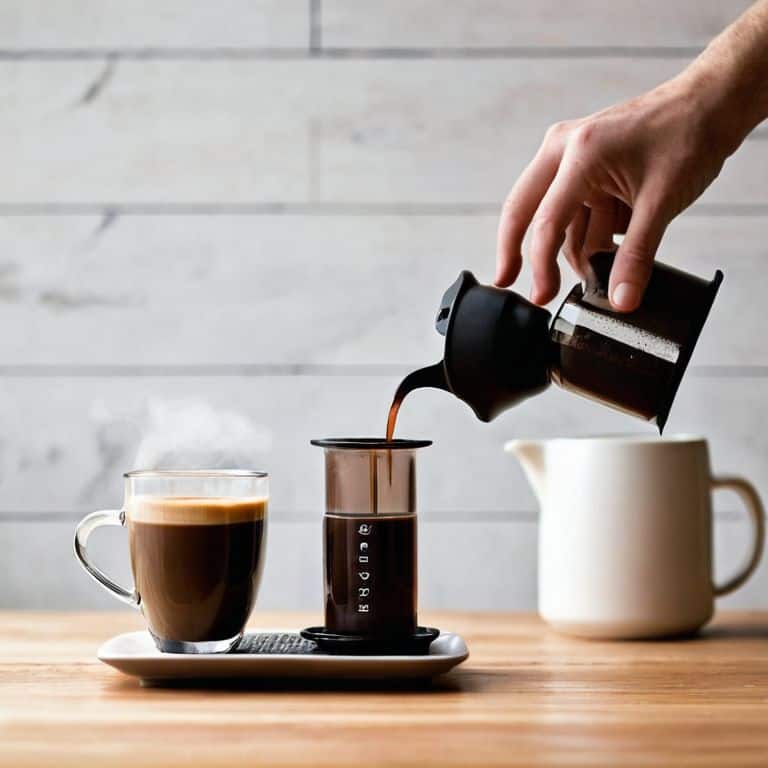
- 5. After the steeping time has elapsed, slowly press the plunger down to separate the grounds from the liquid. Apply gentle pressure, taking around 20-30 seconds to complete the press. Be careful not to press too hard, as this can introduce bitter notes into your shot.
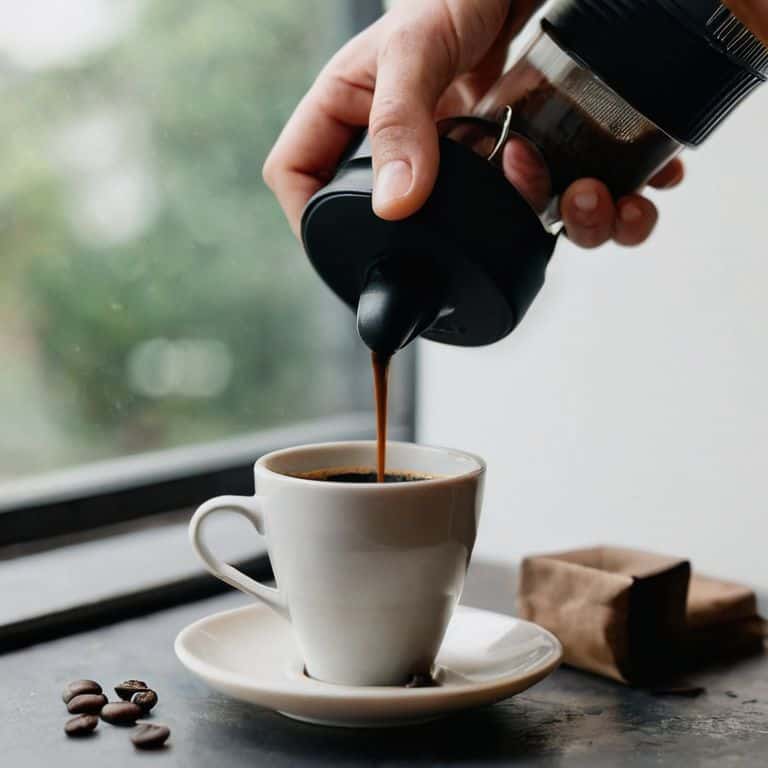
- 6. Once you’ve pressed the plunger all the way down, pour the espresso-style shot into a cup. You should be aiming for a rich, creamy texture and a thick, velvety crema on top. If you don’t get the crema right away, don’t worry – it takes practice to get the perfect shot.
- 7. Finally, take a moment to appreciate the aroma of your freshly brewed Aeropress espresso-style shot. Take a sip, and notice the complex flavors and nuances that are present. Pay attention to the balance of acidity and sweetness, and make any necessary adjustments to your grind size, water temperature, or steeping time for your next shot.
Mastering Aeropress Espresso

As I delve deeper into the world of Aeropress brewing, I’ve come to realize that mastering the craft requires a combination of art and science. Aeropress brewing techniques are all about finding the perfect balance between coffee and water, and I’ve found that a 1:10 coffee to water ratio yields the best results. This ratio allows for a rich and full-bodied flavor that’s reminiscent of espresso-style coffee.
To take your Aeropress game to the next level, it’s essential to consider the equipment itself. Storing Aeropress equipment in a dry and cool place can help prevent any bacterial growth, which can affect the taste of your coffee. I also recommend regular Aeropress cleaning to remove any built-up residue. This will ensure that your Aeropress continues to produce high-quality coffee with each use.
In comparison to other brewing methods, such as French press, the Aeropress offers a unique level of control and precision. By experimenting with different Aeropress coffee to water ratio and brewing times, you can tailor your coffee to your exact specifications. This level of customization is what sets the Aeropress apart from other brewing methods, and it’s what makes it an ideal choice for those seeking to create espresso style coffee at home.
Optimizing Coffee to Water Ratio
To truly elevate your Aeropress game, you need to dial in the perfect coffee to water ratio. I’m talking about a ratio that’s tailored to your specific bean and roast level. For me, the sweet spot is around 1:10 to 1:12 – that’s one gram of coffee for every 10-12 grams of water. This allows for a balanced extraction that brings out the nuances in the coffee without over-extracting and becoming bitter. Experiment with different ratios to find what works best for you, but remember, precision is key.
I like to think of it as a delicate dance between the coffee and water, where every gram and degree counts. By finding that perfect harmony, you’ll be well on your way to brewing Aeropress shots that rival those from your favorite cafe.
Unlocking Aeropress Brewing Techniques
To truly unlock the potential of Aeropress brewing, it’s essential to experiment with different techniques. I’m obsessed with finding the perfect balance of flavor and crema. One of my favorite methods is the “inverted” technique, where you add water to the Aeropress, then stir and steep the grounds upside-down. This allows for a more even extraction and can result in a richer, more full-bodied shot.
By fine-tuning your Aeropress technique, you’ll be able to coax out the unique characteristics of your favorite coffee beans. Remember, it’s all about precision and attention to detail – from the grind size to the water temperature. With practice and patience, you’ll be pulling shots like a pro and unlocking the full flavor potential of your Aeropress.
Elevate Your Brew: 5 Expert Tips for a Killer Aeropress Espresso-Style Shot

- Use freshly roasted and ground coffee to ensure optimal flavor and aroma, as stale coffee can lead to a dull and unbalanced taste
- Experiment with different grind sizes to find the perfect balance between flow rate and extraction, aiming for a grind that’s slightly finer than sand
- Preheat your Aeropress and any other equipment to prevent temperature shock and ensure a stable brewing environment, which is crucial for a perfect shot
- Pay attention to the coffee-to-water ratio, aiming for a ratio of around 1:2 to 1:3, and adjust to your taste preferences for the ideal balance of strength and flavor
- Monitor and control the brewing time, aiming for a total brewing time of around 2-3 minutes, and adjust the flow rate and grind size accordingly to achieve the perfect shot
Key Takeaways for the Perfect Aeropress Espresso-Style Shot
Precision is key: mastering the ideal coffee to water ratio, grind size, and brewing time is crucial for unlocking the full potential of your Aeropress
Experimentation is encouraged: don’t be afraid to tweak variables like water temperature, coffee origin, and roast level to find your perfect balance
Practice makes perfect: as with any craft, the pursuit of the perfect Aeropress shot requires patience, dedication, and a willingness to refine your technique over time
The Pursuit of Perfection
A true Aeropress espresso-style shot is not just about the equipment or the beans, but about the harmonious balance of variables – it’s a symphony of grind, temperature, and time, where every note must be precisely played to create a masterpiece.
Julian Vale
Unlocking the Perfect Shot: A Conclusion
As we’ve explored the world of Aeropress espresso-style shots, it’s clear that mastering the technique requires a combination of art and science. From the initial step-by-step guide to the nuances of coffee to water ratio, each element plays a crucial role in achieving that perfect pull. By optimizing brewing techniques and understanding the importance of grind size, water temperature, and brewing time, you’ve taken the first steps towards becoming an Aeropress aficionado. Remember, the key to unlocking the perfect shot lies in the details, and it’s the precise measurements that will set your brews apart.
As you continue on your coffee journey, I encourage you to view each brew as an opportunity to refine your craft. The pursuit of the god shot is a lifelong passion, and it’s the passion for perfection that drives us to innovate and experiment. So, don’t be afraid to try new roasts, tweak your brewing times, or adjust your grind sizes – it’s through this process of active experimentation that you’ll truly unlock the full potential of your Aeropress and take your coffee game to the next level.
Frequently Asked Questions
What is the ideal grind size for an Aeropress espresso-style shot?
For a killer Aeropress shot, I swear by a grind size that’s slightly finer than medium – around 0.8-1.2 mm. This allows for the perfect balance of flavor and body. Think of it as the sweet spot where your coffee is neither under nor over-extracted. Trust me, it makes all the difference in achieving that perfect, velvety shot.
How does the water temperature affect the flavor of an Aeropress espresso-style shot?
Water temperature is crucial – between 195°F and 205°F is ideal. Any lower, and you’ll miss out on optimal extraction; any higher, and you’ll risk bitter flavors. I personally aim for 198°F to bring out the nuances in my Aeropress shots. Trust me, the difference is palpable.
Can I use any type of coffee bean to make a great Aeropress espresso-style shot or are there specific recommendations?
Not all beans are created equal for Aeropress espresso-style shots. I recommend high-quality, high-altitude Arabica beans with a medium to dark roast for optimal flavor and body. Look for beans with notes of chocolate, caramel, or fruit to bring out the best in your Aeropress shots.


