I still remember the day I realized that most coffee enthusiasts neglect their grinder burrs, which is a crucial step in learning how to clean your coffee grinder burrs. As a technician who’s spent years restoring and modifying high-end coffee equipment, I’ve seen my fair share of clogged and dirty grinders. It’s a common myth that cleaning your coffee grinder burrs is a tedious and unnecessary task, but trust me, it’s a game-changer for your morning brew. By following a simple process to how to clean your coffee grinder burrs, you can unlock the full potential of your machine and enjoy a more flavorful cup of coffee.
In this article, I’ll share my expert advice on the importance of regular maintenance and provide a step-by-step guide on how to clean your coffee grinder burrs. You’ll learn how to diagnose common issues, choose the right cleaning tools, and get your grinder running like new again. My goal is to empower you with the knowledge and skills to take care of your equipment and appreciate the engineering that goes into it. By the end of this guide, you’ll be able to confidently clean your coffee grinder burrs and enjoy a better cup of coffee, every time.
Table of Contents
Guide Overview: What You'll Need
Total Time: 30 minutes to 1 hour
Estimated Cost: $0 – $10
Difficulty Level: Easy
Tools Required
- Small brush (for sweeping away grounds)
- Soft cloth (for wiping down burrs)
- Long-handled brush (for reaching deep into grinder)
Supplies & Materials
- Mild soap (or cleaning solution specifically designed for coffee equipment)
- Warm water (for mixing with soap)
- Rice or grinder cleaning tablets (optional, for deep cleaning)
Step-by-Step Instructions
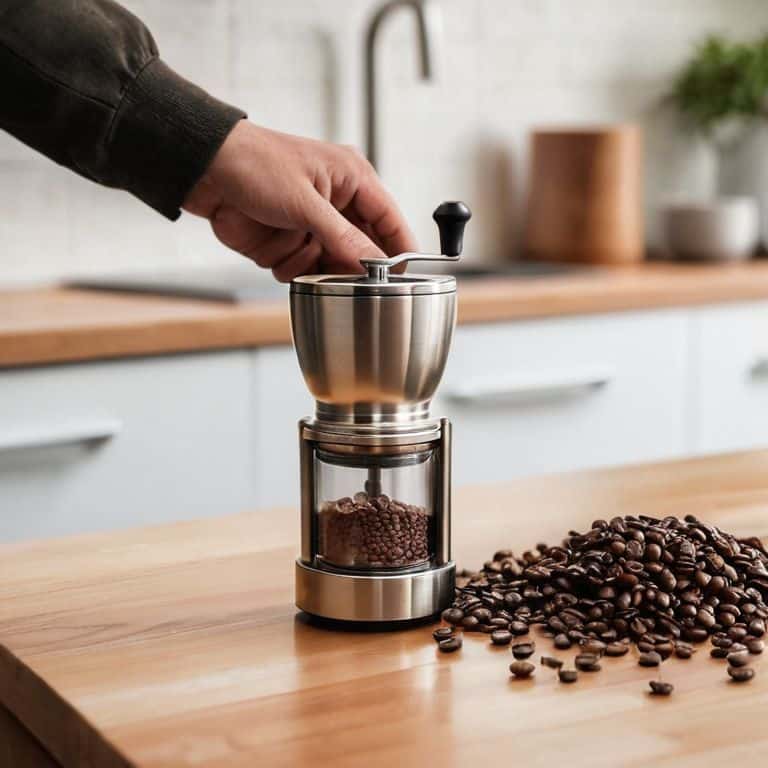
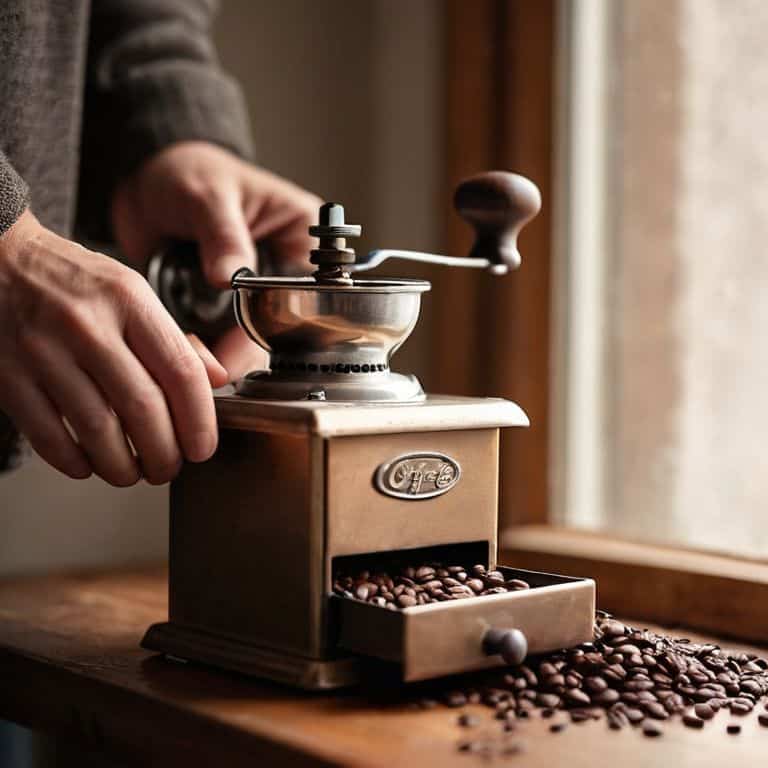
- 1. First, let’s get started by disassembling the grinder to access the burrs. This is a crucial step, as it will allow us to properly clean the burrs and remove any debris that may be affecting the grind. I like to use a soft-bristled brush to gently sweep away any loose coffee particles from the exterior of the grinder before diving in.
- 2. Next, locate the burr set and remove any retaining clips or screws that hold it in place. This may require a bit of finesse, as some grinders can be quite stubborn when it comes to accessing the burrs. Take your time, and be careful not to strip any screws or damage the surrounding components.
- 3. With the burr set exposed, use a small, dry paintbrush to gently sweep away any loose coffee particles or debris that may be accumulated on the burrs. This is an important step, as it will help prevent any clogging issues when we reassemble the grinder.
- 4. Now it’s time to get out the big guns – a can of compressed air. Spray the burrs and surrounding areas with short, gentle bursts of air to dislodge any remaining debris or old coffee oils. Be careful not to spray the can too closely, as this can push debris further into the grinder.
- 5. Using a damp cloth, carefully wipe down the burrs and surrounding areas to remove any remaining debris or residue. Avoid using any harsh chemicals or abrasive materials, as these can damage the burrs or other components.
- 6. With the burrs clean, it’s time to reassemble the grinder. Make sure all retaining clips or screws are securely tightened, but avoid over-tightening, as this can damage the burrs or surrounding components.
- 7. Finally, plug in the grinder and run a few test grinds to ensure everything is functioning properly. Listen for any unusual noises or vibrations, and make any necessary adjustments to the burrs or other components to get the grinder running smoothly.
Burr Ied Treasure

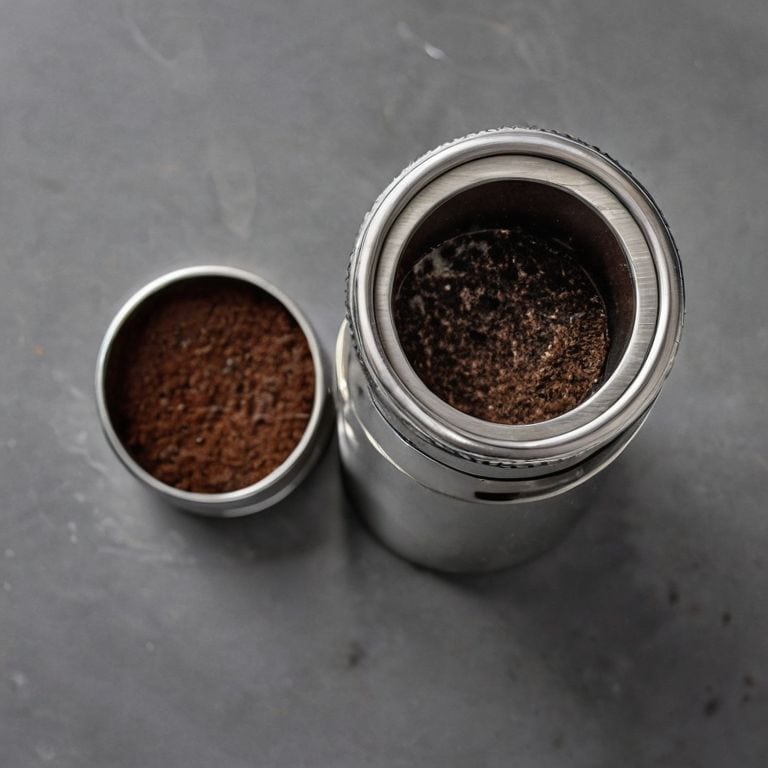
As I delve deeper into the world of coffee grinder maintenance, I’ve come to realize that regular cleaning is just the tip of the iceberg. To truly unlock your grinder’s full potential, you need to consider the nuances of coffee oil residue removal. This is where a good grinder brush comes into play, allowing you to gently sweep away any buildup that might be affecting the flavor of your brew.
In my experience, a well-maintained grinder is one that’s been descaled and cleaned with a gentle touch. I’ve seen many a grinder fall victim to corrosion, simply because its owner didn’t bother to remove lime scale and old coffee oils. By incorporating a grinder maintenance schedule into your daily routine, you can avoid such pitfalls and ensure your grinder continues to perform at its best.
When it comes to cleaning coffee grinder with water, I always advise caution. While a damp cloth can be useful for wiping down the exterior, it’s essential to avoid getting any electrical components wet. Instead, focus on using a soft-bristled grinder brush to sweep away any debris, and consider investing in a burrs cleaning solution to keep your grinder’s internal mechanisms in top condition. By taking these extra steps, you’ll be rewarded with a smoother grinding experience and a more consistent flavor in your coffee.
Burrs Cleaning Solutions Exposed
When it comes to cleaning solutions, I’ve seen my fair share of harsh chemicals and ineffective concoctions. As a technician, I always recommend a gentle touch. A mixture of equal parts water and white vinegar is my go-to for loosening old coffee oils and residue. For tougher grime, a small amount of baking soda can be added to create a paste, but be cautious not to scratch those beautiful burrs.
I’ve also experimented with specialized cleaning products, but I find that simple, food-safe ingredients work just as well, if not better. The key is to clean the burrs without damaging the metal or leaving behind any lingering flavors. By using natural, non-toxic cleaners, you can ensure your coffee tastes fresh and untainted. Trust me, your grinder – and your taste buds – will thank you.
Coffee Grinder Descale Secrets
As I delve deeper into the world of coffee grinders, I’ve come to realize that descaling is just as crucial as cleaning the burrs. You see, mineral buildup can wreak havoc on your grinder’s internal mechanisms, leading to inconsistent grinds and a shortened lifespan. I’ve seen it time and time again in my workshop – a beautifully crafted grinder, neglected and clogged with limescale.
To avoid this fate, I recommend descaling your grinder every 3-6 months, depending on usage. Use a mixture of water and white vinegar to dissolve the mineral deposits, and then rinse thoroughly. It’s a simple yet effective process that will keep your grinder running smoothly and ensure optimal performance. Trust me, your coffee will thank you for it.
Unleashing Your Grinder's Potential: 5 Key Tips
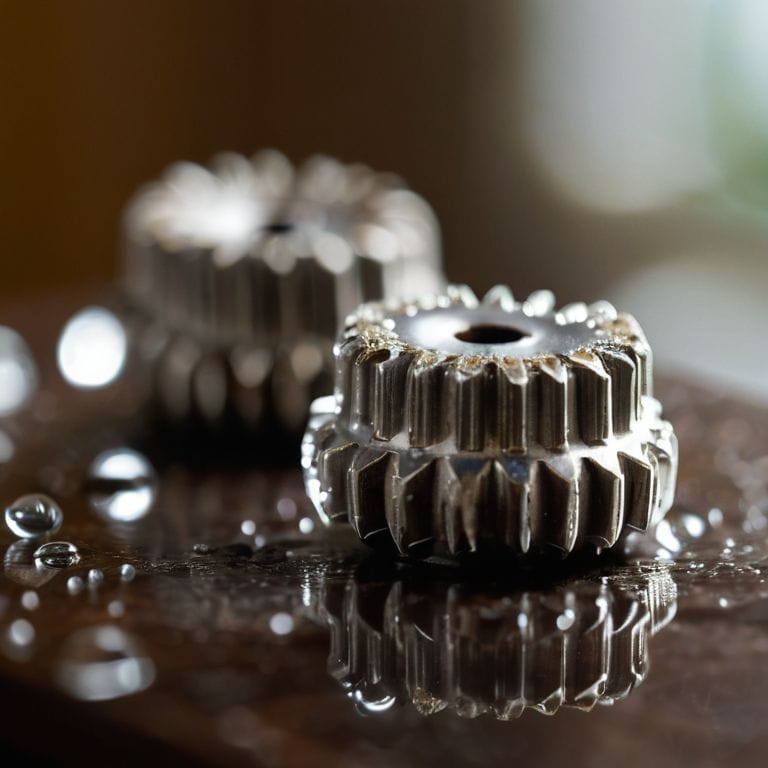
- Get familiar with your grinder’s anatomy – understanding how the burrs interact will help you clean them more effectively
- Use a soft-bristled brush to sweep away loose coffee particles before deep cleaning to prevent scratching the burrs
- Avoid using harsh chemicals or abrasive materials that can damage the burrs or other components, instead opt for a mixture of equal parts water and white vinegar
- Regularly cleaning your burrs will help prevent old coffee oils from building up and affecting the flavor of your brew, aim to clean them every 1-3 months depending on usage
- Take your time and be patient when cleaning the burrs, it’s a delicate process that requires attention to detail to ensure you’re not damaging any of the internal components
Key Takeaways for a Well-Maintained Grinder
Regular cleaning of coffee grinder burrs is crucial for optimal flavor and longevity, and it’s a process that requires patience and the right techniques to avoid damaging the machine
Avoid using harsh chemicals or abrasive materials that can strip away the burrs’ coating or damage the grinder’s internal mechanisms, instead opt for gentle cleaning solutions and soft brushes
By incorporating burr cleaning into your regular maintenance routine and being mindful of the materials and techniques used, you can significantly extend the life of your coffee grinder and ensure it continues to produce high-quality grounds for years to come
The Heart of the Grinder
Cleaning your coffee grinder burrs is not just a chore, it’s an act of liberation – freeing your equipment to unlock the full flavor potential of your favorite beans, and ensuring that every sip is a testament to the beauty of well-crafted machinery.
Simon Adler
The Art of Burr Maintenance: A Lasting Impression
As we’ve explored the world of coffee grinder burr cleaning, it’s clear that a well-maintained grinder is the backbone of any great coffee setup. From the initial steps of preparing your grinder for cleaning to the nitty-gritty of descaling and using the right cleaning solutions, each step plays a crucial role in ensuring your coffee tastes its best. By following these steps and making burr cleaning a regular part of your coffee routine, you’ll not only improve the flavor of your coffee but also extend the life of your grinder.
So, the next time you hear the smooth hum of your grinder or smell the aroma of freshly ground coffee, remember that it’s not just the coffee beans or the grinder itself that makes the experience special – it’s the attention to detail and care you put into maintaining your equipment. As someone who’s spent years restoring and modifying vintage and modern coffee equipment, I can tell you that there’s no substitute for the satisfaction of a job well done, and the perfect cup of coffee is just the beginning.
Frequently Asked Questions
What's the best method for cleaning coffee grinder burrs without damaging them?
For a gentle yet effective clean, I swear by a mixture of equal parts water and white vinegar. Soak the burrs for about an hour, then scrub them with a soft-bristled brush to remove any residue. Rinse thoroughly and dry with a soft cloth – your burrs will be singing again in no time!
How often should I clean my coffee grinder burrs for optimal performance?
For optimal performance, I recommend cleaning your coffee grinder burrs every 1-3 months, depending on usage. If you notice a decline in flavor or an increase in grind time, it’s likely time for a cleaning. Trust me, a quick scrub can work wonders – I’ve seen it breathe new life into countless grinders in my workshop.
Can I use the same cleaning solution for both steel and ceramic burrs in my coffee grinder?
While it’s tempting to use one solution for both, I advise against it. Ceramic burrs can be damaged by harsh chemicals, so it’s best to use a mild soap and water solution. Steel burrs, on the other hand, can handle a bit more aggression – I recommend a mix of equal parts water and white vinegar.