I still remember the first time I used an Aeropress – it was like a revelation, a perfect cup of coffee that actually tasted like it was made by a human, not a machine. This was my introduction to the world of _specialty coffee_, and I was hooked. As a certified Q Grader and National Barista Champion, I’ve had my fair share of experiences with various brewing methods, but there’s something about the Aeropress that draws me in. Perhaps it’s the simplicity, or the fact that it’s often overlooked in favor of more flashy devices. Whatever the reason, I’ve found myself coming back to it time and time again, and I believe it’s an essential tool for anyone looking to master the art of coffee brewing, especially with the help of a guide to the Aeropress.
As I delved deeper into the world of Aeropress brewing, I realized that there’s more to it than just _throwing some coffee grounds in a tube_. There’s a science to it, a delicate balance of variables that can make or break the perfect cup. In this article, I’ll be sharing my honest, no-hype advice on how to get the most out of your Aeropress, from choosing the right coffee beans to mastering the ideal brewing technique. Whether you’re a seasoned barista or a curious beginner, I promise that by the end of this _guide to the Aeropress_, you’ll be well on your way to brewing cafe-quality coffee in the comfort of your own home.
Table of Contents
Guide Overview: What You'll Need
Total Time: 30 minutes to 1 hour
Estimated Cost: $40 – $60
Difficulty Level: Easy
Tools Required
- Aeropress coffee maker The main device for brewing coffee
- Coffee grinder For grinding coffee beans to the correct consistency
- Scale For measuring coffee and water
- Kettle For heating water to the ideal temperature
- Coffee beans Fresh, high-quality beans for the best flavor
Supplies & Materials
- Filter papers For the Aeropress, if using the paper filter method
- Hot water Heated to between 195 degrees Fahrenheit and 205 degrees Fahrenheit
- Coffee stirrer or spoon For mixing the coffee and water
Step-by-Step Instructions
- 1. First, let’s start with the basics: to brew a perfect cup of coffee using the Aeropress, you need to understand the importance of water temperature. I always use water that’s between 195°F and 205°F, as this allows for the optimal extraction of flavors from the coffee grounds. Make sure your water is fresh and of good quality, as this will directly impact the taste of your coffee.
- 2. Next, measure out the right amount of coffee for your Aeropress. I recommend using about 17 grams of coffee for a standard brew, but feel free to experiment and find the ratio that works best for you. The key is to find a balance between strength and flavor, and this will take some trial and error to get just right.
- 3. Now it’s time to grind your coffee beans. I’m quite particular about my grind size, as it can make or break the flavor of the coffee. For the Aeropress, you’ll want a grind that’s slightly finer than sea salt, but still coarse enough to allow for good flow. If you’re new to grinding your own beans, don’t worry – it takes a bit of practice to get the hang of it.
- 4. With your coffee ground and your water heated, it’s time to assemble the Aeropress. Place a paper filter in the filter cap, and rinse it with a bit of hot water to remove any papery flavors that might affect your coffee. Then, add your ground coffee to the filter, and make sure it’s evenly distributed.
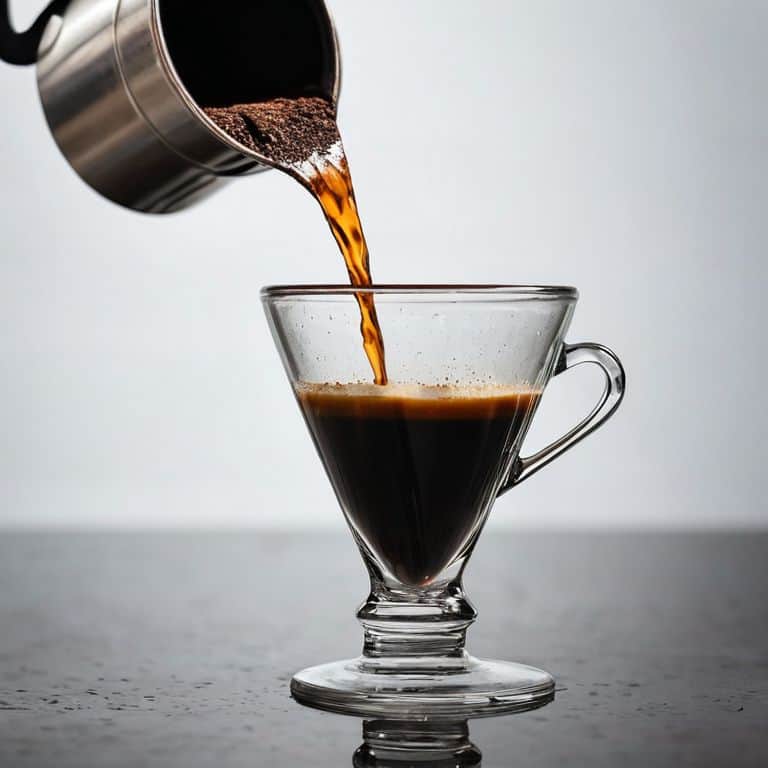
- 5. Next, slowly pour the heated water over the coffee grounds in the Aeropress. Make sure to pour in a circular motion, starting from the outside and working your way in. This helps to evenly saturate all of the grounds and ensures a consistent flavor.
- 6. Allow the coffee to steep for a full 2 minutes, as this will give the flavors a chance to fully develop. You can stir the mixture gently after about 1 minute to help the process along, but be careful not to over-stir, as this can lead to a bitter taste.
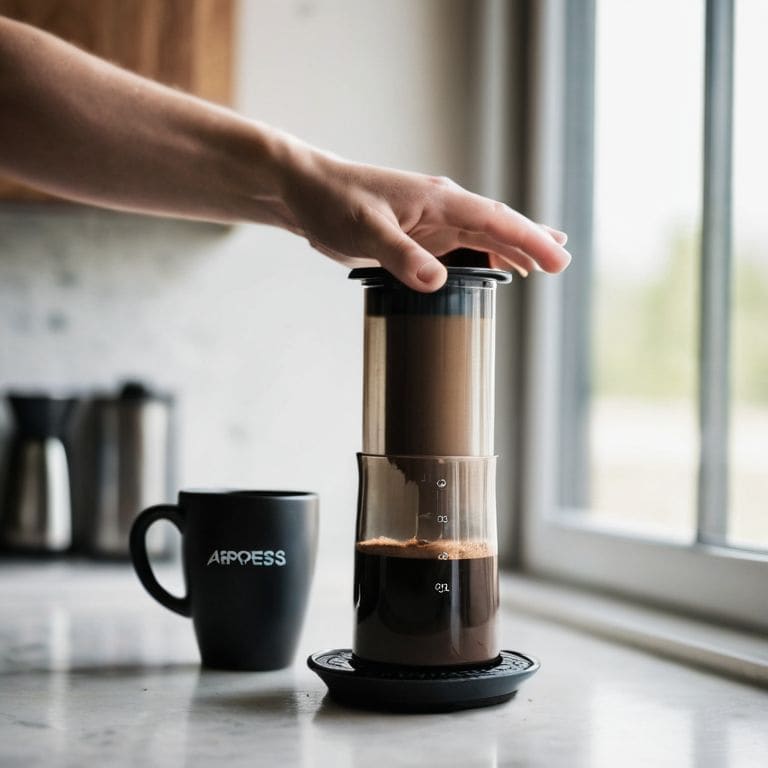
- 7. After the steeping process is complete, slowly press the plunger down to separate the grounds from the liquid. Be careful not to press too hard, as this can cause the coffee to become over-extracted and bitter. You’re aiming for a smooth, silky texture that’s a joy to drink.
- 8. Finally, pour the freshly brewed coffee into your cup and enjoy. Take a moment to appreciate the aroma and flavor of your hard work, and don’t be afraid to experiment with different roasts and brewing times to find your perfect cup. With a bit of practice and patience, you’ll be brewing like a pro in no time.
A Guide to the Aeropress
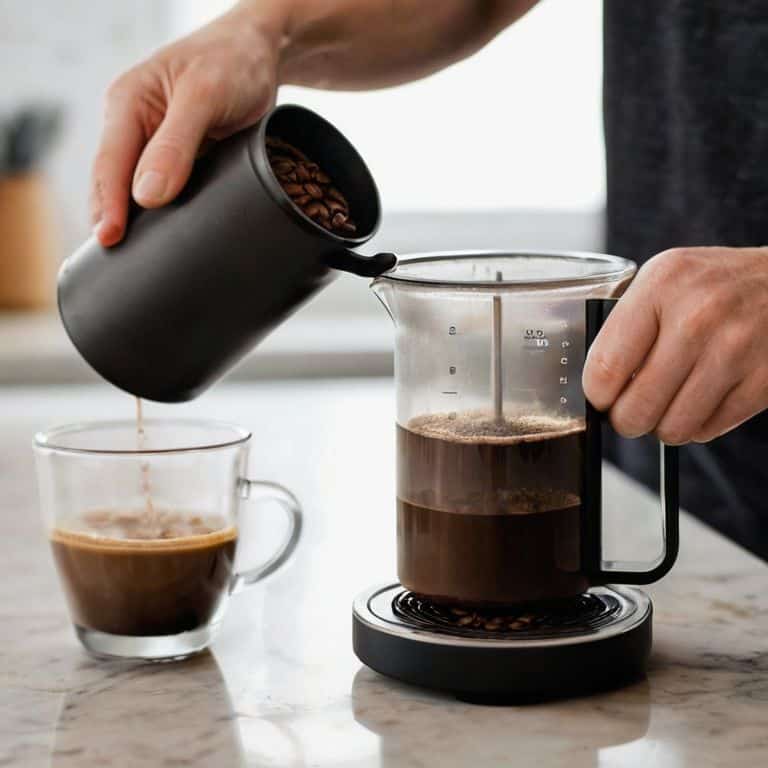
As I delve deeper into the world of Aeropress brewing, I’ve come to realize the importance of coffee to water ratio. It’s a delicate balance that can make or break the flavor of your brew. I’ve found that a ratio of 1:15 to 1:17 works best for me, but feel free to experiment and find your own sweet spot. The key is to understand how the ratio affects the extraction of your coffee, and to adjust accordingly.
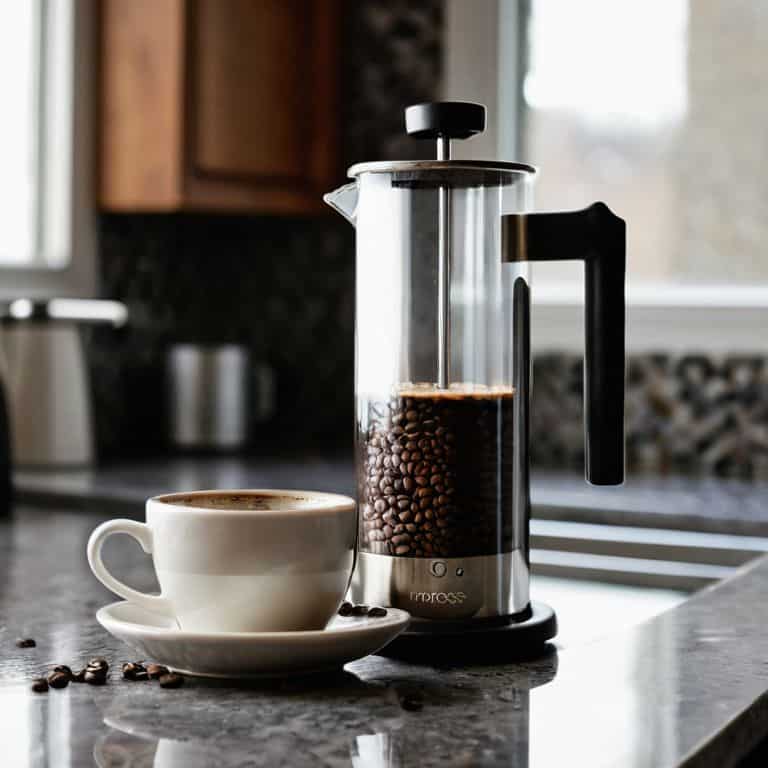
When comparing the Aeropress to other brewing methods, such as the French press, it’s clear that the Aeropress offers a cleaner and more nuanced cup. This is due in part to the aeropress brewing techniques that allow for a smoother extraction process. To get the most out of your Aeropress, be sure to invest in a good aeropress grind size guide, as the right grind can make all the difference in the world.
In terms of maintenance, it’s essential to regularly clean and descale your Aeropress to prevent any buildup of old coffee oils and minerals. This will not only ensure that your coffee tastes its best, but also prolong the life of your Aeropress. For those who like to take their Aeropress on the go, I recommend investing in a sturdy aeropress travel case to protect your investment.
Aeropress Brewing Techniques Revealed
As I delve deeper into the world of Aeropress, I’ve discovered a multitude of brewing techniques that can elevate your coffee game. From the traditional inverted method to the more experimental “dirty” or “clean” techniques, each approach yields a unique flavor profile. I’ve found that the key to mastering these techniques lies in understanding the intricacies of water temperature, coffee-to-water ratio, and steeping time.
By experimenting with different brewing techniques, I’ve been able to coax out an astonishing range of flavors from my Aeropress. The inverted method, for instance, produces a smooth and full-bodied cup, while the “dirty” technique yields a brighter, more acidic flavor. As I continue to explore the possibilities of Aeropress brewing, I’m excited to share my findings with fellow coffee enthusiasts and help them unlock the full potential of this incredible brewing device.
Coffee to Water Ratio Demystified
To unlock the full potential of your Aeropress, it’s crucial to grasp the concept of coffee to water ratio. I’ve found that a ratio of 1:15 to 1:17 works beautifully, allowing the nuances of the coffee to shine. This means for every 1 gram of coffee, you’ll want to use 15-17 grams of water. By experimenting within this range, you’ll be able to tailor the flavor to your liking.
When I’m brewing, I aim for a ratio of 1:16, which yields a perfectly balanced cup. Remember, the key is to find the sweet spot that brings out the best in your coffee beans. Don’t be afraid to adjust and fine-tune – it’s all part of the brewing journey.
Elevating Your Aeropress Game: 5 Expert Tips
- Mastering the Coffee to Water Ratio: Aiming for a 1:15 to 1:17 ratio is crucial, but don’t be afraid to experiment and find your perfect balance
- Grind Size Matters: Adjust your grinder to a medium-fine setting for the optimal Aeropress brew, and remember, the key is consistency
- Temperature Control is Key: Use water between 93°C and 96°C for the best extraction, and consider investing in a thermometer for precise control
- Stir, Steep, and Squeeze with Precision: After adding water, stir the mixture for about 10 seconds, steep for 1-2 minutes, and then slowly squeeze the plunger to avoid introducing air into the brew
- Cleanliness is Next to Coffee-Liness: Regularly clean and descale your Aeropress to prevent any buildup of old coffee oils and minerals, ensuring each brew tastes as fresh as the first
Key Takeaways for Mastering the Aeropress
I’ve found that the perfect coffee to water ratio is crucial, and it’s all about finding that sweet spot where every flavor note is balanced and pronounced, which for me is around 1:15 to 1:17
Experimenting with different grind sizes and temperatures can elevate your Aeropress game, but remember, the key is precision – small changes can make a huge difference in the final cup
The real magic happens when you combine the right technique with a deep understanding of your equipment and ingredients; it’s a journey, not a destination, and one that requires patience, practice, and a willingness to tweak and refine your approach
The Aeropress Epiphany
The Aeropress is not just a brewing device, it’s a gateway to understanding the harmony of coffee and water – once you grasp its subtleties, every sip becomes a journey of discovery.
Julian Vale
Mastering the Aeropress: A Journey to Perfection

As we conclude this guide to the Aeropress, let’s recap the key elements that will elevate your brewing game. From understanding the ideal coffee to water ratio to mastering the art of pouring, every step is crucial in achieving that perfect cup. Remember, it’s all about finding the balance that suits your taste preferences. Experiment with different grind sizes, temperatures, and steeping times to unlock the full potential of your Aeropress. By doing so, you’ll be well on your way to becoming an Aeropress aficionado, capable of crafting exceptional cups that rival those of professional baristas.
Now, as you embark on this brewing journey, keep in mind that the pursuit of the perfect shot is a lifelong passion. It’s about the quest for excellence in every detail, from the beans you choose to the water you use. Don’t be afraid to try new things and push the boundaries of what’s possible with your Aeropress. With patience, practice, and a willingness to learn, you’ll find that the art of brewing coffee becomes a meditative experience, one that brings you joy, satisfaction, and a deeper appreciation for the simple pleasures in life. So, go ahead, take the first sip, and let the journey begin.
Frequently Asked Questions
What is the ideal water temperature for brewing with an Aeropress?
For me, the ideal water temperature for Aeropress brewing is between 93°C and 96°C. I’ve found that this range brings out the optimal balance of flavors and oils from the coffee. Any higher, and you risk burning your beans; any lower, and you’ll miss out on the full extraction.
How does the grind size of the coffee affect the flavor and body of the brew?
Grind size is crucial – too fine and it’s over-extracted, too coarse and it’s under-extracted. I aim for a medium-coarse grind, around 1.2-1.4 mm, to balance flavor and body. This allows for the perfect balance of oils and solids to dissolve, resulting in a rich, full-bodied brew with nuanced flavors.
Can I use the Aeropress to make other types of coffee drinks, such as lattes or cappuccinos?
While the Aeropress shines with pour-overs and Americanos, it can also be a great tool for making lattes and cappuccinos. I like to use it to create a rich, concentrated shot, then top it with steamed milk for a delicious latte. Experiment with ratios and textures to find your perfect cup.