I still remember the first time I managed to pull a perfect espresso shot. It was like a revelation – the flavors danced on my palate, and I knew I had unlocked the secret to creating something truly special. But, let’s get one thing straight – a perfect espresso shot doesn’t happen by chance, it’s the result of precision, patience, and a bit of obsession. I’ve spent years perfecting my craft, and I’m often frustrated by the common myths surrounding how to pull a perfect espresso shot. Many believe it’s just a matter of throwing some coffee grounds in a machine and hoping for the best, but I’m here to tell you that’s just not true.
In this article, I’ll share my honest, no-hype advice on how to pull a perfect espresso shot. You’ll learn the essential techniques and practical tips required to create a truly exceptional espresso experience. I’ll guide you through the process, from selecting the right coffee beans to adjusting the grind size and water temperature. By the end of this guide, you’ll be equipped with the knowledge and skills to create cafe-quality espresso shots in the comfort of your own home. So, if you’re ready to take your coffee game to the next level and pull a perfect espresso shot, let’s get started on this journey together.
Table of Contents
Guide Overview: What You'll Need
Total Time: 20 minutes
Estimated Cost: $100 – $200
Difficulty Level: Intermediate
Tools Required
- Espresso Machine (semi-automatic or automatic)
- Coffee Grinder (burr grinder preferred)
- Tamper (flat and rounded)
- Scale (accurate to 0.1 ounces)
- Thermometer (for optimal brewing temperature)
Supplies & Materials
- High-Quality Coffee Beans (freshly roasted and ground)
- Water Filter (for optimal water quality)
- Espresso Machine Cleaning Solution (for regular maintenance)
Step-by-Step Instructions
- 1. First, let’s start with the fundamentals of espresso: to pull a perfect shot, you need to understand that it’s all about the balance of flavor and crema. This means selecting the right coffee beans, which I preferably source from reputable roasters who can provide me with the highest quality, unique, and distinct flavor profiles. I’m particularly fond of using beans from Ethiopian or Kenyan farms, as they offer a bright acidity and a fruity flavor profile that I find intriguing.
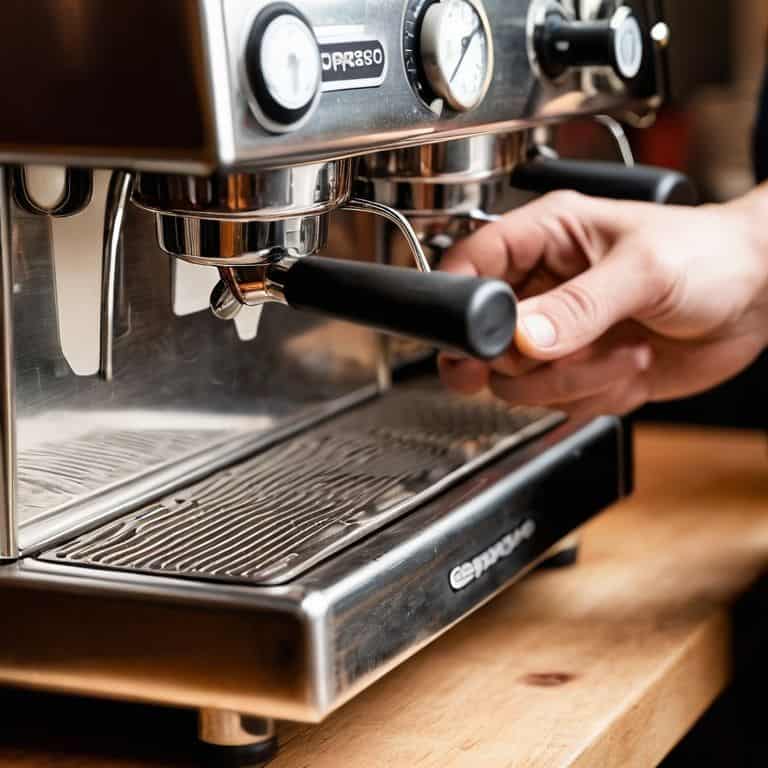
- 2. Next, you’ll need to prepare your equipment, and for me, that means ensuring my vintage espresso machine is in top condition. I’ve spent countless hours calibrating the temperature to the exact degree, as this is crucial for extracting the perfect shot. The ideal temperature for espresso extraction is between 195°F and 205°F, and I aim for a precise 198°F to bring out the optimal flavor in my coffee beans.
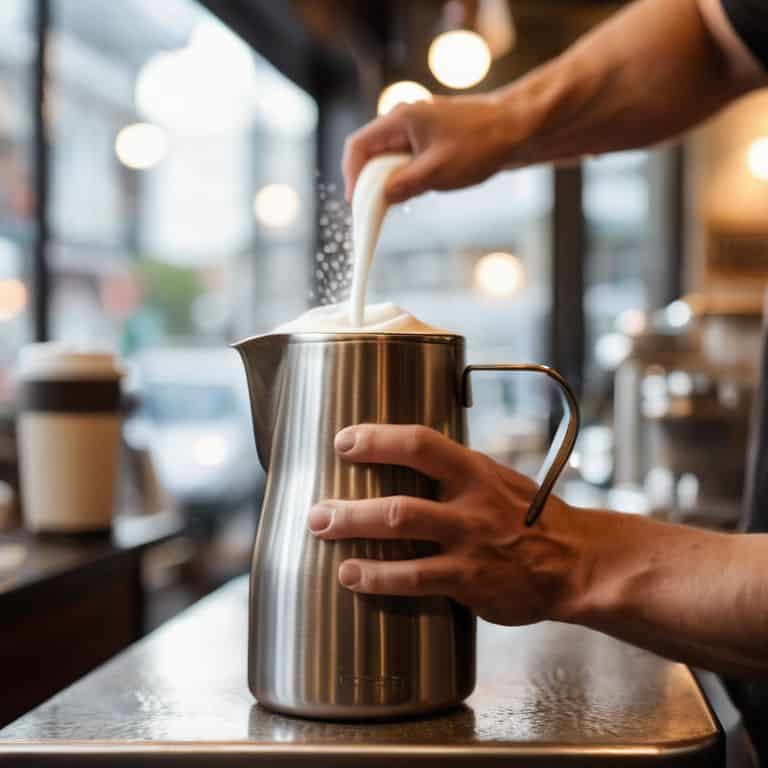
- 3. Now, it’s time to measure out the coffee, and I’m extremely particular about this step. I use a scale to measure out exactly 17-18 grams of coffee for a double shot, as this allows for the perfect balance of flavor and crema. I find that using a burr grinder is essential, as it produces a consistent grind that’s vital for even extraction.
- 4. With my coffee measured and ground, I can now distribute and tamp the grounds in the portafilter. This is a critical step, as it ensures that the water flows evenly through the coffee, extracting the optimal amount of flavor and oils. I use a distribution tool to evenly spread the grounds, followed by a tamp to compress them to the perfect density.
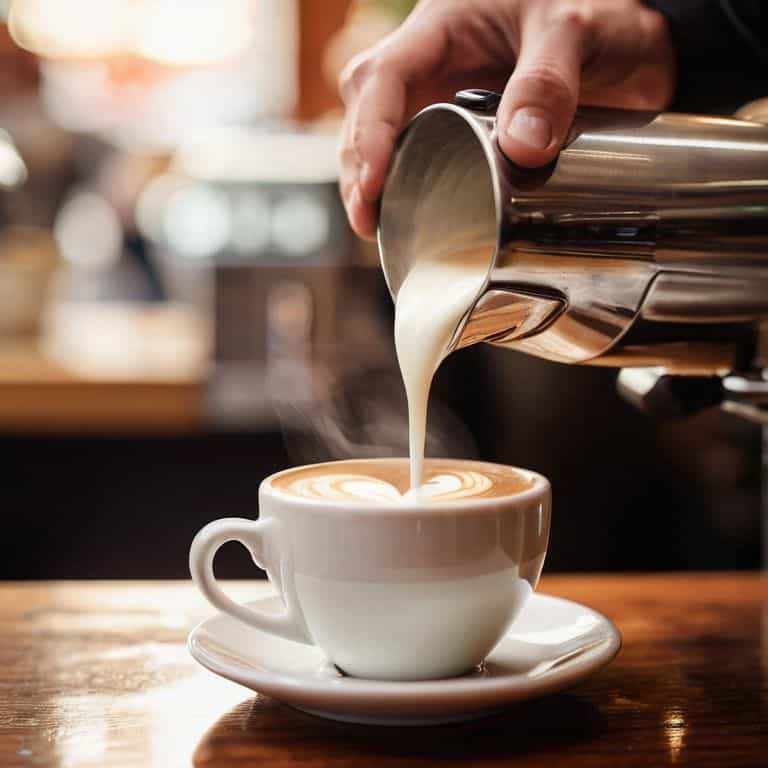
- 5. After tamping, I attach the portafilter to the machine and place a demitasse cup under the spout. I’m meticulous about the cup, as it needs to be clean and free of any residual flavors that might affect the taste of the espresso. I also make sure the cup is at room temperature, as this helps to preserve the delicate flavors and aromas of the coffee.
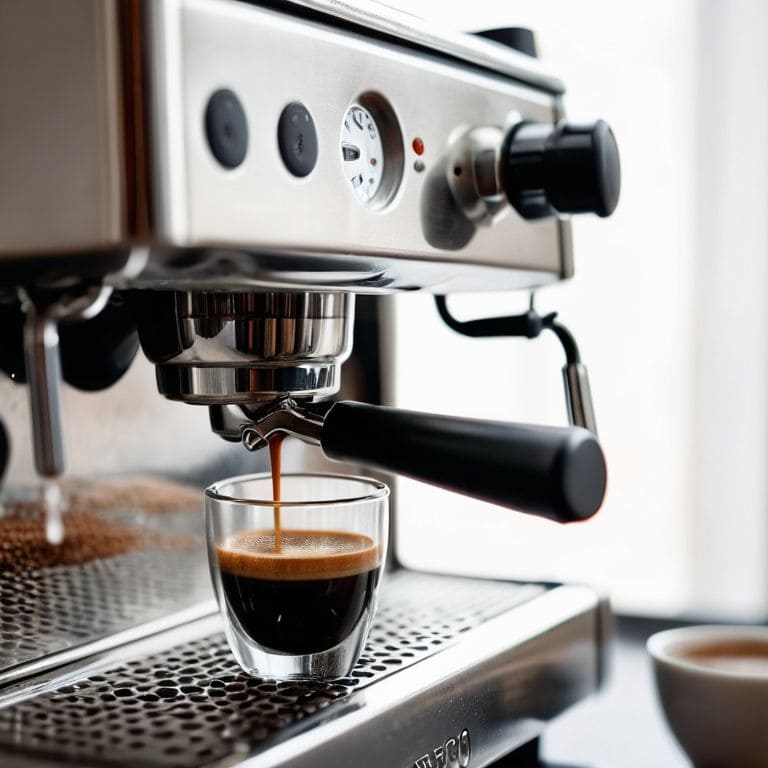
- 6. With everything in place, I can now initiate the brewing process. I carefully monitor the shot as it pours, looking for that perfect balance of flavor and crema. The shot should take around 20-30 seconds to pour, and I’m watching for a rich, thick crema that’s indicative of a perfectly extracted shot.
- 7. Finally, I evaluate the shot and make any necessary adjustments for the next pull. This is where the art of espresso-making comes in, as it’s not just about following a recipe, but about understanding the nuances of the coffee and the machine. I take a sip, savoring the flavors and aromas, and make note of any adjustments I need to make to the grind, tamp, or temperature to achieve that perfect shot.
Unlock Perfect Espresso

To truly unlock perfect espresso, it’s essential to understand the nuances of your equipment. Espresso machine calibration is a crucial step that often gets overlooked, but it can make all the difference in the flavor and quality of your shots. I’ve spent countless hours fine-tuning my machine to ensure that every shot is extracted to perfection.
When it comes to the coffee itself, coffee bean roast levels play a significant role in the final product. I’ve found that a medium to dark roast works best for espresso, as it provides a rich and full-bodied flavor. However, the key is to find the perfect balance, as a roast that’s too dark can become overpowering. Grind size distribution is also critical, as it affects the flow of water through the coffee and ultimately impacts the extraction.
To take your espresso game to the next level, focus on tamping techniques for espresso. A well-tamped shot can make all the difference in the world, allowing for an even extraction and a smoother flavor. By mastering these techniques and paying attention to the details, you’ll be well on your way to creating cafe-quality espresso shots that will impress even the most discerning palates.
Calibrating Espresso Machines
To truly unlock perfect espresso, you need to calibrate your machine. This means adjusting the grind, tamping, and brewing time to suit your specific equipment. I’m meticulous about this step, as it can make or break the flavor of your shot. For instance, if your machine is running too hot, you’ll end up with a bitter shot – and trust me, I’ve been there.
I recommend checking your machine’s temperature gauge and adjusting the brewing time accordingly. A good rule of thumb is to aim for a temperature between 195°F and 205°F. By fine-tuning these parameters, you’ll be able to coax the optimal flavor out of your beans and get closer to that elusive ‘god shot’.
Mastering Grind Size Distribution
To truly unlock perfect espresso, I obsess over grind size distribution. It’s the foundation upon which every great shot is built. I’m talking about a grind that’s so precise, it’s almost surgical. You want a distribution that’s consistent, with particles that are neither too fine nor too coarse. Anything less, and you’re inviting channeling and inconsistency into your cup.
I spend hours experimenting with different grind settings, testing and retesting to find that sweet spot. For me, it’s all about feel and sound – the way the grinder purrs, the soft whoosh of beans being pulverized into perfection. When I get it just right, the entire brewing process comes alive, and that’s when the magic happens.
Precision Matters: 5 Key Tips to Unlock the Perfect Espresso Shot
- Precise temperature control is crucial, aim for a temperature between 195°F and 205°F for optimal extraction
- Grind size distribution is an art, experiment with micro-adjustments to find the sweet spot for your machine and beans
- Tamper with conviction, a consistent 30 pounds of pressure is essential for an even extraction
- Monitor your shot time, a perfect espresso should take between 20-30 seconds to pour, any longer or shorter and you risk over or under-extraction
- Respect the coffee-to-water ratio, a standard 1:2 to 1:3 ratio is a good starting point, but be prepared to adjust based on the unique characteristics of your coffee beans
Key Takeaways for Pulling the Perfect Espresso Shot
Precision is key: investing time in calibrating your espresso machine and mastering grind size distribution is crucial for achieving a perfect shot
Water quality and temperature play a significant role in extraction, with ideal temperatures ranging between 195°F and 205°F and a balanced mineral content for optimal flavor
Practice and patience are essential: pulling the perfect shot is a skill that requires dedication and a willingness to experiment and adjust parameters until you achieve the coveted ‘god shot’
The Pursuit of Perfection
A perfect espresso shot is not just a drink, it’s a symphony of flavors, a harmony of textures, and a testament to the human spirit’s capacity for obsession and perfection – every shot is a journey, not a destination.
Julian Vale
The Perfect Shot: A Conclusion
As we’ve explored the nuances of pulling a perfect espresso shot, it’s clear that precision is key. From calibrating your espresso machine to mastering grind size distribution, every step requires attention to detail and a willingness to experiment. By following the steps outlined in this guide, you’ll be well on your way to unlocking the secrets of the perfect shot. Remember, it’s all about finding that delicate balance between flavor and technique, and with practice, you’ll be able to taste the difference in every cup.
So, as you continue on your journey to coffee mastery, I encourage you to stay curious, keep experimenting, and always strive for perfection in every shot. The pursuit of the perfect espresso is a lifelong passion, and one that requires dedication, patience, and a willingness to learn. With time and practice, you’ll be able to pull shots that rival those of the world’s top cafes, and the perfect cup will be within your reach.
Frequently Asked Questions
What's the ideal water temperature for pulling a perfect espresso shot?
For me, the ideal water temperature is between 195°F and 205°F. I’m meticulous about this, as it affects extraction. Any higher, and you’ll burn your beans; any lower, and you’ll under-extract. I aim for 198°F to 202°F, the sweet spot for a balanced shot.
How do I adjust the grind size distribution to suit different coffee beans?
To adjust grind size distribution, I recommend using a grind distribution chart specific to your espresso machine and beans. For example, a lighter roast may require a slightly finer grind, while a darker roast needs a coarser one. Experiment with micro-adjustments, tasting as you go, to find the sweet spot that brings out the unique characteristics of each bean.
Can I achieve a perfect espresso shot with a semi-automatic machine, or do I need a manual or automatic one?
With a semi-automatic machine, you’re absolutely capable of pulling a perfect espresso shot. In fact, I won the national Barista Championship using a semi-auto. It’s all about mastering the variables: grind size, tamp, and brewing time. Don’t be fooled, it’s not the machine, it’s the barista – you can achieve perfection with practice and a keen eye for detail.