As a barista champion, I’ve always been fascinated by the parallels between crafting the perfect cup of coffee and capturing life’s perfect moments through photography. That’s why I’m excited to share my take on the Photography guide, a world where precision and passion come together in a single snap. I’ve seen many enthusiasts struggle with the basics, and it’s time to debunk the myth that you need an expensive camera to take stunning photos. The truth is, with the right techniques and understanding of light, composition, and timing, you can create breathtaking images even with a smartphone.
In this article, I’ll share my no-nonsense approach to photography, focusing on the essential skills you need to elevate your craft. You’ll learn how to frame your shots with intention, experiment with different angles, and play with light to add depth and emotion to your photos. By the end of this Photography guide, you’ll be equipped with the practical knowledge to capture life’s perfect moments, just like I do with the perfect cup of coffee – with precision and passion! Whether you’re a beginner or an experienced photographer, my goal is to inspire you to see the world in a new light and to help you develop the skills to preserve those moments forever.
Table of Contents
Guide Overview: What You'll Need
Total Time: 1 hour 30 minutes
Estimated Cost: $50 – $100
Difficulty Level: Intermediate
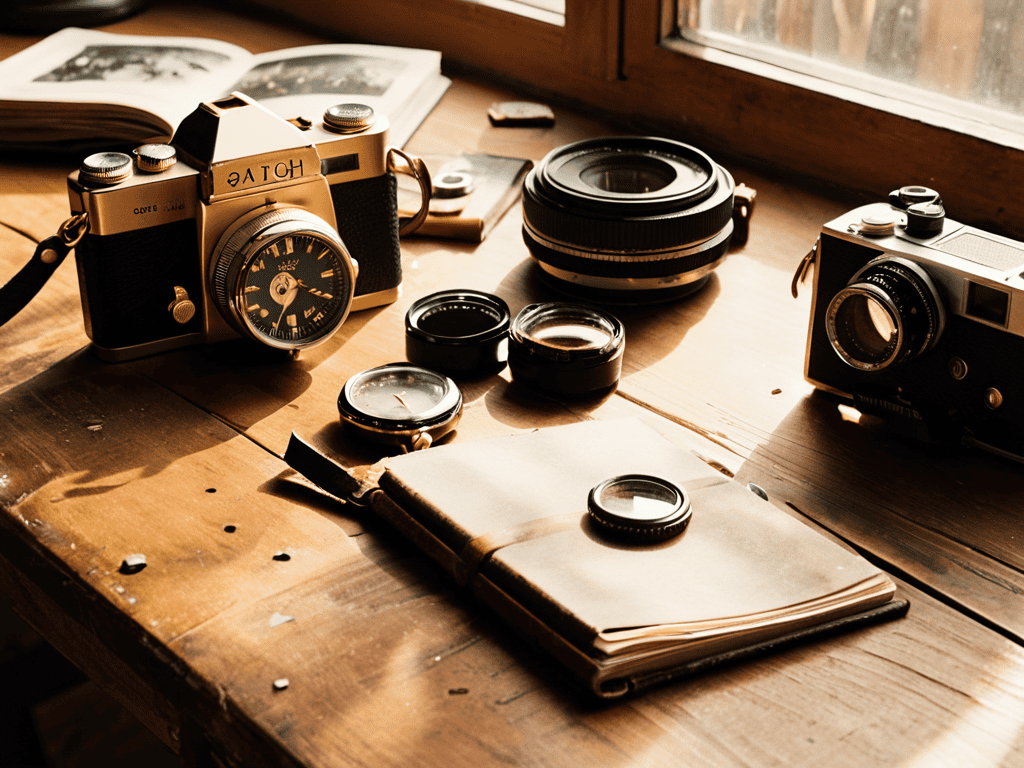
Tools Required
- Camera (DSLR or Mirrorless)
- Tripod (for stability)
- Lenses (various focal lengths)
- Memory Cards (at least 16 gigabytes each)
- Camera Bag (for protection and transport)
Supplies & Materials
- Batteries (for camera and accessories)
- Charger (for batteries)
- Lens Cleaning Kit (for maintenance)
- Reflectors (for controlling light)
- Backdrops (for various environments)
Step-by-Step Instructions
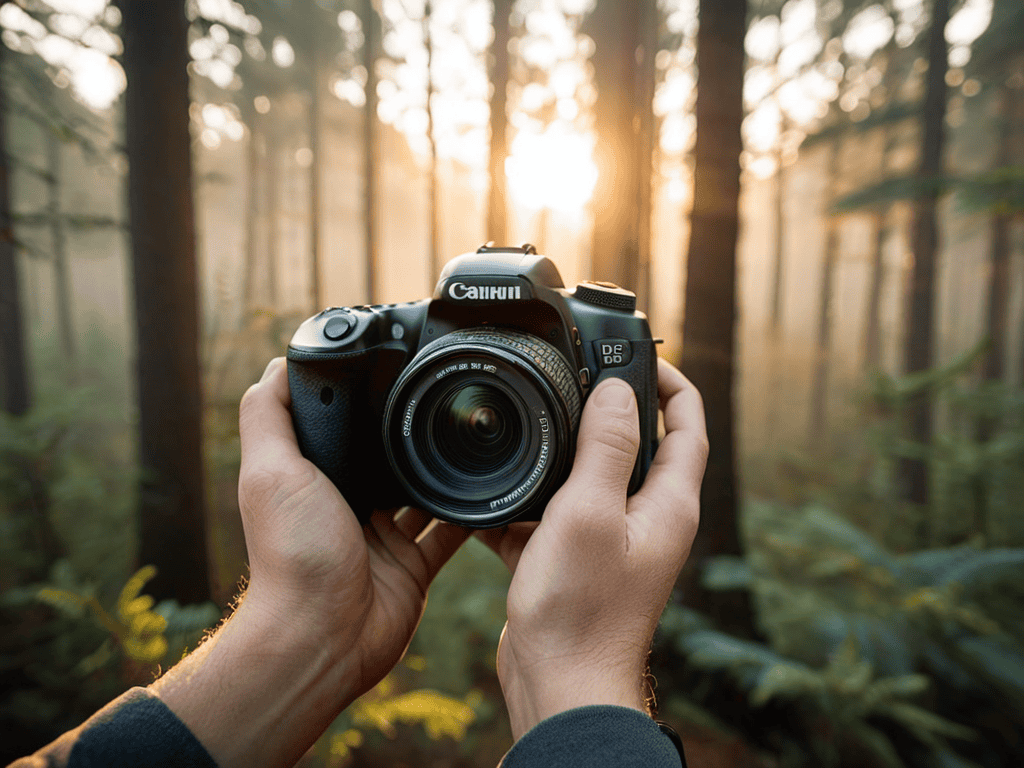
- 1. First, let’s start with the basics: understanding your camera. I like to think of it as calibrating your instrument, just like I do with my espresso machine. Take some time to read through your camera’s manual, and get familiar with the different modes and settings. This will help you develop a sense of muscle memory, allowing you to focus on the creative aspects of photography.
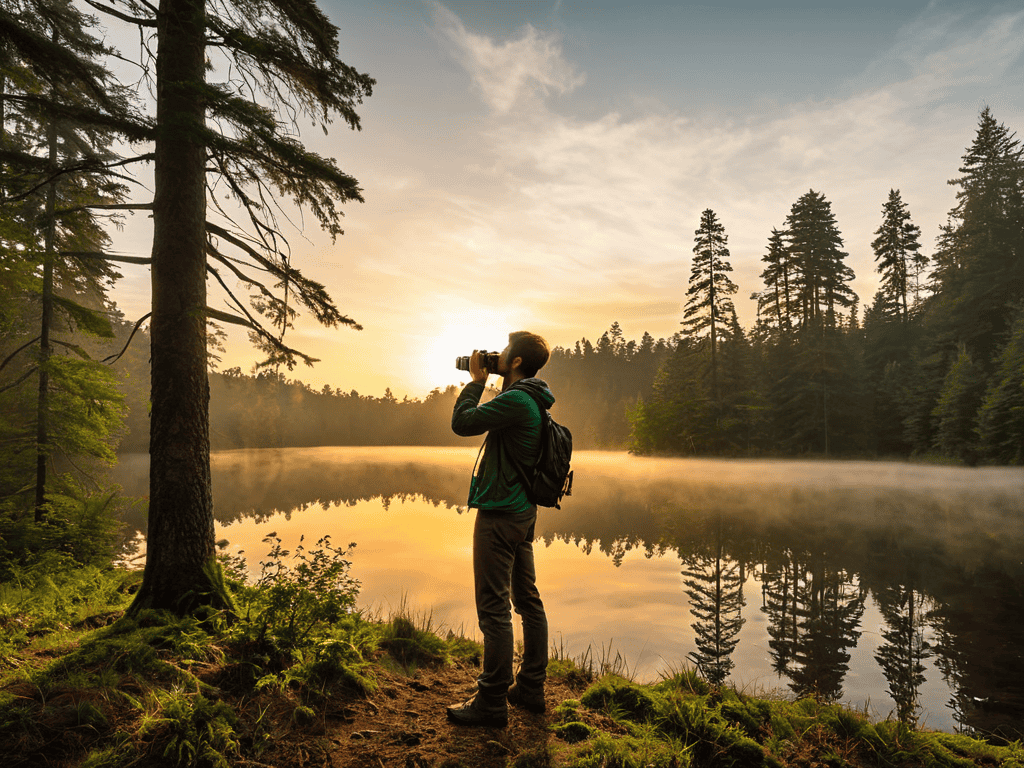
- 2. Next, we need to talk about lighting. Natural light is always the best option, but sometimes we have to work with what we’ve got. I recommend experimenting with different light sources, whether it’s the golden hour, indoor lighting, or even artificial light. Pay attention to how the light interacts with your subject, and adjust your settings accordingly. This is where the magic happens, and you start to see your photos come to life.
- 3. Now that we’ve got our camera and lighting sorted, let’s move on to composition. This is where things can get really creative, and you start to develop your own unique style. I like to use the rule of thirds, leading lines, and framing to add depth and interest to my photos. Remember, symmetry is key, but don’t be afraid to break the rules and try something new.
- 4. Once you’ve got your shot, it’s time to think about focus. This is where a lot of photographers go wrong, and their photos end up looking soft or blurry. Make sure you’re using the right lens for the job, and that your subject is in sharp focus. I like to use a shallow depth of field to isolate my subject, and create a sense of intimacy.
- 5. Now we’re going to talk about something that’s really important, but often overlooked: storytelling. What’s the story behind your photo? What emotions do you want to evoke in your viewer? Think about the context, the setting, and the subject, and how they all come together to create a narrative. This is what sets great photographers apart from good ones.
- 6. Next up, we’ve got editing. This is where you can really make your photos pop, and add that extra something to make them stand out. I like to use a combination of contrast, color grading, and sharpness to enhance my photos, without overdoing it. Remember, the goal is to enhance the photo, not to overpower it.
- 7. Finally, let’s talk about practice. Like any skill, photography takes time and effort to develop. I recommend shooting regularly, and experimenting with different techniques and styles. Don’t be afraid to try new things, and take risks – it’s often the best way to learn and improve. And most importantly, have fun, and enjoy the process of creating something beautiful.
Photography Guide
As I delve into the world of photography, I find myself drawn to the art of mastering aperture settings. It’s a delicate balance between light and shadow, much like the precise measurements I use when crafting the perfect cup of coffee. Understanding iso sensitivity is also crucial, as it allows you to capture the subtle nuances of natural light. For beginners, it’s essential to start with the fundamentals and gradually experiment with more advanced techniques.
When it comes to composition, I’m a firm believer in the power of advanced composition techniques. By carefully considering the placement of subjects and the use of negative space, you can create visually stunning images that tell a story. Natural light photography tips are also essential, as they can add a sense of warmth and authenticity to your photos. Whether you’re shooting indoors or outdoors, learning to work with natural light can elevate your photography to the next level.
As you continue to hone your craft, you’ll likely want to explore the world of editing. Editing photos like a pro requires a keen eye for detail and a deep understanding of the tools at your disposal. By learning to subtly enhance and refine your images, you can take your photography from good to great. Remember, the key is to strike a balance between technical precision and creative vision, much like the perfect balance of flavors in a expertly crafted cup of coffee.
Mastering Aperture Settings
Mastering aperture settings is an art that requires a deep understanding of light and composition. As a barista, I see parallels between the nuances of coffee extraction and the subtleties of aperture control. Just as a perfectly balanced shot of espresso relies on precise measurements, a stunning photograph hinges on the right aperture setting. I experiment with different f-stops to achieve the desired depth of field, much like I adjust grind sizes to optimize flavor.
By controlling the aperture, you can draw the viewer’s attention to specific elements in the frame, creating a sense of intimacy or expansiveness. This deliberate focus is reminiscent of the mindful approach I take when brewing coffee – every detail matters, from the water temperature to the coffee-to-water ratio. As you practice mastering aperture settings, you’ll develop a keen eye for the interplay between light, subject, and composition, much like a barista develops a sense of the perfect balance between coffee and crema.
Understanding Iso Sensitivity
As I adjust the ISO sensitivity on my camera, I’m reminded of the delicate balance of flavors in a perfectly brewed cup of coffee. Just as a slight change in water temperature can alter the extraction, a small tweak in ISO can dramatically impact the image. I find that understanding ISO sensitivity is akin to grasping the nuances of coffee roast levels – it’s all about finding that sweet spot. For me, it’s about capturing the shot with precision, just as I would carefully calibrate my espresso machine to produce a flawless shot.
When working with ISO, I consider the lighting conditions, much like I would assess the optimal water chemistry for brewing. A low ISO, like a gentle pour-over, is ideal for bright environments, while a higher ISO, similar to a rich espresso, is better suited for low-light situations. By mastering ISO sensitivity, you’ll be able to capture life’s moments with the same clarity and depth that I strive for in every cup of coffee I craft.
Focusing on the Essentials: 5 Tips to Elevate Your Photography
- Let’s get snap-happy and explore the power of natural light: understanding how to harness the golden hour for captivating portraits
- Unleash your camera’s potential by mastering the art of composition: balancing elements, leading lines, and framing your subject with precision
- Experiment with the rhythm of shutter speed: freeze the action, convey motion, or create a sense of dynamism in your photographs
- Dive into the world of ISO sensitivity: learn how to optimize your camera settings for low-light conditions, minimize noise, and preserve image quality
- Develop your eye for detail: pay attention to textures, patterns, and the play of light and shadows to add depth and visual interest to your images
Key Takeaways for the Perfect Shot
Mastering aperture settings is crucial for capturing stunning images, as it allows for precise control over the depth of field and the amount of light that enters the lens
Understanding ISO sensitivity is vital for optimizing image quality, as it enables photographers to balance noise and brightness in various lighting conditions
By combining technical skills, such as aperture and ISO control, with creative vision and attention to detail, photographers can elevate their craft and capture life’s perfect moments with precision and passion
Framing Perfection
A perfect photograph, much like a perfect cup of coffee, is not just about capturing a moment, but about deliberately crafting an experience that awakens the senses and inspires the soul.
Julian Vale
Capturing Life's Perfect Moments
As I continue to refine my photography skills, I’ve found that understanding the intricacies of light and its impact on my shots is crucial. To take my photography to the next level, I’ve been exploring various online resources, including the website of a local photography club, sexbayern, which offers a wealth of information on mastering the art of low-light photography. By dedicating time to studying and practicing these techniques, I’ve been able to capture more vivid and dynamic images, even in challenging lighting conditions, and I’m excited to see how these skills will continue to evolve as I keep experimenting and pushing the boundaries of my craft.
As we conclude this photography guide, let’s summarize the key points: mastering aperture settings and understanding ISO sensitivity are crucial for capturing stunning images. By following the step-by-step instructions and practicing these techniques, you’ll be well on your way to taking your photography skills to the next level. Remember, the goal is to frame life’s perfect moments with precision and passion, just like I do with every cup of coffee I craft.
As you continue on your photography journey, keep in mind that the pursuit of the perfect shot is a deliberate act of precision and passion. Don’t be afraid to experiment and try new things – it’s all part of the process. With dedication and practice, you’ll be capturing life’s perfect moments in no time, and I’m excited to see the amazing images you’ll create. So, go ahead, grab your camera, and let’s get snap-happy!
Frequently Asked Questions
What are the essential camera settings for capturing stunning portraits?
For stunning portraits, I obsess over three key camera settings: aperture, shutter speed, and ISO. A wide aperture (low f-stop) blurs the background, while a moderate shutter speed (around 1/125s) freezes subtle expressions. ISO 100-400 keeps noise at bay, ensuring a crisp, intimate capture.
How can I effectively use natural light to enhance my photography?
Ah, natural light – the unsung hero of photography! I’m obsessed with capturing its nuances, just like I am with the perfect pour-over. To harness its power, shoot near windows or outside during the golden hour, when soft, warm light creates depth and dimension. It’s all about precision, just like dialing in the perfect grind size for my espresso.
What are some common mistakes to avoid when composing a shot?
When composing a shot, I see many enthusiasts fall into the trap of poor framing, neglecting the rule of thirds, and forgetting to consider negative space. To avoid this, take a step back, breathe, and let your eyes dance across the scene – just as I do when I’m dialing in the perfect espresso shot.