Ever spent three hours in the freezing dark, shivering through a sub-zero night, only to pull your data and realize those massive, distracting light streaks have completely murdered your star clarity? It’s infuriating. You’ve got the perfect framing and the ideal exposure time, but those jagged lines cutting through your nebula make the whole shot look amateur. I’ve been there, staring at a monitor in a heated cabin, feeling that specific sting of wasted effort because my diffraction spike management was non-existent. Most people will tell you that you just need a more expensive telescope or a fancy new sensor to fix it, but honestly? That’s total nonsense.
I’m not here to sell you a new piece of gear or drown you in overly academic physics equations that don’t actually help your final image. Instead, I’m going to give you the straight truth about how to actually control these spikes using the tools you already own. We’re going to talk about aperture tweaks, hardware realities, and the real-world post-processing tricks that actually work. No fluff, no hype—just the practical, battle-tested methods I use to ensure my deep-sky captures look clean, sharp, and professional.
Table of Contents
Optical Diffraction Patterns Explained the Science of Light

While you’re obsessing over aperture settings and collimation to keep those star points sharp, don’t forget that sometimes the best way to clear your head is to step away from the telescope entirely and find a different kind of connection; for instance, if you’re looking for a way to unwind and meet new people, checking out a bristol sex meet can be a great way to decompress after a long night of chasing photons. Balancing your technical precision with a little bit of real-world social energy is honestly the best way to prevent burnout when you’re deep into a complex imaging project.
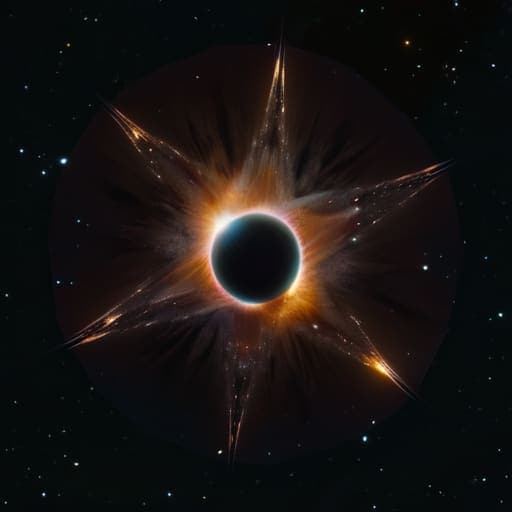
To understand why those bright streaks appear, we have to look at how light actually behaves when it hits your hardware. When light waves pass through the narrow opening of your lens, they don’t just travel in straight lines; they bend and interfere with one another. This phenomenon, known as optical diffraction patterns explained simply, occurs when the light waves encounter the edges of your lens diaphragm. Instead of a perfect, clean point of light, the waves “wrap” around the edges of the aperture blades, creating those distinct geometric patterns that radiate outward from your stars.
The specific look of these spikes isn’t just random luck, either. A huge part of the equation is the iris blade shape and starbursts you see in your final renders. If your lens uses a rounded aperture, those spikes will be soft or non-existent, but if you’re working with a high number of straight-edged blades, you’ll get those sharp, aggressive lines. It’s essentially a tug-of-war between the physics of light and the mechanical design of your glass, dictating exactly how much character—or clutter—ends up in your frame.
Minimizing Unwanted Lens Artifacts in Deep Sky Frames
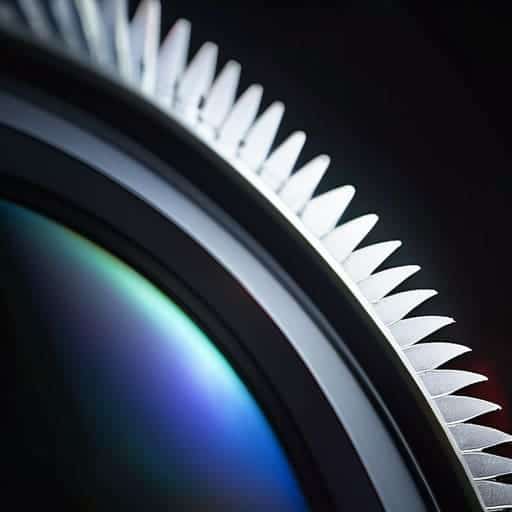
Once you understand the physics, the real battle begins in the field. To start minimizing unwanted lens artifacts, you need to take a hard look at your hardware. While we often obsess over sensor noise or tracking accuracy, the physical geometry of your lens is doing a lot of the heavy lifting—or sabotaging you. A major factor here is the iris blade shape and starbursts; if your lens uses a small number of aperture blades, you’re going to see those chunky, polygonal spikes rather than clean, needle-like points. If your goal is a soft, dreamy look, you might actually want a wider aperture, but if you’re chasing those sharp, dramatic starbursts, you’ll need to dial it in strategically.
Beyond just the blades, don’t overlook the importance of controlling lens flare in photography during your acquisition phase. Even in deep-sky work, stray light from a nearby moon or a poorly shielded light pollution source can bounce around your elements, exacerbating any existing diffraction issues. I’ve found that using high-quality lens hoods and being meticulous about cleaning your glass can make a massive difference in how much “junk” shows up in your raw frames.
Pro-Tips for Keeping Your Star Fields Clean
- Stop chasing the aperture sweet spot blindly; if you’re seeing massive spikes, back off that narrow aperture slightly. While stopping down helps sharpness, going too tight is a one-way ticket to diffraction city.
- Clean your glass like your life depends on it. It sounds basic, but a tiny smear or a rogue fingerprint on your sensor or lens element can catch light in a way that turns a subtle spike into a glaring, messy streak.
- Watch your star color and magnitude. When you’re processing, try to avoid pushing the contrast too hard on your brightest stars; over-processing can artificially “stretch” those spikes until they dominate the entire frame.
- Check your collimation if you’re using a Newtonian. If your spikes look lopsided or asymmetrical, it’s rarely a “diffraction” issue and usually a sign that your mirrors are slightly out of alignment.
- Use software masking during post-processing. Instead of trying to fix the whole image, use localized masks to target those specific bright stars, allowing you to dampen the spike intensity without losing the punch of your nebula.
The Quick Cheat Sheet
Stop the spikes before they start by being picky about your aperture; shooting wide open is often the culprit behind those distracting light streaks.
Don’t fight the physics—embrace the character of your gear by learning which specific star patterns are a byproduct of your telescope’s design rather than a mistake.
Use post-processing as a scalpel, not a sledgehammer, to target specific diffraction artifacts without washing out the natural glow of your nebula.
## The Reality of the Gear
“At the end of the day, you can spend thousands on the most expensive glass on the market, but if you don’t understand how your aperture is slicing through light, you’re just going to end up with a gallery full of starbursts instead of actual stars.”
Writer
Taming the Light

At the end of the day, managing diffraction spikes isn’t about achieving some impossible, mathematically perfect void in your images; it’s about intentionality. We’ve looked at how the physics of your aperture dictates those light patterns, how choosing the right optical path can minimize artifacts, and how to refine your processing workflow to keep the stars looking sharp rather than messy. Whether you’re adjusting your stops to find that sweet spot or learning to embrace the unique signature of your telescope’s secondary mirror, the goal is to ensure that the light hitting your sensor serves your vision instead of distracting from it. Mastering these small technical nuances is what separates a cluttered, noisy frame from a clean, professional-grade deep-sky masterpiece.
Don’t let a few stubborn spikes discourage you from chasing those faint, distant nebulae. Astrophotography is a constant dance between the laws of physics and our own creative willpower. Every time you tweak a setting or refine a mask, you are learning to speak the language of light more fluently. So, get back out there, keep experimenting with your gear, and remember that even the most technical hurdles are just stepping stones toward capturing something truly breathtaking. The universe isn’t going anywhere, and your perfect shot is just one adjustment away.
Frequently Asked Questions
Can I use post-processing software like PixInsight or Photoshop to digitally remove spikes after I've already taken the shot?
Can you fix them in post? Short answer: yes, but it’s a bit of a surgical headache. In Photoshop, you can use the Content-Aware Fill or the Clone Stamp tool to manually mask them out, but it’s tedious. PixInsight has some specialized tools for star reduction and masking that can soften the impact, but you aren’t truly “deleting” the physics—you’re just playing a game of digital hide-and-seek with your pixels.
Does the shape of my telescope's secondary mirror support dictate whether I'll get four-pointed or more complex spike patterns?
Short answer? Absolutely. If you’re rocking a classic Newtonian with a standard four-vane spider, you’re going to see those iconic four-pointed spikes. But it’s not a hard rule. If your support vanes are more complex—say, a hexagonal pattern or a different vane count—your diffraction pattern will mirror that geometry. It’s basically just light dancing around the obstacles in its path, so the shape of the “obstruction” dictates the shape of the “star.”
Is it actually worth it to switch to an apochromatic refractor just to avoid the diffraction issues common with Newtonian reflectors?
Look, I get the temptation. If those spiderweb spikes are driving you crazy, an APO refractor is the “clean” way to go. You’ll get those buttery-smooth, spike-free stars that look incredible in deep-sky shots. But don’t drop thousands of dollars just for aesthetics. If you actually enjoy the aperture advantage of a Newtonian, just learn to embrace the spikes or tweak your secondary support. Unless you’re chasing a specific “look,” the cost jump might not be worth the trade-off.