I still remember the first time I tried pour-over coffee – it was like a revelation. The flavors were so nuanced, so refined, that I was hooked from the very start. That’s why I’m excited to share with you a guide to pour-over coffee that will take your brewing skills to the next level. For years, I’ve been perfecting my technique, experimenting with different roasts, and tweaking my grind size to get the perfect cup. And let me tell you, it’s not just about the equipment or the beans – it’s about understanding the science behind the brew.
As a certified Q Grader and National Barista Champion, I’ve had my fair share of trial and error. But I’ve learned that with the right technique and a bit of patience, anyone can create a truly exceptional cup of coffee. In this article, I’ll share my no-nonsense advice on how to master the pour-over method, from choosing the right water temperature to optimizing your grind size. Whether you’re a beginner or a seasoned coffee enthusiast, you’ll find practical tips and tricks to help you improve your brewing skills and unlock the full potential of your coffee beans. So, let’s dive in and explore the world of pour-over coffee together!
Table of Contents
Guide Overview: What You'll Need
Total Time: 30 minutes
Estimated Cost: $20 – $50
Difficulty Level: Easy
Tools Required
- Kettle (for boiling water)
- Pour-over coffee dripper (e.g., ceramic, glass, or metal)
- Coffee filter (paper or metal, depending on the dripper)
- Coffee spoon (or any small spoon for measuring coffee)
- Scale (optional, but recommended for precise measurements)
Supplies & Materials
- Coffee beans (freshly roasted and ground)
- Water (filtered, if possible)
- Sugar or sweetener (optional)
- Creamer or milk (optional)
Step-by-Step Instructions
- 1. First, let’s start with the essentials: you’ll need a pour-over dripper, a coffee filter, and a kettle. I’m very particular about my equipment, and I recommend investing in a high-quality dripper that allows for even water flow and a filter that won’t impart any paper taste to your coffee. For me, it’s all about finding that perfect balance of flavor and aroma.
- 2. Next, choose your coffee beans wisely. As a certified Q Grader, I can tell you that the type of bean and roast level will greatly impact the final taste of your pour-over. I’m a big fan of single-origin beans, and for pour-over, I like to use a light to medium roast to bring out the nuances of the coffee. Experiment with different beans and roast levels to find your perfect match.
- 3. Now it’s time to heat up your water. I’m extremely precise when it comes to water temperature, and I aim for a temperature of between 195°F and 205°F. Use a thermometer to get an accurate reading, and make sure your water is fresh and free of any impurities that might affect the taste of your coffee. I also like to use filtered water to prevent any mineral buildup in my equipment.
- 4. While your water is heating up, prepare your pour-over dripper. Place the filter in the dripper, and rinse it with a small amount of hot water to remove any paper taste. I like to use a gooseneck kettle to pour the water, as it allows for a smooth and even flow. Discard the rinse water, and add your coffee grounds to the filter.
- 5. Measure out the right amount of coffee for your pour-over. I like to use a 1:15 ratio of coffee to water, so for a 32-ounce brew, I’ll use about 32 grams of coffee. Use a scale to get an accurate measurement, and adjust the ratio to your taste. I also like to experiment with different grind sizes to find the perfect balance between flavor and flow.
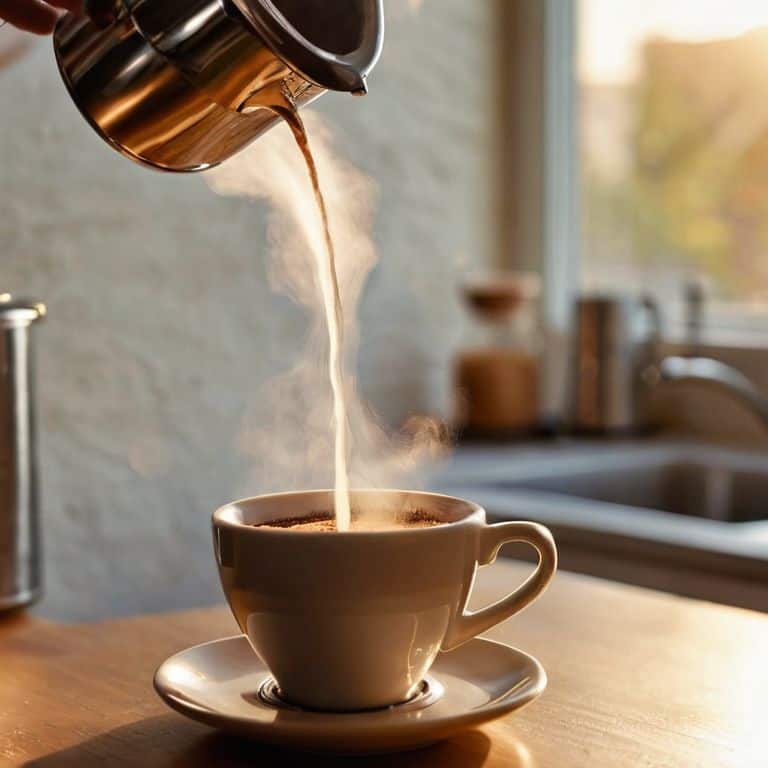
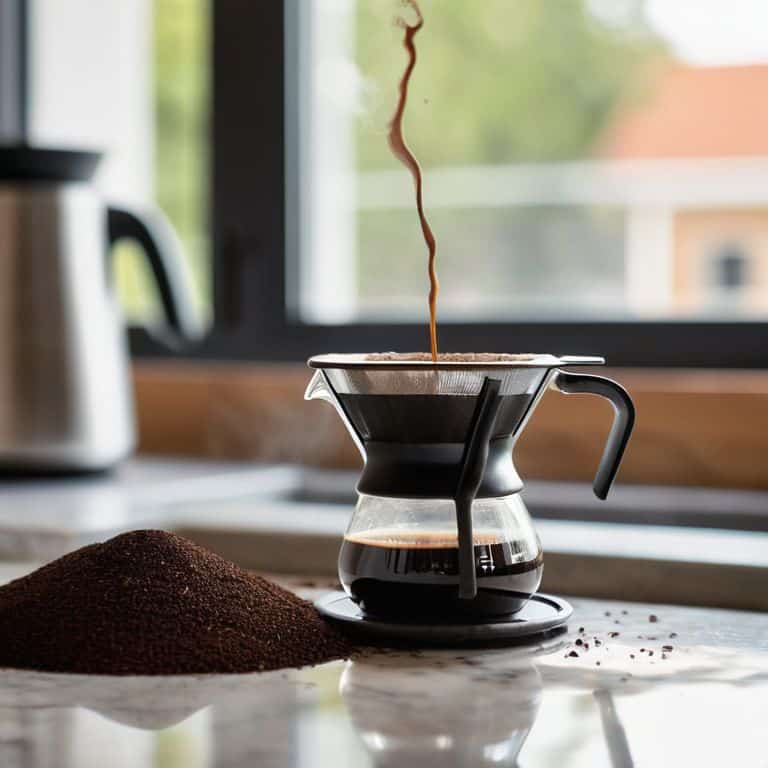
- 6. Pour the heated water over the coffee grounds in a circular motion, starting from the outer edge and moving inwards. I like to pour in three stages: first, a small amount of water to saturate the grounds, then a steady stream to pour the majority of the water, and finally a slow pour to finish. This helps to evenly saturate all of the grounds and brings out the best flavor.
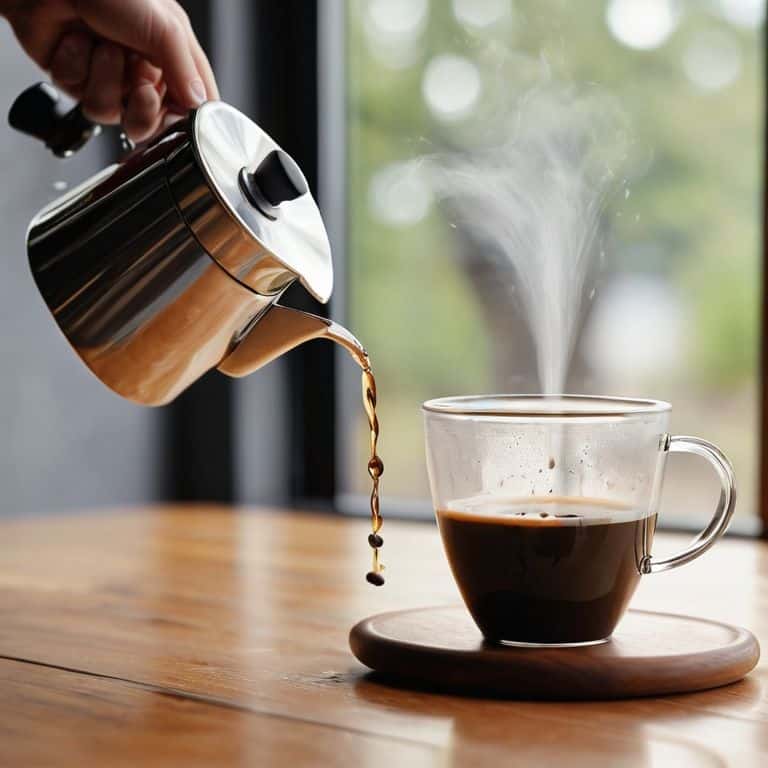
- 7. Allow the coffee to drip through the filter, and wait for the brew to complete. This should take around 3-4 minutes, depending on the coarseness of the grind and the flow rate of your dripper. I like to watch the coffee drip and listen to the sound of the water flowing through the grounds – it’s almost meditative. Once the brew is complete, remove the filter, and pour the coffee into your cup. Enjoy the fruits of your labor!
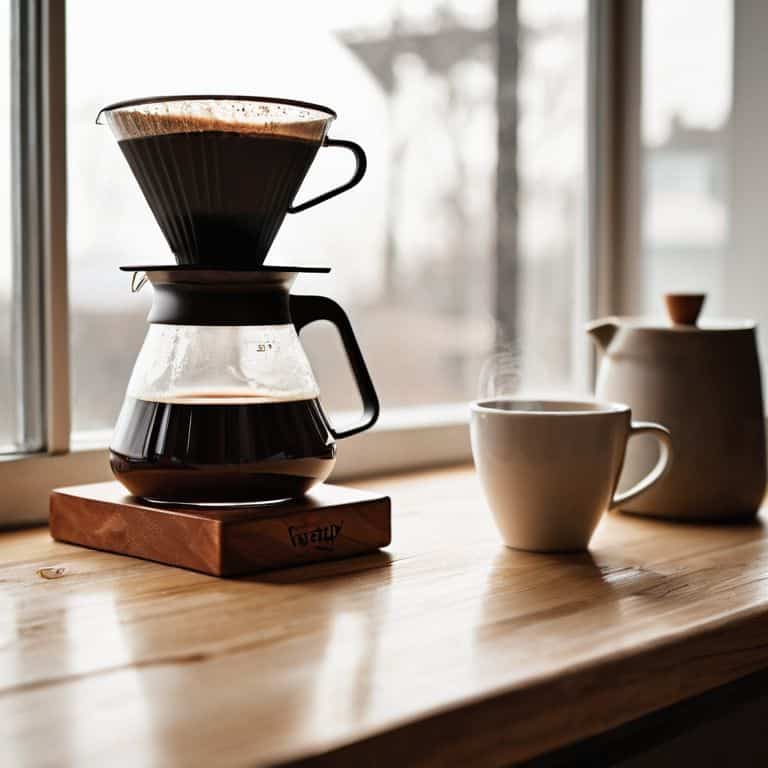
A Guide to Pour Over Coffee
As I delve deeper into the world of pour-over coffee, I’ve come to realize the importance of coffee grind distribution. It’s not just about dumping the grounds into the filter; it’s an art that requires attention to detail. I’ve found that a consistent grind size is crucial for optimal extraction. When the grind is just right, it allows for the perfect balance of flavors to shine through.
In my experience, the key to a great cup of pour-over coffee lies in the nuances of manual brewing techniques. It’s about feeling the coffee, understanding its nuances, and adjusting your technique accordingly. For instance, I’ve found that a longer coffee bloom time can bring out the unique characteristics of single-origin coffee beans. This is especially true when working with delicate, high-altitude beans that require a bit more coaxing to release their full flavor potential.
To take your pour-over game to the next level, I recommend investing in a quality pour-over coffee equipment. A well-designed pour-over dripper can make all the difference in the world, allowing you to precisely control the flow of water and evenly saturate the grounds. By combining the right equipment with a deep understanding of pour-over techniques, you’ll be well on your way to brewing cups that rival those of your favorite cafes.
Manual Brewing With Single Origin Coffee
When working with single-origin coffee, I find that manual brewing methods like pour-over bring out the unique characteristics of the bean. It’s like a sensory journey, where every sip reveals a new nuance. I’ve experimented with various single-origin coffees, but my current obsession is a Ethiopian Yirgacheffe – its floral and citrus notes shine through beautifully with a pour-over. By carefully controlling the brewing parameters, I can coax out the full potential of this exquisite coffee.
The key is to find the perfect balance of flavor and body, which requires a deep understanding of the coffee’s origin and processing methods. With single-origin coffee, even small adjustments to grind size, water temperature, and pour-over technique can dramatically impact the flavor profile. It’s a fun and rewarding challenge to experiment and find the ideal brew settings for each unique coffee.
The Pour Over Coffee Ratio Game
The Pour-Over Coffee Ratio Game is where things get really interesting. I’m obsessed with finding that perfect balance between coffee and water. For me, it’s all about experimentation – I’ve spent hours tweaking my ratios to get the ideal cup. I’ve found that a 1:15 to 1:17 coffee-to-water ratio is my sweet spot, but I encourage you to play around and find what works best for you. It’s amazing how even a tiny adjustment can completely change the flavor profile of your pour-over.
I use a scale to measure my coffee and water to the exact gram, and I’ve developed a system that works for me. It’s all about precision and patience – don’t be afraid to take notes and adjust as you go. Remember, the goal is to find that perfect harmony between your coffee and water, and trust me, it’s worth the effort.
Elevate Your Pour-Over Game: 5 Expert Tips
- Use fresh, high-quality coffee beans to ensure optimal flavor and aroma
- Experiment with different pour-over coffee ratios to find your perfect balance of strength and nuance
- Invest in a good grinder to achieve the ideal grind size for your pour-over method
- Pay attention to water temperature, as it can greatly impact the extraction and overall taste of your coffee
- Monitor and adjust your pouring technique to achieve an even, steady flow that brings out the best in your coffee beans
Key Takeaways for the Perfect Pour-Over
Mastering the pour-over coffee ratio is crucial, and I always aim for a 1:15 to 1:17 coffee-to-water ratio for a balanced cup
Using high-quality, single-origin coffee beans can elevate your pour-over game, and I recommend experimenting with different roast levels to find your perfect match
Investing in a good grinder and paying attention to water temperature (between 195°F and 205°F) can make all the difference in achieving a nuanced and full-bodied pour-over coffee
The Pour-Over Philosophy
Pour-over coffee is not just a method, it’s a mindset – it’s about embracing the ritual, the patience, and the pursuit of the perfect cup, one delicate drip at a time.
Julian Vale
The Perfect Pour: A Conclusion
As we conclude this journey through the world of pour-over coffee, it’s essential to recall the key elements that make this brewing method so unique. From the pour-over coffee ratio game, where we explored the delicate balance between coffee and water, to manual brewing with single origin coffee, which allowed us to unlock the full potential of each bean, every step is a testament to the complexity and beauty of this craft. By mastering these techniques, you’ll be well on your way to creating cups that not only rival those of your favorite cafes but also reflect your own personal touch and style.
As you continue to experiment and refine your pour-over skills, remember that the true magic lies not just in the equipment or the beans, but in the meditative process itself. The gentle pour, the aroma, the first sip – it’s all part of a sensory journey that invites you to slow down, appreciate the little things, and connect with the world around you. So, don’t be afraid to get creative, to try new roasts, and to push the boundaries of what’s possible with pour-over coffee. With patience, practice, and a willingness to learn, you’ll find that the perfect pour is not just a myth, but a reality that awaits you in every cup.
Frequently Asked Questions
What is the ideal water temperature for pour-over coffee brewing?
For me, the ideal water temperature for pour-over is between 195°F and 205°F. I’m meticulous about this – anything below 195°F and you risk under-extraction, while above 205°F can lead to bitterness. I aim for 198°F to 202°F, which allows for a balanced extraction and brings out the nuances in my single-origin coffees.
How do I adjust the pour-over coffee ratio to suit different single-origin coffees?
For me, it’s all about nuance – adjusting the pour-over ratio to coax out the unique characteristics of each single-origin coffee. I typically start with a 1:15 to 1:17 ratio, then tweak based on the coffee’s acidity and body. For brighter coffees, I might go a bit higher, while richer coffees might call for a slightly lower ratio. Experimentation is key!
Can I use any type of coffee filter with my pour-over, or are there specific recommendations?
When it comes to pour-over filters, I’m quite particular. I recommend using a high-quality, unbleached paper filter or a metal filter specifically designed for pour-over. The wrong filter can impart unwanted flavors or clog the flow, ruining your brew. Trust me, it’s worth investing in a good one – your taste buds will thank you.