I still remember the day I first learned how to properly store homemade syrups in culinary school. My instructor, a stern but lovable French patissier, would often say that a good syrup is like a fine wine – it only gets better with time, but only if stored correctly. However, I’ve found that many of us are guilty of treating our homemade syrups like an afterthought, leaving them to languish in a dark cupboard or, worse still, exposed to direct sunlight. The truth is, proper storage can make all the difference in preserving the flavor and quality of your syrups.
As someone who’s passionate about crafting unique coffee creations, I’m excited to share my expertise on how to properly store homemade syrups. In this article, I’ll cut through the noise and give you honest, practical advice on how to keep your syrups fresh and full of flavor. From the best storage containers to the ideal fridge temperature, I’ll cover it all. Whether you’re a fellow pastry chef or a coffee enthusiast, you’ll learn how to elevate your homemade syrups to the next level and create truly decadent coffee experiences. So, let’s dive in and explore the art of syrup storage together!
Table of Contents
Guide Overview: What You'll Need
Total Time: 30 minutes to 1 hour
Estimated Cost: $10 – $20
Difficulty Level: Easy
Tools Required
- Clean glass bottles with tight-fitting lids
- Funnel for easy pouring
- Labels and a marker for identification
Supplies & Materials
- Cool, dark storage space such as a pantry or cupboard
- Refrigerator for certain types of syrups
- Shelf liners to prevent slipping and breaking
Step-by-Step Instructions
- 1. First, let’s talk about the importance of clean glassware when it comes to storing homemade syrups. I like to use my vintage cocktail glasses to store my syrups, not only because they’re beautiful, but also because they’re made of high-quality glass that won’t impart any flavors to my syrups. Make sure your glassware is spotless and dry before filling it with your homemade syrup.
- 2. Next, it’s time to sterilize your equipment, including the glassware, funnel, and any other utensils that will come into contact with your syrup. I like to sterilize my equipment by washing it in hot soapy water, then rinsing it with boiling water. This step is crucial in preventing any bacterial growth that could affect the quality and shelf life of your syrup.
- 3. Now, let’s move on to filling and sealing your glassware. Use a clean funnel to pour your homemade syrup into the glassware, leaving about an inch of headspace at the top. Then, seal the glassware with a tight-fitting lid or stopper. I like to use a combination of a lid and plastic wrap to ensure that my syrups are completely airtight.
- 4. Once your glassware is filled and sealed, it’s time to label and date it. I like to use a permanent marker to label my syrups with their ingredients, date, and any relevant instructions for use. This step is important not only for organization, but also for safety – you don’t want to accidentally grab a syrup that’s past its prime or contains an ingredient you’re allergic to.
- 5. Now that your syrups are properly stored, it’s time to think about temperature control. I like to store my syrups in the fridge, where they’ll be kept at a consistent temperature below 40°F. This will help to slow down any bacterial growth and keep your syrups fresh for a longer period.
- 6. In addition to temperature control, it’s also important to consider light exposure when storing your syrups. I like to store my syrups in a dark cupboard or on a high shelf, where they’ll be protected from direct sunlight. This will help to prevent any degradation of the flavors and ingredients in your syrups.
- 7. Finally, let’s talk about maintenance and rotation. I like to check on my syrups every few weeks to make sure they’re still fresh and haven’t developed any off-flavors or sediment. If you notice any issues with your syrups, it’s time to use them up or discard them. I also like to rotate my syrups regularly, using the oldest ones first to ensure that they don’t go to waste.
Syrup Seduction Secrets
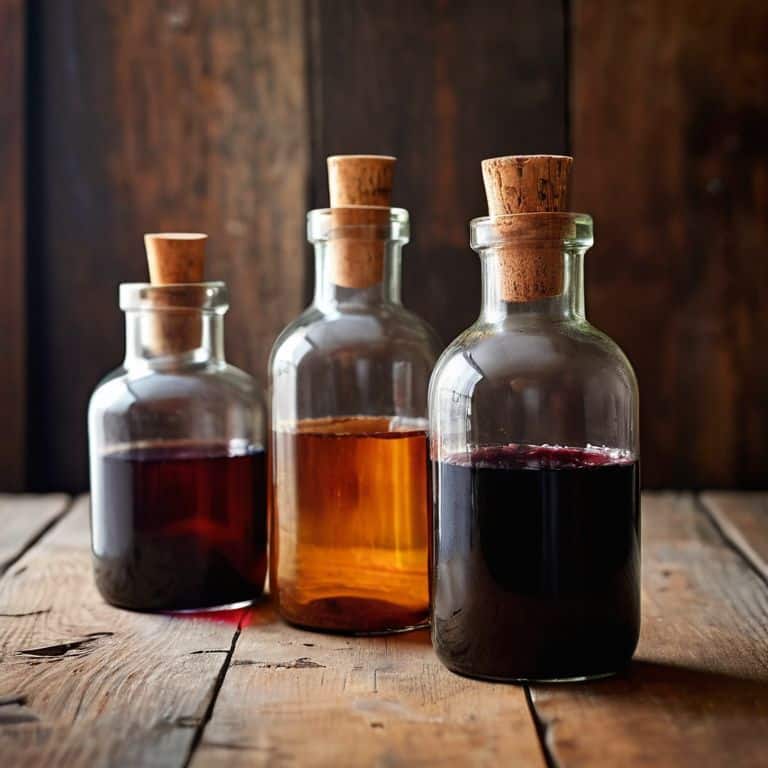
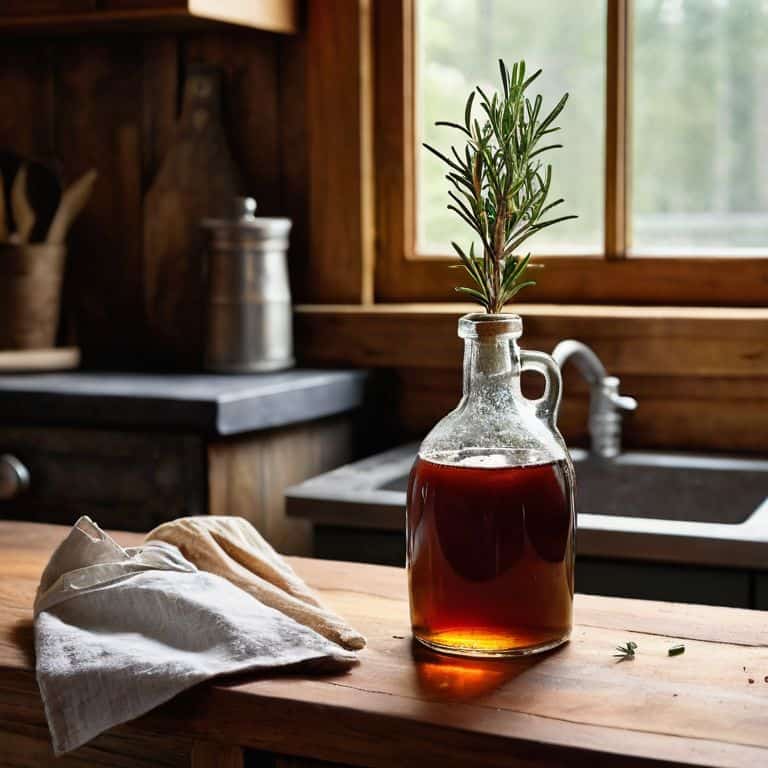
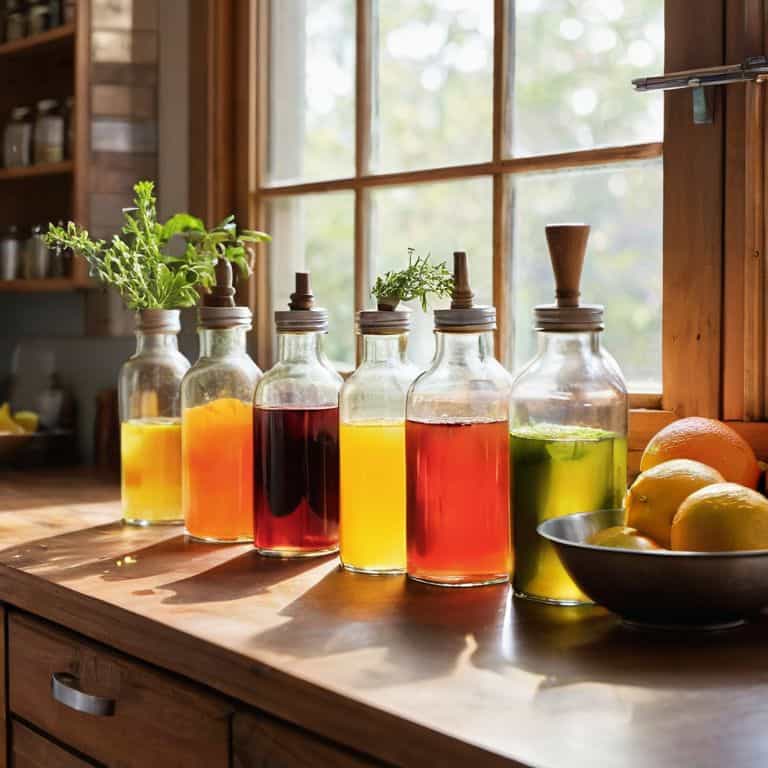
As I delve into the world of syrup storage, I’ve discovered a few syrup seduction secrets that can elevate your homemade creations to the next level. One of my favorite tips is to use glass bottles instead of plastic ones, as they preserve the flavor and aroma of the syrup much better. When it comes to syrup storage containers, I always opt for dark-tinted glass bottles to protect the syrup from direct sunlight.
To extend the homemade syrup shelf life, I recommend using natural preservatives such as citrus or spices. These not only add a unique flavor profile but also help to prevent spoilage. When bottling your syrup, make sure to leave a small amount of headspace to allow for expansion and contraction. This simple technique can make a big difference in maintaining the quality of your syrup.
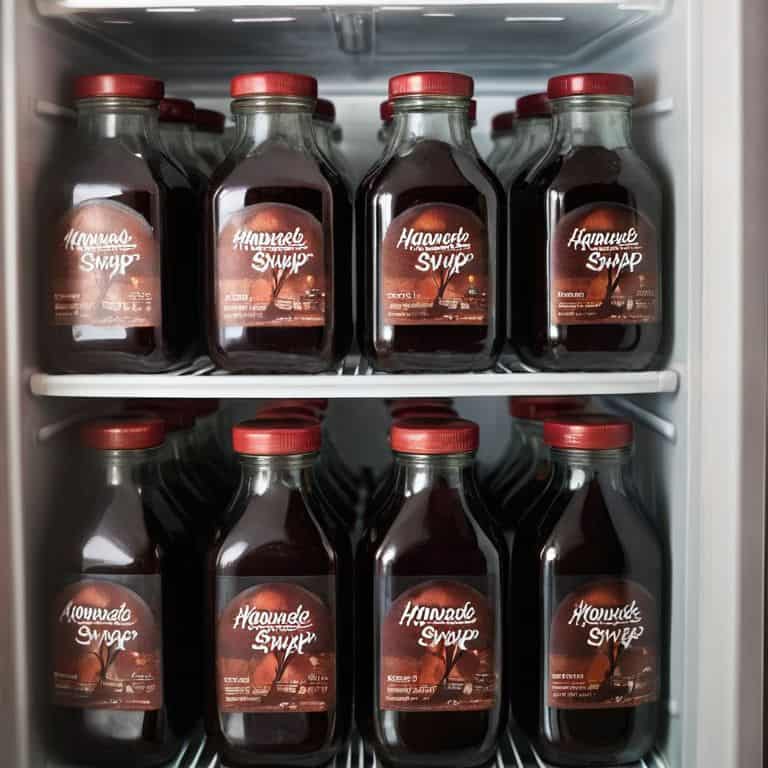
In my experience, syrup refrigeration best practices are crucial for maintaining the freshness and flavor of your homemade syrups. I always store my syrups in the fridge, even if they contain a high amount of sugar, as this helps to slow down the growth of mold and bacteria. By following these simple tips and using the right syrup bottling techniques for beginners, you can enjoy your homemade syrups for a longer period and experiment with new flavors and recipes.
Glass vs Plastic Syrup Storage Showdown
As I delve into the world of syrup storage, I find myself pondering the age-old debate: glass vs plastic. For me, the answer is clear – glass is the only way to go. There’s something undeniably elegant about storing my homemade syrups in delicate, vintage-inspired glass bottles. Not only do they add a touch of sophistication to my kitchen, but they also preserve the intricate flavors and aromas of my creations.
In contrast, plastic containers can impart unwanted flavors and odors to my syrups, which is a definite no-no in my book. Glass, on the other hand, allows my syrups to breathe and evolve, much like a fine wine. Whether I’m crafting a rich, espresso-based syrup or a fruity, coffee-infused concoction, glass is always my top choice. The clarity and beauty of glass also make it a joy to photograph and display my syrups, adding an extra layer of visual allure to my coffee creations.
Refrigeration Rhapsody Extending Shelf Life
As I delve into the world of syrup storage, I’ve found that refrigeration is the key to unlocking a longer shelf life. By keeping my homemade syrups chilled, I can slow down the oxidation process, preserving the delicate flavors and aromas. It’s a simple yet effective trick that has become a staple in my pastry kitchen. I’ve noticed that refrigerated syrups retain their vibrant colors and intense flavors, making them perfect for crafting exquisite coffee cocktails and desserts.
With refrigeration, I can extend the shelf life of my syrups to several weeks, giving me ample time to experiment with new recipes and flavor combinations. Whether I’m whipping up a classic espresso martini or a decadent coffee crème brûlée, my refrigerated syrups are always ready to elevate the dish to new heights.
Syrup Storage Savvy: My Top 5 Tips for Preserving Perfection
- I always store my homemade syrups in airtight, glass containers to prevent contamination and preserve the delicate flavors
- Refrigeration is key – I keep my syrups chilled to slow down the growth of mold and bacteria, ensuring they stay fresh for longer
- Avoid direct sunlight and heat sources, as they can cause the syrups to degrade and lose their potency – a cool, dark place is ideal
- Label and date your syrups, so you can keep track of how long they’ve been stored and what’s in each bottle – it’s also a great way to get creative with your storage
- Freeze your syrups for an extended shelf life – I like to pour them into ice cube trays for easy measuring and adding to my favorite coffee cocktails
Syrup Storage Essentials: 3 Key Takeaways
I’ve learned that storing homemade syrups in the fridge, away from direct sunlight, is crucial for maintaining their quality and shelf life – it’s a simple trick that makes all the difference in my coffee creations
Glass storage containers are the clear winner when it comes to preserving the flavors and aromas of my syrups, and I just can’t get enough of the elegant look they bring to my kitchen
By following these syrup storage tips and tricks, you’ll be well on your way to crafting decadent coffee desserts and cocktails that will impress even the most discerning palates, and leave everyone craving for more
The Syrup Sanctuary
To truly unlock the essence of your homemade syrups, you must first understand that storage is not just a practicality, but a sensory ritual – one that requires a deep reverence for the delicate balance of flavors and the tender touch of glass, all while being cradled in the gentle chill of refrigeration.
Elena Petrova
Savoring the Perfect Blend
As we’ve explored the world of homemade syrups, it’s clear that proper storage is key to unlocking their full potential. From the Glass vs Plastic debate to the Refrigeration Rhapsody, each element plays a crucial role in preserving the flavor and quality of your creations. By choosing the right materials and storage conditions, you’ll be able to enjoy your syrups for a longer period, experimenting with new recipes and flavors to elevate your coffee game.
So, the next time you’re tempted to skip the details and hastily store your syrups, remember that every step counts in the pursuit of a truly exceptional coffee experience. As you master the art of homemade syrup storage, you’ll find that the journey is just as decadent as the destination – and that’s where the real magic happens, with each cup a testament to your passion for the perfect blend.
Frequently Asked Questions
Can I store homemade syrups at room temperature if I plan to use them within a week?
While it’s tempting, I wouldn’t recommend storing homemade syrups at room temperature, even for a short week. The risk of spoilage and flavor degradation is too high. Instead, pop them in the fridge to preserve that delicious flavor and aroma – your coffee creations will thank you, darling!
How often should I clean and sanitize my syrup storage containers to prevent contamination?
Honestly, I clean and sanitize my syrup containers every week, or immediately if I notice any sediment or discoloration. A quick rinse with warm water and a gentle scrub with soap usually does the trick, followed by a sanitizing rinse with hot water or a splash of vodka – yes, you read that right, vodka!
Will storing homemade syrups in the freezer affect their flavor or texture when I'm ready to use them in my coffee creations?
Freezing homemade syrups is a great way to preserve them, but it can slightly alter the flavor and texture. I’ve found that frozen syrups can become slightly thicker and more muted in flavor when thawed. However, this can be a nice bonus for certain coffee creations, like my espresso granita. Just be sure to stir well after thawing and adjust to taste.