I still remember the day I won the national Barista Championship – it was a pivotal moment in my career, and it all came down to my ability to master the art of pouring. People often think that improving your pouring technique is just a matter of practice, but I’m here to tell you that it’s so much more than that. If you’re looking to how to improve your pouring technique, you need to understand that it’s a deliberate act of precision and passion. It’s not just about pouring coffee into a cup, it’s about creating an experience that will leave your customers wanting more.
In this article, I’ll share my honest, no-hype advice on how to improve your pouring technique. You’ll learn the secrets to mastering the pour, from the importance of grind size to the ideal water temperature. I’ll take you through the steps I took to perfect my craft, and provide you with practical tips that you can apply to your own coffee-making routine. By the end of this guide, you’ll be well on your way to creating cafe-quality coffee in the comfort of your own home. Whether you’re a beginner or an experienced barista, my goal is to help you elevate your pouring technique and take your coffee game to the next level.
Table of Contents
Guide Overview: What You'll Need
Total Time: 1 hour 15 minutes
Estimated Cost: $10 – $20
Difficulty Level: Intermediate
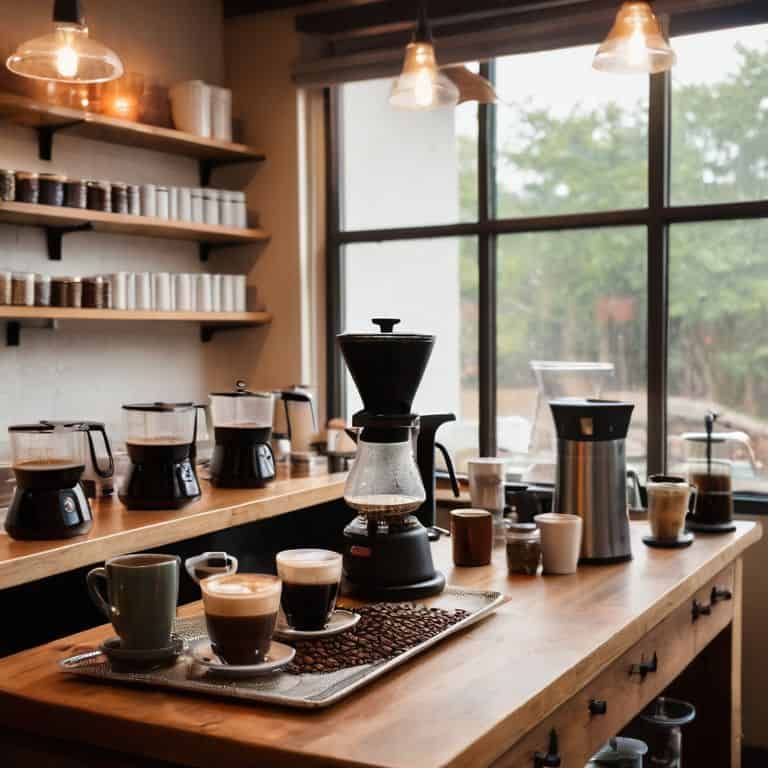
Tools Required
- Pouring Pitcher (stainless steel or glass)
- Measuring Cups (set of 4)
- Spout or Lip (for precise pouring)
- Surface for Practicing (e.g., countertop or table)
Supplies & Materials
- Water (for practicing pouring technique)
- Small Containers (various sizes for practicing pours)
- Paper Towels (for cleaning up spills)
Step-by-Step Instructions
- 1. First, let’s start with the foundation of a great pour: grind size. You want to achieve a grind that’s not too fine, not too coarse, but just right for your brewing method. I like to think of it as the _goldilocks zone_, where the grind is balanced and allows for the perfect flow of water. To get started, experiment with different grind settings on your grinder until you find the one that works best for you.
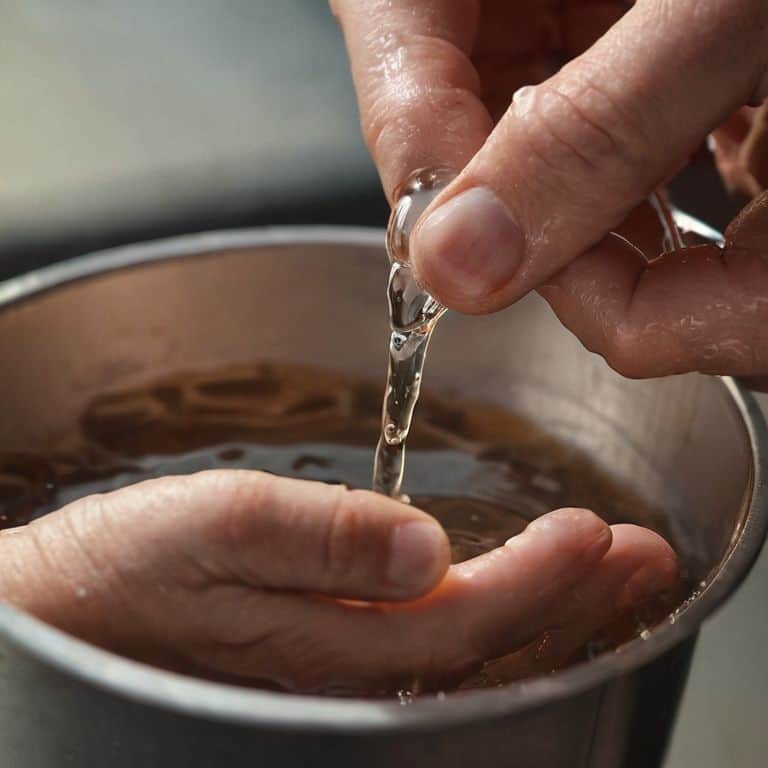
- 2. Next, it’s time to focus on _water temperature_. The ideal temperature for pouring is between 195°F and 205°F, so make sure your kettle or brewing device is set to this range. Precision is key here, as water that’s too hot or too cold can drastically affect the flavor of your coffee. I recommend investing in a thermometer to ensure you’re hitting the perfect temperature every time.
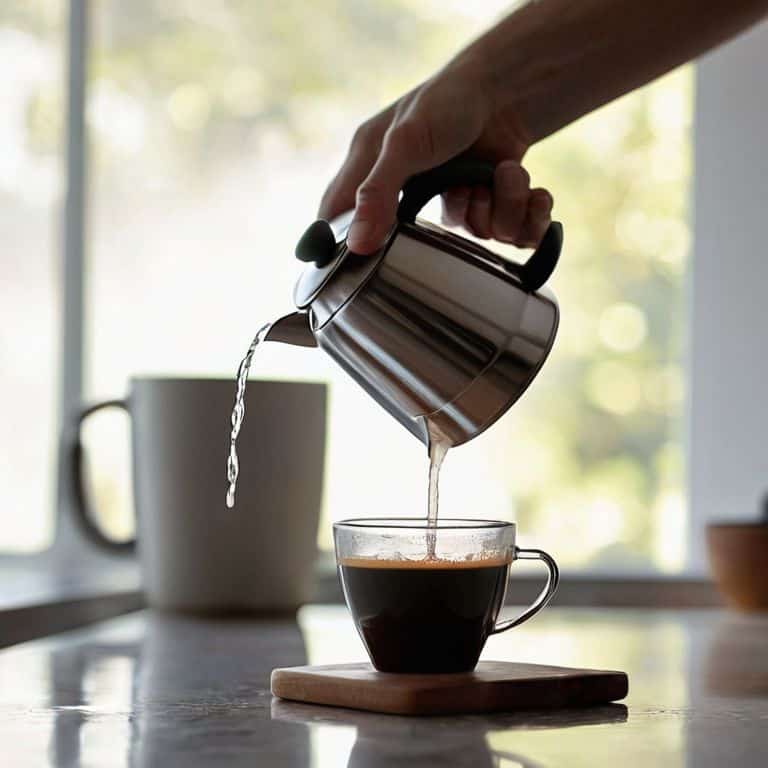
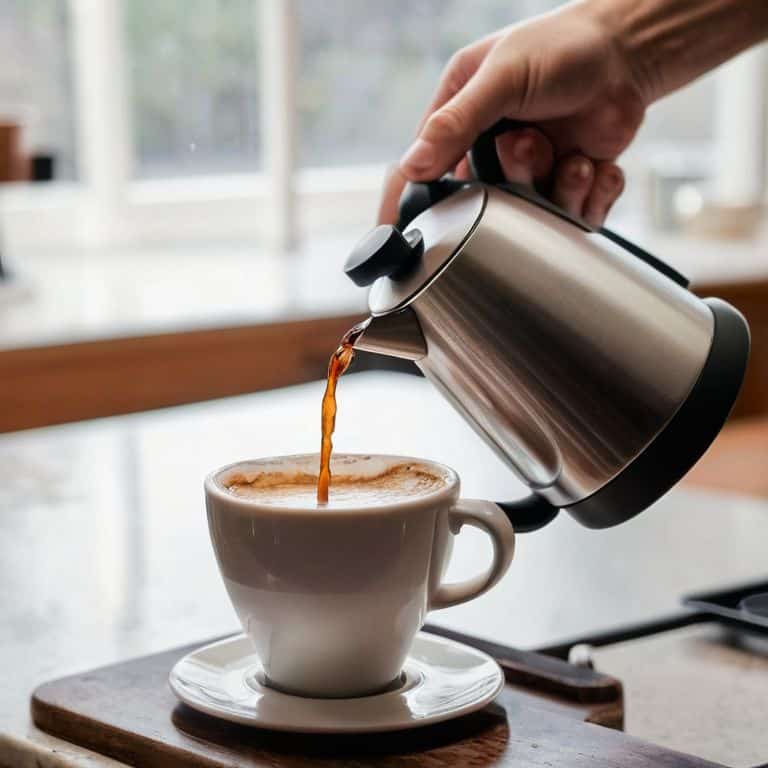
- 3. Now that we have our grind and temperature dialed in, it’s time to work on our pouring technique. Start by placing your pour-over or brewing device on a flat surface and _slowly_
pouring the water over the coffee grounds in a circular motion. Steady hands are essential here, as you want to maintain a consistent flow of water to evenly saturate all the grounds. - 4. As you pour, pay attention to the _flow rate_ of the water. You want to aim for a steady, medium-paced flow that allows the coffee to bloom and extract evenly. If the flow is too fast, you’ll end up with under-extracted coffee; too slow, and it’ll be over-extracted. Practice makes perfect, so don’t be discouraged if it takes a few tries to get it just right.
- 5. Once you’ve poured the initial amount of water, allow the coffee to _bloom_ for about 30-45 seconds. This step is crucial, as it allows the coffee to release its CO2 and start the extraction process. Be patient, as this step is essential for bringing out the full flavor of your coffee.
- 6. After the blooming process, it’s time to pour the rest of the water over the coffee grounds. Remember to maintain that _steady flow_ and pour in a circular motion to evenly saturate all the grounds. As you pour, pay attention to the coffee-to-water ratio, making sure you’re using the right amount of water for your brewing method.
- 7. Finally, as you wait for the coffee to finish dripping, take a moment to _appreciate the process_. Brewing coffee is a form of active meditation, where every step, every pour, and every detail matters. By focusing on the process and taking your time, you’ll not only improve your pouring technique but also enhance your overall coffee experience.
Mastering Pouring Techniques
As I delve deeper into the world of coffee pouring, I’ve come to realize that temperature control is crucial for achieving the perfect extraction. It’s not just about pouring the coffee, but also about creating an environment where the flavors can unfold. For beginners, I recommend starting with a temperature control device to ensure that the water is at the optimal temperature for pouring. This will help to prevent common mistakes such as under or over-extraction.
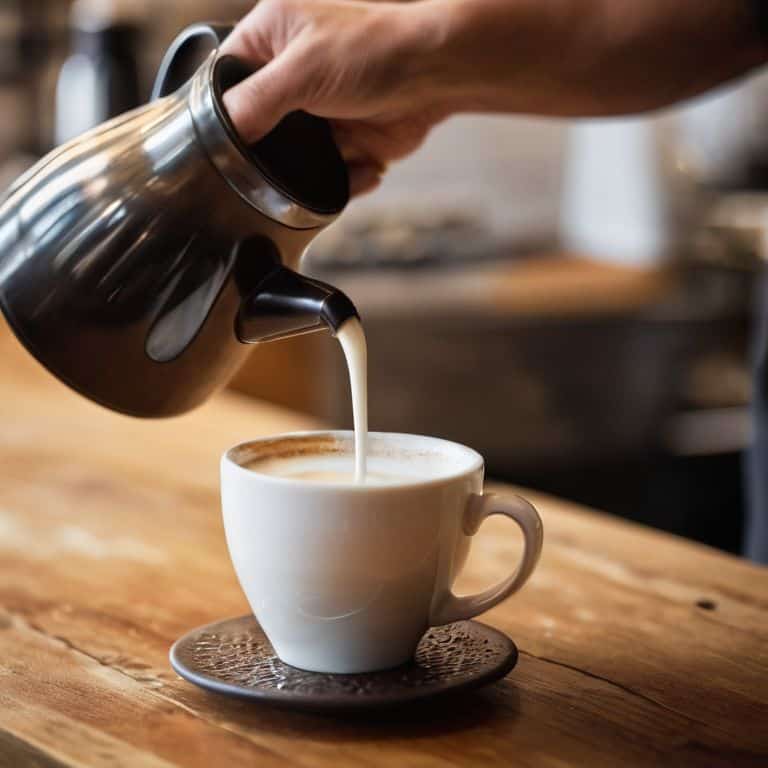
When it comes to pouring speed and flow rate, it’s essential to find a rhythm that works for you. I’ve found that a steady, consistent flow is key to achieving a balanced extraction. It’s also important to invest in equipment for precise pouring, such as a gooseneck kettle, to help you control the flow of water. By practicing with this equipment, you’ll be able to develop a sense of muscle memory that will serve you well in your coffee pouring journey.
To take your coffee pouring to the next level, I recommend experimenting with different coffee pouring methods. From pour-overs to chemex, each method requires a unique approach to pouring. By mastering these techniques, you’ll be able to unlock the full potential of your coffee and discover new flavors and nuances. Remember, the key to mastering pouring techniques is to be patient and persistent in your practice. With time and dedication, you’ll be able to achieve a level of precision and control that will elevate your coffee game.
Avoiding Common Pouring Mistakes
As I guide you through the nuances of pouring, it’s equally crucial to acknowledge the pitfalls that can detract from your craft. One of the most common mistakes is pouring too quickly, which can lead to an uneven extraction. I’ve seen it time and time again – a barista, eager to get the shot out, pours with a bit too much gusto, only to end up with a subpar result. To avoid this, focus on a smooth, deliberate pour, allowing the coffee to bloom and the flavors to meld together harmoniously.
Another mistake to watch out for is inconsistent water temperature. Even a single degree can throw off the entire balance of your shot. I always stress the importance of precision when it comes to temperature control, as it can make all the difference in achieving that perfect extraction. By being mindful of these potential missteps, you’ll be well on your way to pouring like a pro and crafting exceptional cups of coffee.
The Art of Temperature Control
Temperature control is the unsung hero of coffee crafting. I’m meticulous about it, and you should be too. The ideal temperature for pouring is between 195°F and 205°F. Any higher, and you’ll burn your coffee; any lower, and you’ll end up with a dull, under-extracted brew. I use a thermometer to ensure I’m within this golden range. It’s all about precision – a single degree can make a world of difference in the flavor profile. By mastering temperature control, you’ll be able to coax out the unique characteristics of your coffee beans and take your pouring technique to the next level.
Pouring Like a Pro: 5 Essential Tips to Elevate Your Craft
- Start with a clean slate: Ensure your equipment is spotless, and your coffee beans are freshly roasted to bring out the optimal flavors
- Get a grip on your grind: Experiment with different grind sizes to find the perfect balance for your pour, as it can significantly impact the flow and extraction of your coffee
- Temperature tantrums are a thing of the past: Invest in a thermometer to monitor your water temperature, aiming for the sweet spot between 195°F and 205°F for optimal extraction
- Pour with intention: Practice your pouring technique to achieve a smooth, consistent flow, and don’t be afraid to slow down or speed up to suit your coffee’s unique needs
- Mind your coffee-to-water ratio: Pay attention to the amount of coffee and water you’re using, as this delicate balance can make or break the flavor profile of your final brew
Key Takeaways for the Perfect Pour
Mastering the deliberate art of coffee pouring requires patience, practice, and a deep understanding of the intricate balance between water temperature, coffee-to-water ratio, and pour technique
Temperature control is crucial: the ideal brewing temperature lies between 93°C and 96°C, and even slight deviations can significantly impact the flavor profile of your coffee
By avoiding common pouring mistakes, such as channeling, under-extraction, and over-extraction, and instead focusing on a smooth, consistent pour, you’ll be well on your way to crafting cafe-quality coffee in the comfort of your own home
The Pouring Truth
A perfect pour is not just about the flow of coffee, it’s about the flow of intention – every movement, every gesture, every decision is a deliberate step towards mastery, and it’s in those precise moments that we find the true art of coffee crafting.
Julian Vale
Pouring with Precision: The Path to Coffee Mastery
As we’ve explored the art of improving your pouring technique, remember that mastering the pour is a journey, not a destination. We’ve covered the essential steps, from understanding the importance of temperature control to avoiding common mistakes that can make or break your brew. By focusing on these key elements and practicing with dedication, you’ll be well on your way to crafting cups that rival those of professional baristas. The pursuit of the perfect pour is a testament to the beauty of coffee’s nuances and the rewards of precision and patience.
Now, as you continue to refine your skills, remember that the true magic happens in the moment when you combine technique with intuition. The perfect shot is not just about measurements and timings, but about feeling the coffee, understanding its unique characteristics, and coaxing out its full potential. So, don’t be afraid to experiment, to push the boundaries of what you thought was possible. With every pour, you’re not just making coffee – you’re crafting an experience that can elevate, inspire, and bring people together.
Frequently Asked Questions
How can I consistently achieve the ideal water temperature for pouring, and what tools can I use to measure it accurately?
To consistently achieve the ideal water temperature, I swear by my trusty thermometer – it’s a game-changer. Invest in a good digital thermometer, and you’ll be able to precision-craft your pour-overs with temperatures between 195°F and 205°F. I also recommend using a temperature-controlled kettle or a pour-over with built-in thermometer for added accuracy.
What's the relationship between pour speed and coffee flavor, and are there any specific pouring patterns I should aim for?
Pour speed and pattern dramatically impact flavor. I advocate for a smooth, consistent pour, around 28-30 seconds for a double shot. Aim for a circular motion, starting from the center, to evenly saturate all grounds. This balanced approach ensures optimal extraction and a rich, full-bodied flavor.
Can you recommend any exercises or drills to help develop muscle memory for pouring, and how often should I practice to see noticeable improvement?
To develop muscle memory, I recommend practicing pours with a blindfold or eyes closed, focusing on the sound and feel of the pour. Try repeating a pour sequence 10-15 times, 3-4 times a week, and you’ll see improvement in no time.