I still remember the first time I had to align my grinder burrs – it was a total game-changer for my morning brew. As a technician who’s spent years restoring and modifying high-end coffee equipment, I’ve seen my fair share of subpar grinders. The common myth that you can just “eyeball” the alignment and hope for the best is not only frustrating, but it’s also a surefire way to end up with a lackluster cup of coffee. The truth is, learning how to align your grinder burrs is an essential step in unlocking your grinder’s full potential.
In this article, I’ll walk you through the straightforward process of how to align your grinder burrs, sans marketing fluff or overly complicated instructions. You can expect honest, practical advice on everything from preparing your grinder to fine-tuning the alignment. By the end of this guide, you’ll be equipped with the knowledge to take your coffee game to the next level, and I’m excited to share my expertise with you. Whether you’re a seasoned coffee enthusiast or just starting to explore the world of specialty coffee, this article will provide you with the no-nonsense guidance you need to get the most out of your grinder.
Table of Contents
Guide Overview: What You'll Need

Total Time: 30 minutes to 1 hour
Estimated Cost: $0 – $10
Difficulty Level: Intermediate
Tools Required
- Grinder (with adjustable burrs)
- Caliper (digital or dial)
- Screwdriver (flathead or Allen wrench, depending on grinder model)
- Wrench (for removing and reinstalling burrs, if necessary)
Supplies & Materials
- Replacement burrs (in case of worn-out burrs)
- Cleaning brush (for removing debris from grinder and burrs)
- Lubricant (for grinder maintenance, if recommended by manufacturer)
Step-by-Step Instructions
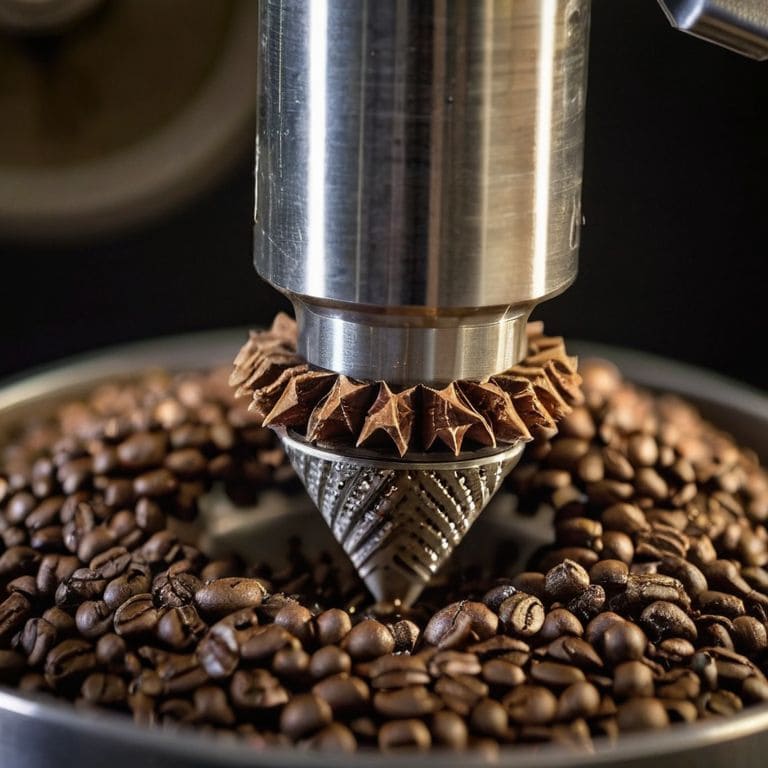
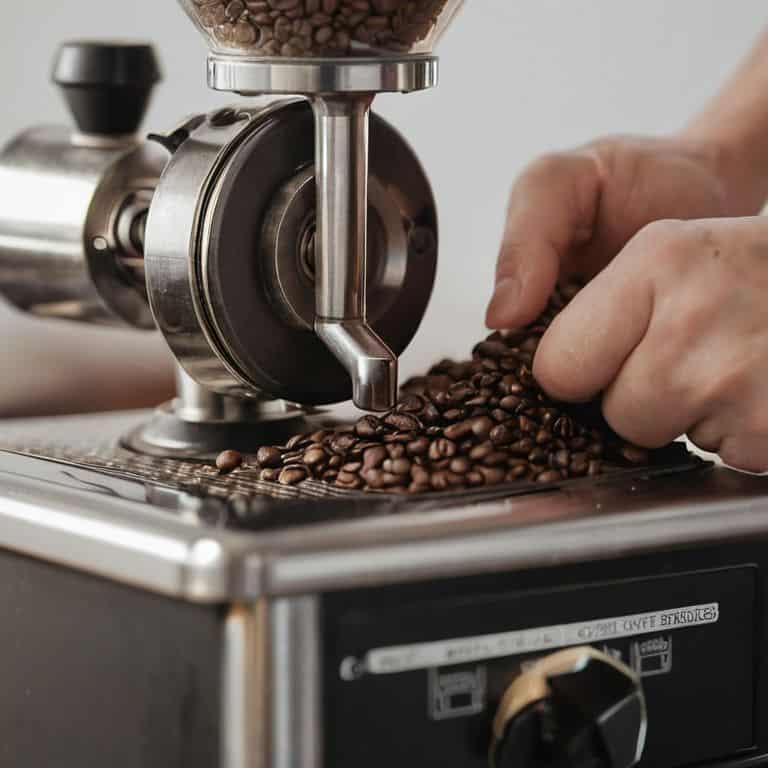
- 1. First, let’s get our hands dirty and properly align those grinder burrs, because trust me, it’s a total game-changer for your morning brew. Start by removing the outer burr and giving it a good cleaning to ensure there’s no old coffee residue interfering with your alignment process. Use a soft brush to sweep away any debris and a dry cloth to wipe it down.
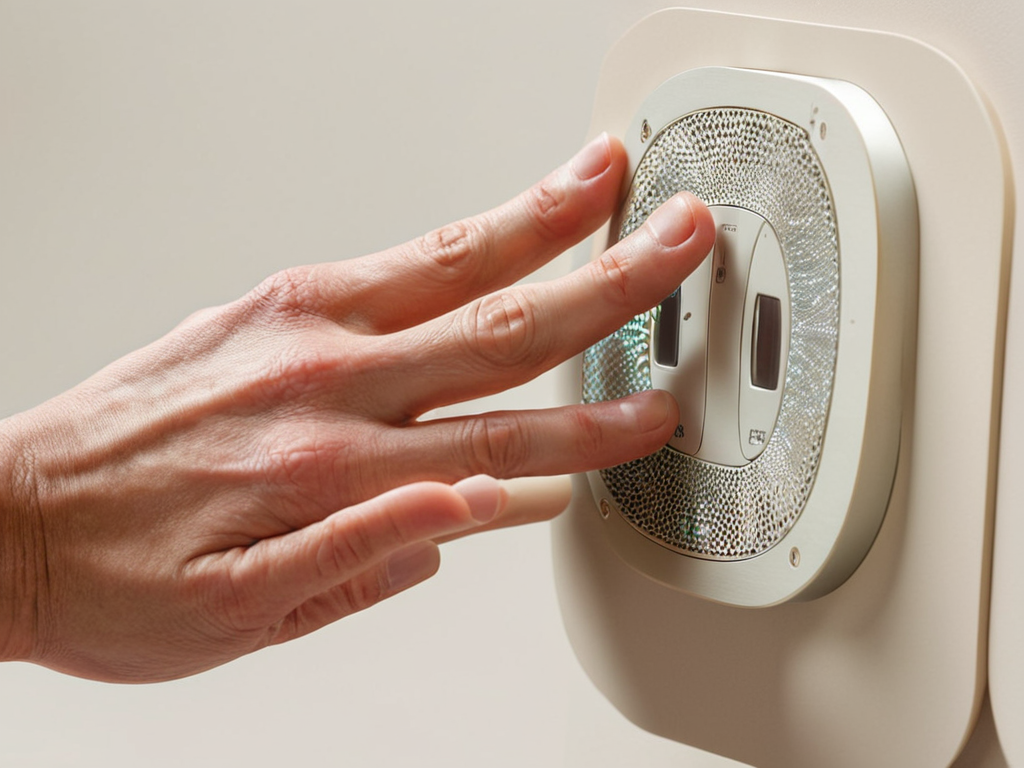
- 2. Next, you’ll need to locate the adjustment screws that hold the burrs in place. These are usually small Allen wrench sockets, so make sure you have the right tool for the job. Take a moment to inspect the screws and the surrounding area, noting any signs of wear or damage that might affect the alignment process.
- 3. Now it’s time to loosen the adjustment screws just enough to allow for movement of the burrs. Don’t remove them completely, as you want to maintain some tension to keep everything in place while you work. Use your Allen wrench to turn the screws counterclockwise until they’re loose, but still engaged.
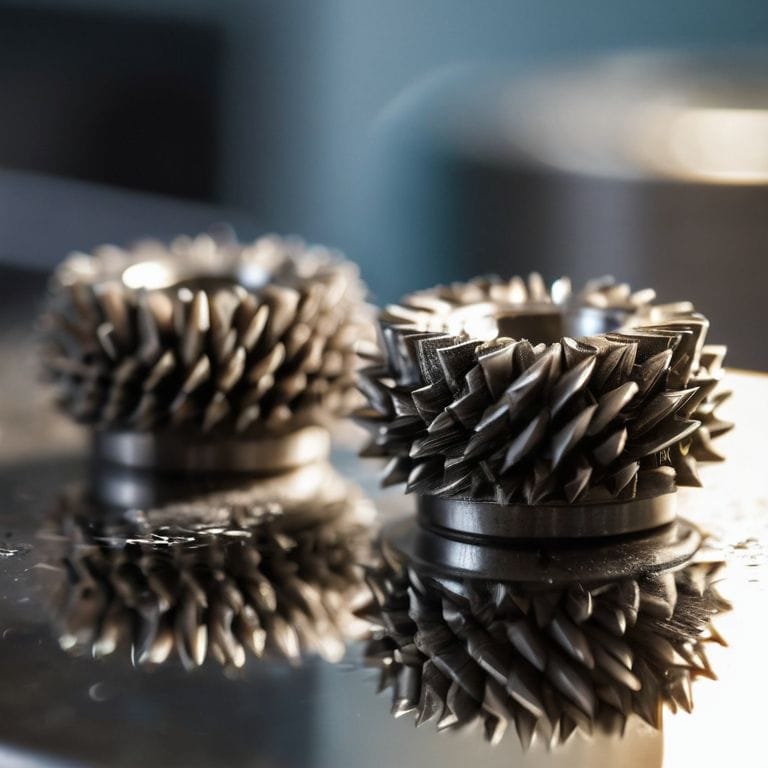
- 4. With the screws loosened, you can now rotate the inner burr to its optimal position. This is where things can get a bit tricky, as the optimal position will depend on the specific grinder model and your personal preference for grind size. As a general rule, you want the burrs to be as close together as possible without actually touching, so start by turning the inner burr until it’s almost in contact with the outer burr.
- 5. The next step is to check the burr alignment using a small piece of paper or a feeler gauge. Insert the paper or gauge between the burrs and gently turn the inner burr until it’s just barely touching the paper. This will give you a precise measurement of the gap between the burrs and allow you to make any necessary adjustments.
- 6. Once you’ve achieved the perfect alignment, it’s time to tighten the adjustment screws in a star pattern to ensure even pressure and prevent the burrs from shifting out of place. Use your Allen wrench to turn the screws clockwise until they’re snug, then give them an extra quarter turn to lock everything in place.
- 7. Finally, reassemble the grinder and give it a test run to ensure everything is working smoothly. Pay close attention to the sound of the grinder, as a properly aligned burr set should produce a smooth, even grinding noise. If you notice any unusual vibrations or noises, you may need to make further adjustments to get everything just right.
Unlocking Burr Potential
To truly unlock the full potential of your grinder, it’s essential to consider the nuances of grinder calibration techniques. By fine-tuning the alignment of your burrs, you can significantly impact the consistency of your coffee grind. I’ve found that using high-quality burr alignment tools can make all the difference in achieving optimal results. These tools allow for precise adjustments, ensuring that your grinder is producing the perfect grind for your espresso machine.
In my experience, coffee grind consistency tips are often overlooked, but they’re crucial for achieving a perfect shot. By maintaining a consistent grind size, you can ensure that your espresso is always balanced and full of flavor. To achieve this, I recommend implementing a regular grinder maintenance schedule, which includes cleaning and inspecting the burrs for any signs of wear. This simple step can help prevent troubleshooting grinder issues down the line.
By combining proper burr alignment with regular maintenance, you can extend the life of your grinder and ensure that it continues to produce high-quality grinds. For those looking to take their grinding to the next level, I recommend exploring burr sharpening methods, which can help maintain the sharpness and effectiveness of your burrs over time. With a little practice and patience, you can become a master of grinder calibration and enjoy perfectly balanced espresso shots every time.
Burr Alignment 101 the Engineers Guide
As I always say, a well-aligned grinder is the heartbeat of any great coffee setup. It’s where the magic happens, and the difference between a good cup and a sublime one becomes apparent. I’ve spent years tweaking and refining my own grinders, and I can confidently say that proper alignment is the key to unlocking their full potential. By ensuring that the burrs are perfectly synced, you’ll be able to extract the optimal amount of flavor and oil from your beans, resulting in a richer, more full-bodied brew.
In my workshop, I’ve seen countless grinders come and go, each with its own unique quirks and characteristics. But one thing remains constant: the importance of precise alignment. It’s a crucial step that many enthusiasts overlook, but trust me, it’s worth the extra effort. With aligned burrs, you’ll notice a significant reduction in waste, channeling, and those pesky “sour” notes that can ruin an otherwise perfect shot. So, take the time to get it right – your taste buds will thank you.
Grinder Calibration for Espresso Perfection
To truly unlock your grinder’s potential, calibration is key. I always say, a well-calibrated grinder is the backbone of exceptional espresso. It’s not just about aligning those burrs; it’s about fine-tuning the entire system to produce a consistent, precise grind. This is where most people falter, but trust me, it’s worth the extra effort. By calibrating your grinder, you’ll be able to adjust the grind size to suit your specific espresso machine, ensuring a perfect shot every time.
I like to think of grinder calibration as a symbiotic relationship between the grinder and the espresso machine. When done correctly, it’s a match made in heaven. The grind size, distribution, and flow rate all come together to create a harmonious balance that elevates your espresso to new heights.
5 Expert Tips to Get Your Grinder Burrs in Perfect Harmony
- Always start by consulting your grinder’s manual to understand its specific burr alignment requirements, as different models may have unique configurations
- Use a burr alignment tool to ensure precision and avoid damaging the burrs, and never force the burrs into place as this can lead to premature wear
- Clean the burrs thoroughly before attempting alignment to remove any old coffee oils or debris that might affect the grind quality and make alignment more difficult
- Listen to the sound of your grinder as you adjust the burrs – a smooth, even noise indicates proper alignment, while a grinding or scraping sound suggests the burrs need further adjustment
- Regularly check and realign your burrs every 1-3 months, depending on usage, to maintain optimal grind quality and prevent the buildup of old coffee residue that can affect flavor and machine performance
Key Takeaways for Burr Alignment and Grinder Optimization
Proper burr alignment is crucial for unlocking your grinder’s full potential and achieving optimal flavor in your coffee, as it directly impacts the consistency and quality of the grind
Regular grinder calibration is essential for espresso perfection, and understanding how to adjust and maintain your machine will significantly improve your brewing results and extend the lifespan of your equipment
By mastering the art of burr alignment and grinder calibration, you’ll not only elevate your coffee game but also develop a deeper appreciation for the engineering and mechanics that go into high-quality coffee equipment, allowing you to make informed decisions when selecting or maintaining your gear
The Heart of the Grinder
Proper burr alignment is not just a tweak, it’s a transformation – it’s the difference between a grinder that’s just going through the motions and one that’s truly singing, with each rotation a testament to the beauty of precision engineering.
Simon Adler
Unlocking the Full Potential of Your Grinder
As we’ve explored in this guide, proper burr alignment is crucial for unlocking the full potential of your grinder. By following the step-by-step instructions and understanding the importance of grinder calibration, you’ll be well on your way to brewing exceptional coffee. It’s not just about the taste, though – it’s also about the satisfaction of knowing you’ve optimized your equipment for long-term performance. Remember, a well-maintained grinder is the foundation of a great coffee setup, and with these skills, you’ll be able to diagnose and adjust your grinder with confidence.
So, the next time you’re tempted to overlook the humble grinder, remember that it’s the unsung hero of your coffee routine. By mastering the art of burr alignment and grinder calibration, you’ll not only elevate your coffee game but also develop a deeper appreciation for the engineering and craftsmanship that goes into these incredible machines. As you continue to refine your skills, don’t be afraid to experiment and push the boundaries of what’s possible – after all, the pursuit of coffee perfection is a lifelong journey, and it starts with a deep understanding of the tools that make it all possible.
Frequently Asked Questions
What are the consequences of improper burr alignment on the flavor and quality of my espresso?
Improper burr alignment can lead to inconsistent grind sizes, channeling, and overheating, resulting in bitter or under-extracted espresso. It’s a recipe for disaster, really. Misaligned burrs put unnecessary stress on the grinder, leading to premature wear and potentially damaging the machine. Trust me, get it right and you’ll taste the difference.
How often should I realign my grinder burrs to maintain optimal performance?
Realign your burrs every 1-3 months, depending on usage. If you notice a decline in grind quality or an increase in channeling, it’s time to realign. I also recommend checking the burrs after every 500-750 shots, as this can help maintain optimal performance and prevent wear. Trust me, a well-maintained grinder is the backbone of great coffee.
Can I use any specialized tools to make the burr alignment process easier and more precise?
For precision, I swear by a good dial indicator and a set of feeler gauges. They help me get the burrs perfectly aligned, which is crucial for consistent grinds. I also recommend a burr alignment tool, specifically designed for your grinder model, to simplify the process and ensure accuracy.