I still remember the day I had to repair a beautiful, high-end espresso machine that had been ruined by limescale buildup – a costly mistake that could have been avoided by learning how to descale a coffee machine. As a technician, I’ve seen my fair share of damaged equipment, and it’s astonishing how often a simple maintenance task like descaling can be overlooked. The truth is, most people don’t think about descaling until it’s too late, and their machine is already showing signs of wear. But I’m here to tell you that it’s not just about saving your machine from damage – it’s about preserving the quality of your coffee.
In this article, I’ll share my expertise on the importance of regular descaling and provide you with a step-by-step guide on how to do it effectively. You’ll learn how to identify the signs of limescale buildup, choose the right descaling solution, and perform the process with ease. My goal is to empower you with the knowledge and confidence to take care of your coffee machine, so you can enjoy perfect cups of coffee for years to come. By the end of this guide, you’ll know exactly how to descale a coffee machine and keep it in top condition, ensuring that every brew is a delight.
Table of Contents
Guide Overview: What You'll Need
Total Time: 30 minutes to 1 hour
Estimated Cost: $10 – $20
Difficulty Level: Easy
Tools Required
- Descaling solution (available at most hardware stores or home goods stores)
- Water
- A large container (to hold the coffee machine and descaling solution)
- A soft brush (for cleaning any visible scale or debris)
- A cloth or paper towels (for drying the coffee machine)
Supplies & Materials
- Descaling powder or tablets (as an alternative to liquid descaling solution)
- Vinegar (as a natural descaling agent, mixed 1 part vinegar to 2 parts water)
Step-by-Step Instructions
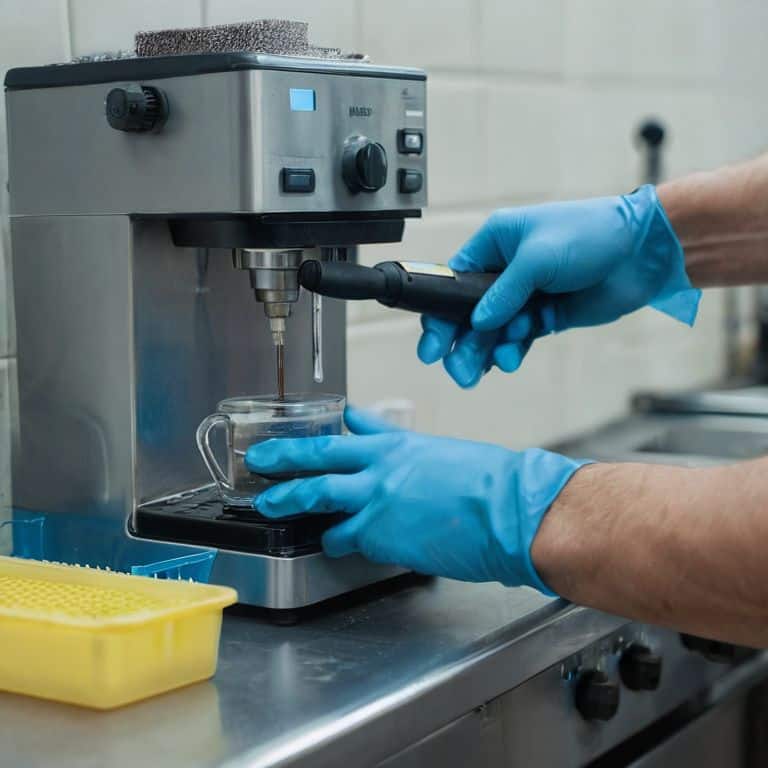
- 1. First, let’s get started by preparing our equipment for the descaling process. This involves gathering a few essential items, including a descaling solution, a water filter, and a soft brush to clean out any loose debris from the machine’s exterior. I always say, a clean machine is a happy machine, and this step is crucial in ensuring our descaling process goes smoothly.
- 2. Next, we need to identify the type of descaling solution we’ll be using. There are two main types: acidic and non-acidic. Acidic solutions are generally more effective but can be harsh on the machine’s materials, while non-acidic solutions are gentler but may require more frequent use. As someone who’s worked with all sorts of machines, I recommend opting for a non-acidic solution to preserve the longevity of your equipment.
- 3. Now, it’s time to mix the descaling solution with water according to the manufacturer’s instructions. This is a critical step, as using too much or too little solution can affect the descaling process. I always double-check the instructions to ensure I’m getting the ratio just right.
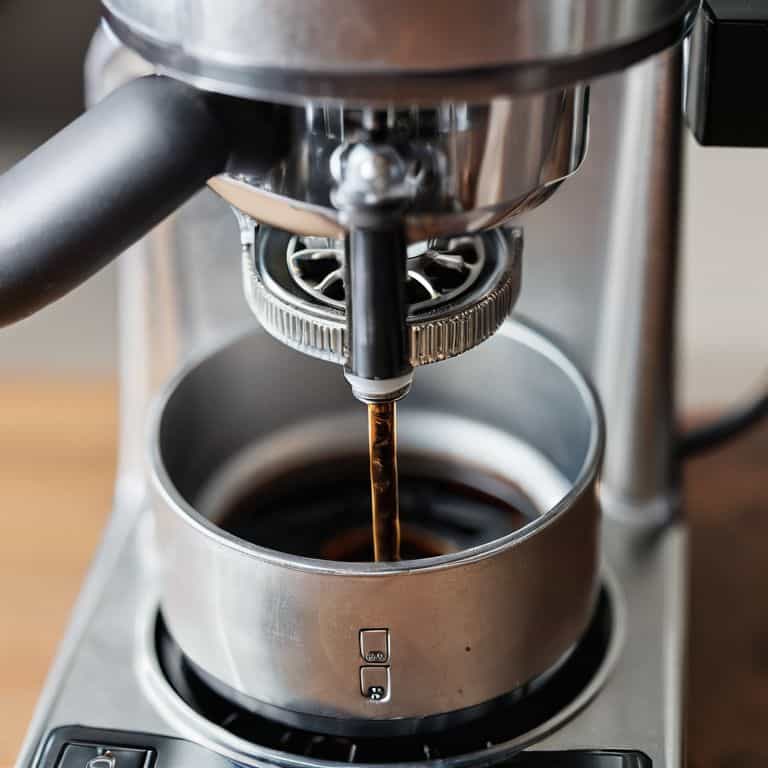
- 4. With our solution ready, we can move on to running the descaling cycle. This involves pouring the solution into the machine’s water reservoir and running it through the system. Depending on the machine, this process can take anywhere from 30 minutes to several hours. As the solution flows through the machine, it’s breaking down mineral deposits and freeing up any clogged parts.
- 5. Once the descaling cycle is complete, we need to rinse the machine thoroughly to remove any remaining solution. This is a crucial step, as any leftover solution can affect the taste of your coffee. I recommend running several cycles of fresh water through the machine to flush out the system.
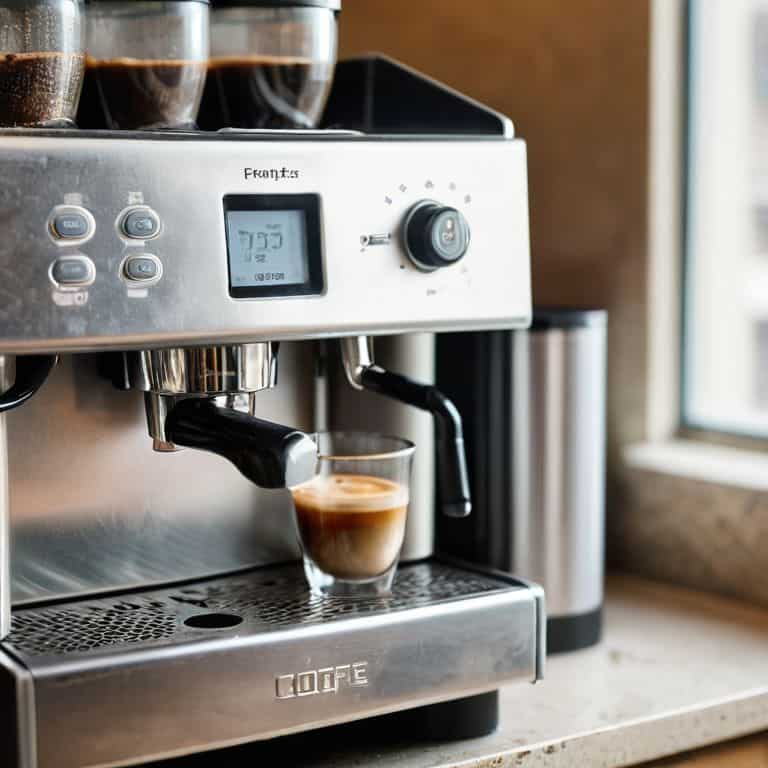
- 6. After rinsing, it’s a good idea to check the machine’s performance to ensure the descaling process was successful. This involves brewing a few cups of coffee and checking for any improvements in flavor or flow rate. If the machine still seems clogged or underperforming, it may be necessary to repeat the descaling process.
- 7. Finally, to keep your machine in top condition, it’s essential to schedule regular maintenance, including descaling, cleaning, and checking for worn-out parts. By staying on top of maintenance, you can extend the lifespan of your machine and ensure it continues to produce high-quality coffee for years to come.
Descale Like Engineer

As I always say, a clean machine is a happy machine. When it comes to descaling, it’s not just about dumping a solution into the water reservoir and hoping for the best. You need to understand how mineral buildup affects the taste of your coffee and the longevity of your equipment. I’ve seen it time and time again in my workshop: a coffee machine that’s been neglected, with limescale clogging up the inner workings, producing subpar brews.
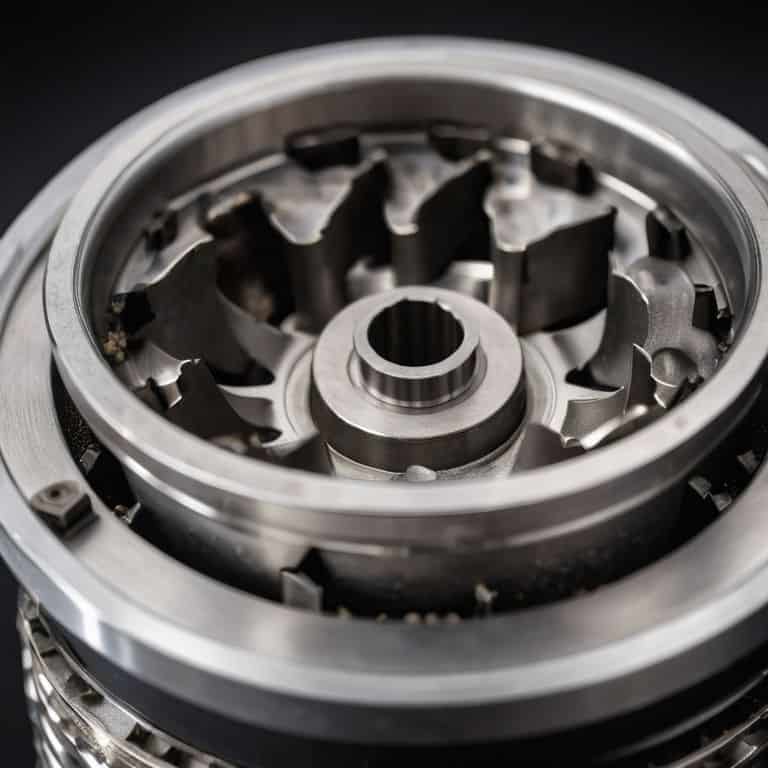
To truly descale like an engineer, you need to consider the effects of mineral buildup on coffee taste. It’s not just about removing limescale from the coffee maker; it’s about maintaining a regular coffee machine cleaning schedule. This includes checking and replacing worn-out parts, cleaning the brew group, and of course, descaling the machine. By doing so, you’ll be able to prevent clogging and ensure your coffee machine continues to produce high-quality brews.
In my experience, using coffee machine descaling solutions is the most effective way to remove limescale. However, some people swear by descaling coffee machines with lemon. While it’s not my preferred method, it can be a cost-effective alternative. The key is to find a method that works for you and stick to it. By doing so, you’ll be able to enjoy perfectly brewed coffee, every time, and extend the life of your coffee machine.
Coffee Machine Descaling Solutions
When it comes to descaling solutions, I’ve seen my fair share of concoctions. As someone who’s restored countless machines, I can tell you that not all descalers are created equal. I swear by a mixture of water and white vinegar – it’s a classic for a reason. The acidity helps break down limescale without damaging the machine’s internals. I’ve also experimented with citric acid-based solutions, which can be effective but require a more delicate touch.
In my workshop, I’ve developed a custom descaling solution that’s proven to be a game-changer. It’s a carefully calibrated blend of ingredients that targets limescale without compromising the machine’s materials. I’ve used it to revive everything from vintage espresso machines to modern pour-overs, and the results are consistently impressive.
Limescales Hidden Dangers
Limescale’s insidious effects go beyond just clogging your machine. It can also compromise the integrity of your equipment’s internal components, leading to premature wear and potentially even catastrophic failures. I’ve seen it time and time again in my workshop: a beautifully crafted espresso machine, ruined by the owner’s neglect of regular descaling. The damage is often irreparable, a testament to the devastating power of limescale buildup. As someone who appreciates the art of good engineering, it’s heartbreaking to see a well-designed machine fall victim to such a preventable issue.
In my experience, the hidden dangers of limescale are just as significant as its overt effects. Corroded pipes, seized pumps, and faulty sensors are just a few of the potential consequences of neglecting descaling. By understanding the risks, you can take proactive steps to protect your investment and ensure your coffee machine continues to perform at its best.
Descaling Like a Pro: 5 Tips from My Workshop

- Regularly inspect your machine’s water reservoir and pipes for signs of limescale buildup, as prevention is key to a long-lasting coffee machine
- Choose a descaling solution that’s specifically designed for your machine’s materials, as some chemicals can damage certain components
- Don’t just descale your machine, also clean and maintain its other parts, such as the brew group and steam wand, to prevent bacterial growth and mineral deposits
- Consider using a water filter or treatment system to reduce the mineral content of your water, which can help slow down limescale accumulation in your machine
- Keep a record of your descaling schedule and maintenance activities, as this will help you identify patterns and potential issues before they become major problems
Key Takeaways for a Limescale-Free Coffee Machine
Regular descaling is crucial to prevent limescale buildup, which can lead to reduced machine performance, increased energy consumption, and even premature failure
Choosing the right descaling solution and method is vital, whether you opt for a commercial product or a DIY approach, to ensure the longevity and optimal functioning of your coffee equipment
A well-maintained coffee machine, with regular descaling and proper upkeep, will not only deliver better-tasting coffee but also provide years of reliable service, making it a worthwhile investment for any coffee enthusiast
The Engineer's Verdict
Descaling a coffee machine isn’t just about dumping a solution and hoping for the best – it’s about understanding the intricacies of the machine, respecting its engineering, and taking deliberate, precise action to restore its performance, like a surgeon reviving a patient.
Simon Adler
Conclusion: The Engineer's Verdict
In our journey to descale a coffee machine, we’ve covered the essential steps and highlighted the importance of regular maintenance. From understanding the hidden dangers of limescale to exploring various descaling solutions, it’s clear that a well-maintained machine is not just a matter of taste, but also of longevity and performance. By following the engineer’s guide, you’ll be able to identify and address potential issues before they become major problems, ensuring your coffee machine continues to brew exceptional coffee for years to come. Remember, a clean machine is not just a matter of hygiene, but also of precision engineering.
As you put these lessons into practice, keep in mind that great coffee comes from great engineering. It’s not just about the beans or the roast, but about the machine itself and how well it’s maintained. By taking ownership of your coffee machine’s maintenance, you’re not just ensuring a great cup of coffee, but also appreciating the craftsmanship that goes into building these intricate devices. So, the next time you brew a cup, take a moment to appreciate the engineering that makes it all possible, and remember that a well-cared-for machine is a lifetime investment in great coffee.
Frequently Asked Questions
What are the most common signs that my coffee machine needs to be descaled?
If your coffee machine is taking longer to brew, or the water’s not flowing freely, it’s likely screaming for a descale. Other telltale signs include a decrease in pressure, leaks, or a general sluggishness. Trust me, I’ve heard my fair share of struggling machines in my workshop – it’s usually limescale’s doing.
Can I use homemade descaling solutions, such as vinegar, instead of commercial products?
Vinegar can work, but I’ve found it’s not as effective as commercial descalers. It’s like trying to cut metal with a dull saw – it’ll get the job done, but with more effort and potential damage. If you do use vinegar, make sure it’s a 1:1 ratio with water and descale in small cycles to avoid any damage to your machine’s internals.
How often should I descale my coffee machine to prevent limescale buildup and maintain its performance?
Descaling frequency depends on usage, but I recommend every 3-6 months for heavy users. Trust me, I’ve seen machines crippled by limescale. For moderate users, every 6-12 months should suffice. Keep an ear out for changes in your machine’s sound – a grinding or gurgling noise can signal it’s time for a descale.