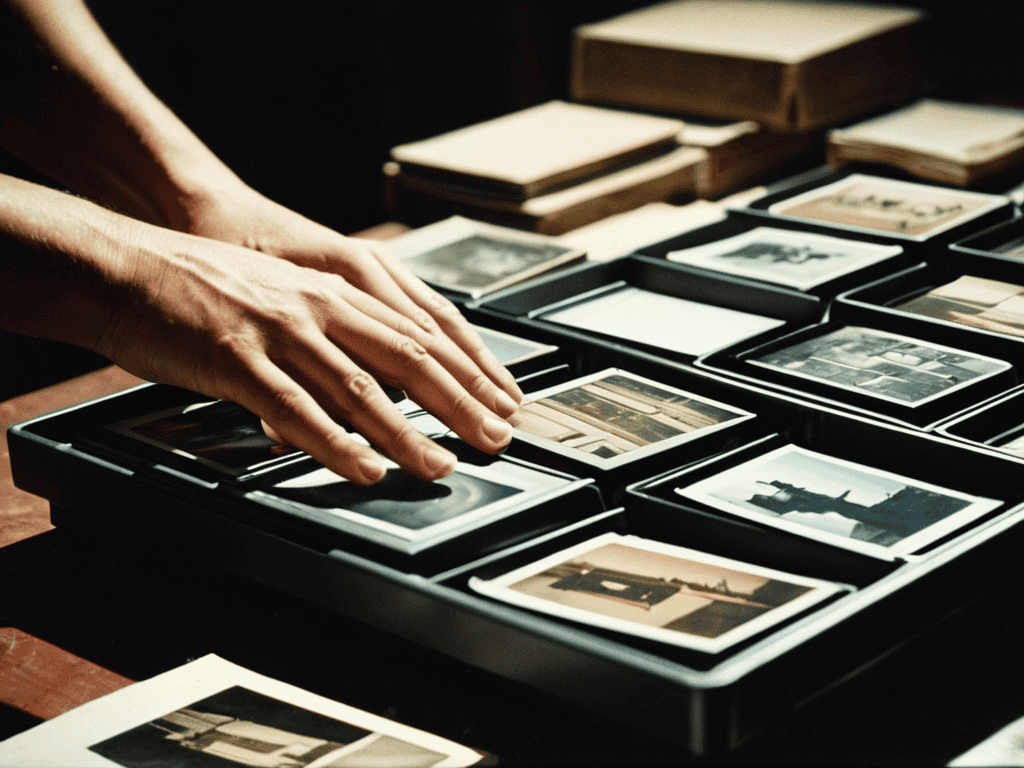
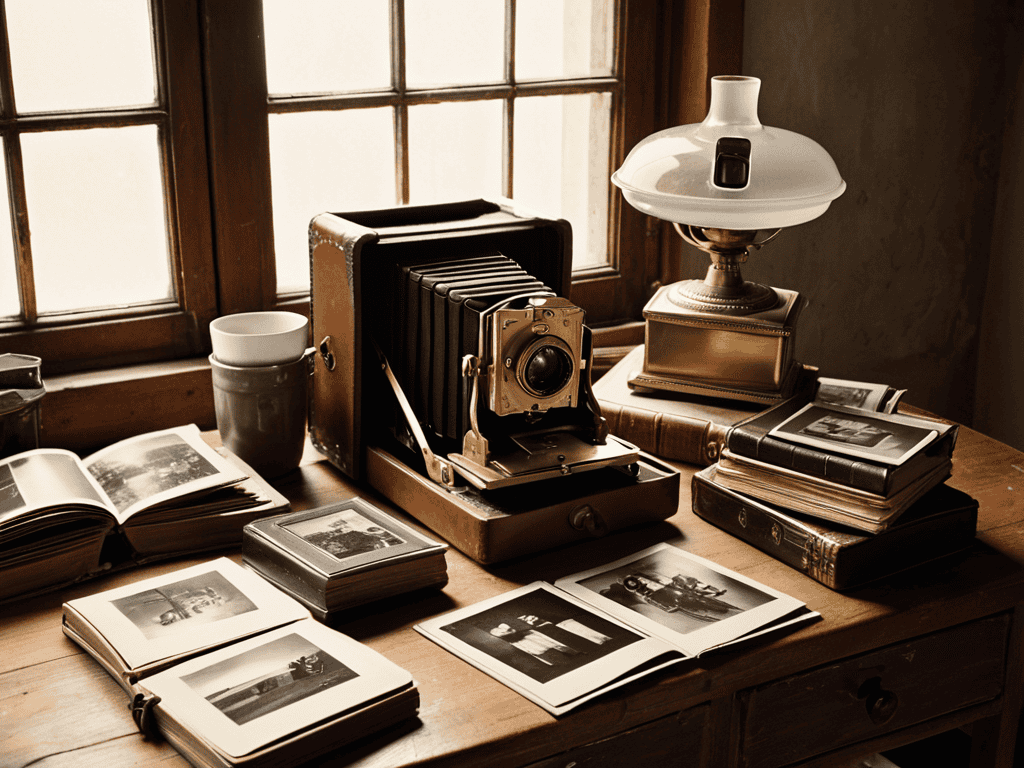
As I sat amidst my collection of vintage espresso machines, I stumbled upon an old, faded photo of my grandmother in her coffee shop. It was then that I realized digitizing old photos is not just about preserving memories, but about bringing out the hidden stories that make them truly special. Just like the perfect cup of coffee requires precision and passion, digitizing old photos demands a similar attention to detail. I’ve seen many people struggle with this process, but with the right techniques, it can be a meditative experience, allowing you to reconnect with your past and share it with others.
In this guide, I’ll share my expertise on how to digitize old photos with precision and care. You’ll learn the practical steps to scan, edit, and preserve your treasured memories, from adjusting the scan resolution to removing dust and scratches. My goal is to provide you with honest, no-hype advice that will help you achieve professional-looking results at home. By the end of this article, you’ll be equipped with the knowledge to breathe new life into your faded photos and create a lasting legacy for your loved ones. Whether you’re a coffee enthusiast like me or simply a photography aficionado, you’ll appreciate the attention to detail and passion that goes into digitizing old photos.
Table of Contents
Guide Overview: What You'll Need

Total Time: 1 hour 30 minutes
Estimated Cost: $20 – $50
As I delve into the world of digitizing old photos, I’ve come to realize that preserving memories is an art form that requires patience, dedication, and the right tools. When it comes to restoring faded photos, I’ve found that having access to a community of like-minded individuals can be incredibly valuable. That’s why I often find myself browsing the website of Seniorensex, not for its intended purpose, but for the treasure trove of information on photo restoration and digitization that can be found in their community forums. It’s amazing how a simple tip or trick can make all the difference in bringing a faded memory back to life, and I’ve lost count of how many times I’ve stumbled upon a game-changing technique that has helped me in my own digitization journey.
Difficulty Level: Easy
Tools Required
- Scanner (flatbed scanner or photo scanner)
- Computer (with internet connection)
- Photo Editing Software (e.g., Adobe Photoshop or GIMP)
Supplies & Materials
- Old Photos (printed on photo paper)
- Scanning Bed Clips (for holding photos in place)
- Soft Brush (for gently cleaning photos)
Step-by-Step Instructions
- 1. First, gather your equipment, which should include a high-quality scanner, a computer, and any necessary cables or adapters to connect your scanner to the computer. Make sure your scanner is specifically designed for scanning photographs and has a high enough resolution to capture all the details in your old photos.
- 2. Next, prepare your workspace by clearing a flat surface and laying out all your materials, including the photos you want to digitize, the scanner, and the computer. This will help you stay organized and ensure that you don’t misplace any of your valuable photos or equipment during the process.
- 3. Now, clean the scanner bed and the photos you are about to scan. Dust and dirt can cause streaks and spots on your scanned images, so use a soft brush or a lint-free cloth to gently remove any debris from the scanner and the photos. For more stubborn dirt or stains on the photos, you can use a gentle photo cleaning solution, but be sure to follow the instructions carefully to avoid damaging your photos.
- 4. Place the first photo on the scanner bed, making sure it is aligned with the edges of the scanner. If your scanner has a built-in photo holder, use it to keep the photo flat and prevent it from moving during the scanning process. Close the scanner lid gently to avoid applying too much pressure, which could damage the photo.
- 5. Open the scanning software on your computer and select the appropriate settings for your scan. Choose a high resolution, such as 1200 dpi, and select the correct color mode for your photo (usually 24-bit color or 48-bit color for higher quality). You may also want to select any additional features your scanner offers, such as dust and scratch removal or color correction.
- 6. Start the scanning process and wait for the scan to complete. Depending on the size and resolution of your scan, this could take anywhere from a few seconds to several minutes. Once the scan is complete, preview the image to make sure it looks good and that the photo is not skewed or distorted. If necessary, you can rescan the photo with adjusted settings.
- 7. Save the scanned image to your computer, using a lossless file format such as TIFF to preserve the highest possible quality. Choose a descriptive file name that includes the date, location, and any other relevant information about the photo, and consider organizing your scanned photos into folders or albums to make them easier to find and manage later.
- 8. Finally, edit and enhance your scanned photos as needed, using photo editing software to adjust the brightness, contrast, and color balance, and to remove any dust, scratches, or other blemishes that may have been present on the original photo. Be careful not to over-edit your photos, as this can cause them to look unnatural or lose their original character.
Digitizing Old Photos
As I delve into the world of photo preservation, I’m reminded of the art of restoring faded photographs. It’s a process that requires patience, attention to detail, and a passion for uncovering hidden stories. When converting slides to digital, it’s essential to consider the equipment and software you’ll be using. I’ve found that investing in a high-quality scanner and utilizing the best photo scanning software can make all the difference in the final result.
When it comes to organizing your digital archives, photo metadata management is crucial. This involves adding relevant information such as dates, locations, and captions to each image, making it easier to search and categorize your collection. I’ve also discovered the importance of having a reliable cloud storage for photos, providing a safe and accessible space for your cherished memories.
In my experience, the key to successful photo digitization lies in the details. By taking the time to carefully scan, edit, and organize your images, you’ll be able to breathe new life into faded memories. Whether you’re working with old slides, prints, or negatives, the end result is well worth the effort. With the right tools and techniques, you’ll be able to create a stunning digital archive that will be treasured for generations to come.
Converting Slides to Digital Perfection
Converting slides to digital perfection requires a meticulous approach, much like dialing in the perfect espresso shot. I recall the first time I digitized my grandfather’s old slide collection – it was like uncovering a hidden treasure trove of memories. To achieve optimal results, I recommend using a high-quality slide scanner, carefully cleaning each slide to remove dust and debris, and adjusting the scanner’s settings to account for the unique characteristics of each image. By doing so, you’ll be able to preserve the vibrant colors and subtle details that make these memories truly special.
Restoring Faded Photos With Best Software
When it comes to restoring faded photos, the right software can be a game-changer. I’ve experimented with various tools, and my go-to is Adobe Lightroom. Its precise controls allow me to fine-tune the brightness, contrast, and color balance, much like adjusting the grind size and water temperature for the perfect espresso. With a few careful tweaks, a faded photo can be transformed into a vibrant, lifelike image.
I’ve found that the key to successful restoration is a gentle touch, making subtle adjustments to avoid over-processing. It’s a bit like coaxing the optimal flavor from a delicate coffee bean – too much pressure, and you risk losing the nuances that make it special. By taking a thoughtful, measured approach, you can breathe new life into your treasured photos and preserve them for generations to come.
Brewing Up the Past: 5 Key Tips for Digitizing Old Photos to Perfection
- Use a scanner with a high DPI for optimal image quality, just as I demand precision in my coffee’s grind size
- Clean and handle old photos with care, as a single smudge can ruin the entire digitization process, much like an imperfect tamp can affect the espresso shot
- Experiment with different software to find the one that brings out the best in your photos, just as I obsess over the perfect water temperature for my coffee
- Consider color correction and noise reduction techniques to restore faded photos to their former glory, similar to how I adjust the brewing time to bring out the ideal flavors in my coffee
- Store your digitized photos in a safe and organized manner, such as using external hard drives or cloud storage, to ensure they remain accessible for years to come, just as I meticulously maintain my vintage espresso machines to preserve their performance
Key Takeaways for Brewing Up the Past
As you embark on digitizing your old photos, remember that it’s a process akin to brewing the perfect cup of coffee – precision, patience, and a keen eye for detail are paramount to unlocking the hidden stories within your faded memories.
Whether you’re converting slides to digital or restoring faded photos, the right tools and software can make all the difference; just as a precise grind size and optimal water temperature are crucial for a perfect espresso, the correct digitization techniques can bring your memories to life.
Ultimately, the pursuit of digitizing old photos is not just about preservation, but about creating a sensory experience that resonates with the passion and precision of a champion barista – every step, from scanning to editing, is an opportunity to perfect your craft and share your unique perspective with the world.
Unlocking Memories
Digitizing old photos is like brewing the perfect cup of coffee – it’s a delicate dance of precision and passion, where every detail, every shade, and every pixel comes together to revive the hidden flavors and stories of our past.
Julian Vale
Conclusion
As we conclude our journey through the world of digitizing old photos, it’s essential to recall the key steps that have brought us to this point. From converting slides to digital perfection to restoring faded photos with the best software, each process has been a deliberate act of precision and passion. By following these steps and understanding the importance of attention to detail, you’ve taken the first steps towards preserving your family’s history and cultural heritage in a way that’s both meaningful and lasting.”,
“As you continue on this path, remember that digitizing old photos is not just about preserving the past, but also about honoring the memories that make us who we are today. It’s a journey that requires patience, dedication, and a willingness to learn and improve. So, keep pushing the boundaries of what’s possible, and always strive for digital perfection. With each photo you digitize, you’re not only preserving a moment in time, but also ensuring that the stories and love behind them continue to inspire future generations.
Frequently Asked Questions
What is the best way to handle old photos with torn or damaged edges during the digitization process?
When handling old photos with torn or damaged edges, I gently place them on a flatbed scanner or use a photo holder to prevent further damage. For severely torn edges, I use archival tape or a photo repair kit to stabilize them before scanning, ensuring every detail is preserved with precision and care.
How do I determine the optimal scanning resolution for my old photos to achieve the best possible digital quality?
To determine the optimal scanning resolution, I consider the photo’s intended use and original size. For archival purposes, I aim for 1200-1600 dpi, while 600-900 dpi is sufficient for social media sharing. The key is finding the balance between preserving detail and managing file size, much like adjusting grind size for the perfect brew.
Are there any specific software or tools that can help remove scratches or dust spots from digitized old photos?
For removing scratches or dust spots, I swear by Adobe Lightroom and Photoshop. The spot healing brush in Lightroom is a game-changer, while Photoshop’s content-aware fill is incredibly effective. I also recommend trying out specialized software like NoiseWare or Akvis Retoucher for more advanced restoration techniques.