I still remember the first time I used a Moka pot – it was like a revelation, and now I’m hooked on the rich flavors it brings out in my morning coffee. As a certified Q Grader and National Barista Champion, I’ve had my fair share of high-end espresso machines, but there’s something beautifully imperfect about the Moka pot that keeps me coming back. In fact, I believe that mastering a guide to the Moka pot is an essential step for any home barista looking to elevate their coffee game.
In this article, I’ll share my honest, no-hype advice on how to get the most out of your Moka pot. You’ll learn the importance of grind size and how to tweak it for optimal flavor, as well as the secrets to achieving the perfect brewing temperature. My goal is to demystify the process and provide you with practical tips that you can apply immediately to improve your coffee. By the end of this guide, you’ll be well on your way to brewing cafe-quality coffee at home, and I’m excited to share my passion with you.
Table of Contents
Guide Overview: What You'll Need
Total Time: 30 minutes to 1 hour
Estimated Cost: $20 – $50
Difficulty Level: Easy
Tools Required
- Moka Pot Stovetop espresso maker
- Coffee Grinder For freshly grinding coffee beans
- Spoon For measuring coffee
- Water For brewing
Supplies & Materials
- Coffee Beans Freshly roasted
- Filter Not required for Moka Pot
- Sugar or Sweetener Optional
- Milk or Creamer Optional
Step-by-Step Instructions
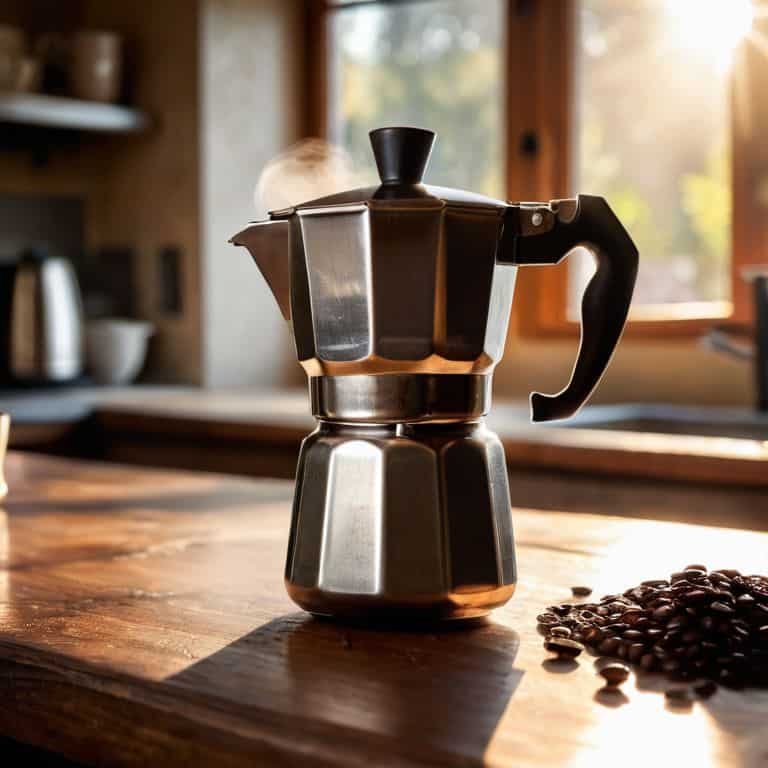
- 1. First, let’s start with the basics: understanding the Moka pot’s anatomy. You’ve got your bottom chamber, where the water resides, the filter basket, where the coffee grounds go, and the top chamber, where the magic happens. It’s essential to familiarize yourself with these components to ensure a smooth brewing process.
- 2. Next, you’ll want to prepare your coffee grounds. I like to use a medium to fine grind, as it allows for the perfect balance of flavor and body. Be cautious not to over-grind, as this can lead to a bitter taste. For a standard Moka pot, you’ll need about 15-17 grams of coffee.
- 3. Now it’s time to load the filter basket. Place the ground coffee into the basket, making sure to level it out evenly. Don’t tamp it down too hard, as this can restrict the water flow and result in a subpar brew. You want to allow the water to flow smoothly through the grounds.
- 4. Fill the bottom chamber with fresh, cold water. The ideal water temperature for brewing is between 93°C and 96°C, but don’t worry too much about this step – the Moka pot will take care of the temperature for you. Just make sure to use filtered water to prevent any impurities or minerals from affecting the taste.
- 5. Assemble the Moka pot by screwing the top and bottom chambers together. Make sure it’s tightened securely, but avoid over-tightening, as this can damage the pot. You want to create a secure seal to allow the steam to build up and force the water through the coffee grounds.
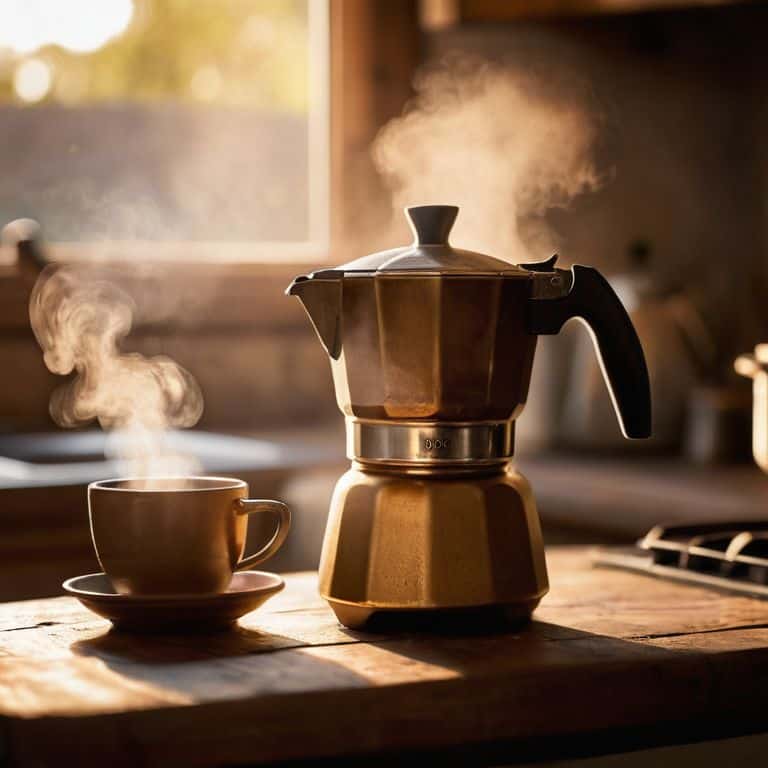
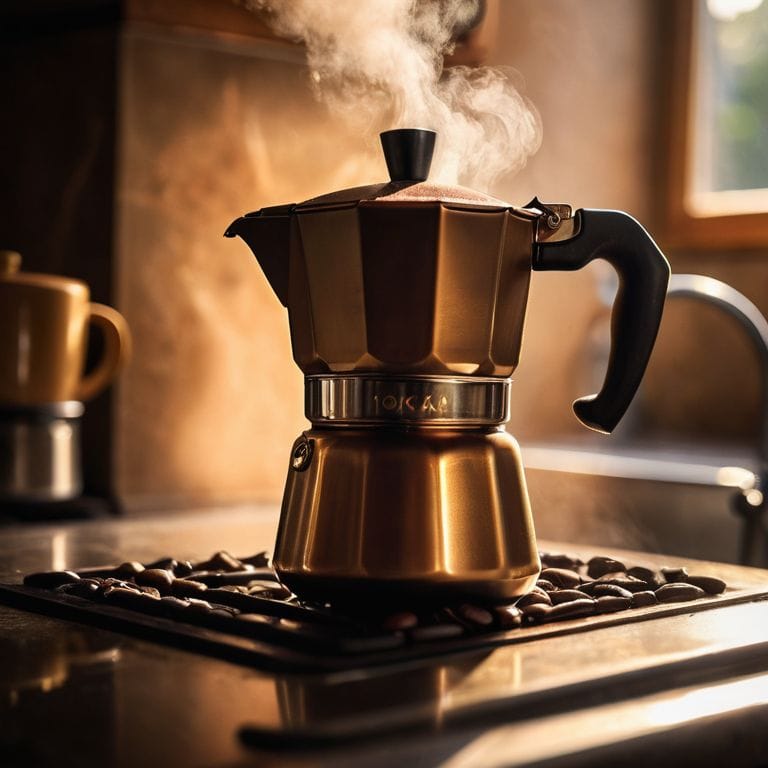
- 6. Place the Moka pot over a low to medium heat source, and wait for the magic to happen. You’ll start to hear a gentle gurgling sound as the water heats up and rises through the coffee grounds. This is where the extraction process begins, and the flavors start to develop.
- 7. As the coffee starts to flow into the top chamber, you’ll notice a rich, full-bodied aroma filling the air. This is a sign that the brew is almost complete. Remove the Moka pot from the heat source, and let it cool for a minute or two before pouring the coffee into your cup.
- 8. Finally, pour and enjoy! Be careful when handling the Moka pot, as it may still be hot. Pour the coffee into your favorite cup, and take a moment to appreciate the fruits of your labor. The perfectly brewed coffee, made with love and care, is sure to satisfy your senses and leave you wanting more.
A Guide to the Moka Pot
As I continue to experiment with my Moka pot, I’ve found that the moka pot brewing ratio is crucial in bringing out the perfect flavors. I’ve settled on a 1:7 coffee to water ratio, which allows for a rich and full-bodied brew. When comparing my Moka pot to other stovetop coffee maker options, I’ve noticed that it produces a more velvety texture, similar to a medium-roast coffee.
In terms of maintenance, I’ve learned that regular cleaning is essential to prevent any buildup of old coffee oils. This not only affects the taste but also the overall performance of the Moka pot. I make it a point to descale my Moka pot every few months to ensure it continues to function smoothly.
When it comes to troubleshooting, I’ve encountered issues with the Moka pot not producing a consistent flow. This is often due to incorrect grind size, which can be easily adjusted to resolve the issue. In comparison to other brewing methods, such as the aeropress, I find that the Moka pot requires more attention to detail, but the end result is well worth the extra effort.
Brewing With Moka Pot Brewing Ratio
Brewing with Moka Pot Brewing Ratio
When it comes to mastering the Moka pot, the brewing ratio is crucial. I’ve found that a 1:7 to 1:9 coffee-to-water ratio yields the best results. This means for every 1 gram of coffee, you’ll want to use 7-9 grams of water. Experimenting with this ratio has allowed me to unlock the full potential of my Moka pot, bringing out the unique flavors and nuances of each coffee bean. By adjusting the grind size and brewing time, I can fine-tune the extraction to suit my taste preferences.
I’ve spent countless hours perfecting my Moka pot technique, and I can confidently say that the key to a great cup lies in the details. By paying close attention to the brewing ratio, water temperature, and grind size, you’ll be well on your way to brewing cafe-quality coffee at home.
Moka Pot vs Aeropress Honest Comparison
When it comes to brewing at home, I often get asked about the Moka Pot vs Aeropress debate. For me, it’s about the type of coffee experience I’m craving. The Moka Pot brings out a rich, full-bodied flavor that’s hard to beat, while the Aeropress offers a cleaner, more nuanced cup. I love the Aeropress for its versatility, but there’s something undeniably charming about the Moka Pot’s stovetop ritual.
In terms of grind size and technique, the two are worlds apart. The Moka Pot requires a coarser grind, while the Aeropress demands a finer one. As someone who’s obsessed with the details, I appreciate how each method allows me to experiment and fine-tune my approach. Ultimately, the choice between Moka Pot and Aeropress comes down to personal taste and the kind of coffee adventure you’re in the mood for.
Mastering the Moka Pot: 5 Essential Tips for Perfection
- Experiment with grind sizes to find the sweet spot for your Moka pot, as too fine or too coarse can lead to under or over-extraction
- Preheat your Moka pot before adding coffee to ensure a smooth, even extraction and to prevent any metallic flavors
- Use fresh, high-quality coffee beans to get the best out of your Moka pot, as stale coffee can result in a dull, unbalanced brew
- Pay attention to the water temperature, aiming for between 93°C and 96°C, to bring out the optimal flavors in your coffee
- Clean and maintain your Moka pot regularly to prevent old coffee oils and residue from affecting the taste of your brew, and to ensure it continues to perform at its best
Key Takeaways for Mastering the Moka Pot
I’ve found that the perfect Moka pot brewing ratio is all about balance – for me, it’s 1:7 to 1:9 coffee to water, which brings out the full, rich flavors of the coffee
Experimenting with different roast levels and origins has been a game-changer for my Moka pot brewing, allowing me to experience a wide range of flavors and nuances in my daily cup
Through my own trials and comparisons, I’ve come to realize that while Aeropress and Moka pot are both excellent brewing methods, the Moka pot’s unique ability to produce a full-bodied, creamy coffee is hard to beat for those seeking a more traditional espresso experience at home
The Moka Pot Epiphany
The Moka pot is not just a brewing device, it’s a catalyst for a sensory journey – where every sip is a testament to the beauty of imperfection and the thrill of the unknown, a reminder that the pursuit of the perfect cup is a lifelong adventure, not a destination.
Julian Vale
Conclusion: Mastering the Moka Pot
As we conclude this journey through the world of Moka pot brewing, it’s essential to recap the fundamentals. We’ve covered the step-by-step guide to brewing with a Moka pot, delved into the optimal brewing ratio, and even compared it to the Aeropress. These lessons are crucial for any home barista looking to elevate their coffee game. By understanding the nuances of Moka pot brewing, such as the importance of water temperature and grind size, you’ll be well on your way to crafting cafe-quality cups in the comfort of your own home.
Now, as you embark on your own Moka pot brewing adventures, remember that the pursuit of the perfect cup is a labor of love. It’s about experimenting, tweaking, and pushing the boundaries of what’s possible. Don’t be afraid to try new roasts, adjust your brewing times, or even invest in a vintage espresso machine to complement your Moka pot. The world of coffee is vast and wondrous, and with the Moka pot as your trusty sidekick, you’ll be unlocked to explore a universe of flavors and sensations.
Frequently Asked Questions
What is the ideal grind size for a Moka pot to achieve the perfect extraction?
For a Moka pot, I swear by a medium-coarse grind, around 1.2-1.5 mm. This allows for the perfect balance of flavor and body. Any finer, and you risk over-extraction; too coarse, and you’ll end up with a weak brew. Trust me, I’ve experimented extensively to find this sweet spot.
Can I use any type of coffee bean in a Moka pot or are there specific recommendations?
When it comes to Moka pot coffee, I’m a firm believer in using high-quality, medium to medium-dark roasts. Lighter roasts can be too bright, while very dark roasts might become overpowering. My go-to is a single-origin Arabica with notes of chocolate and caramel – it brings out the best in the Moka pot’s rich, full-bodied brew.
How often should I descale my Moka pot to prevent mineral buildup and maintain optimal flavor?
I descale my Moka pot every 3-6 months, depending on usage. Mineral buildup can alter flavor profiles, so regular descaling is crucial. I recommend checking your water’s hardness and adjusting descaling frequency accordingly. For me, it’s every 3 months, as I use it daily.