I still remember the frustration of trying to dial in a coffee grinder for the first time. Everyone told me it was as simple as following the manufacturer’s instructions, but I soon discovered that this was a myth. The truth is, finding the perfect grind setting is more of an art than a science, and it requires a deep understanding of how different variables interact with each other. When I first started competing in barista championships, I spent hours experimenting with different grind sizes and settings to find the one that brought out the full flavor of my coffee. It wasn’t until I learned how to dial in a coffee grinder that I was able to achieve consistent results and take my brewing to the next level.
In this article, I’ll share my personal approach to how to dial in a coffee grinder, including the key factors that affect grind quality and the simple techniques you can use to optimize your grinder’s performance. I’ll cut through the hype and provide you with practical advice on how to find the perfect grind setting for your coffee, whether you’re a beginner or an experienced barista. By the end of this guide, you’ll have a clear understanding of the process and be able to dial in a coffee grinder like a pro, unlocking the full potential of your coffee and taking your brewing to new heights.
Table of Contents
Guide Overview: What You'll Need
Total Time: 30 minutes to 1 hour
Estimated Cost: $0 – $20
Difficulty Level: Easy
Tools Required
- Coffee Grinder (with adjustable grind settings)
- Scale (for measuring coffee beans)
- Spoon or scoop (for measuring coffee beans)
- Brewing device (e.g., French press, pour-over, or drip brewer)
Supplies & Materials
- Coffee beans (of your preferred roast level and flavor profile)
- Water (for brewing coffee)
- Paper or metal filters (depending on your brewing device)
Step-by-Step Instructions
- 1. To start dialing in your coffee grinder, begin by understanding the basics of your grinder’s settings, including the burr type and the adjustment mechanism. Take some time to read through the manual, and get familiar with how the different parts work together to produce the perfect grind. Grind size is crucial, as it affects the extraction time and the overall flavor of your coffee.
- 2. Next, choose a coffee bean that you’re familiar with, and that you know works well with your brewing method. For me, it’s all about the nuances of a single-origin Ethiopian Yirgacheffe – the floral notes and the hint of citrus are a perfect match for my daily pour-over. Measure out the right amount of coffee, usually around 17-20 grams for a double shot, and place it in the grinder’s hopper.
- 3. Now it’s time to adjust the grind setting, and this is where things can get a bit tricky. You’ll want to start with a medium-coarse grind, and then gradually adjust it to find the sweet spot. I like to use a grind distribution chart to help me visualize the process, and to ensure that I’m getting the right balance of fines and boulders. Remember, the goal is to find a grind that’s consistent, and that will allow for the perfect extraction.
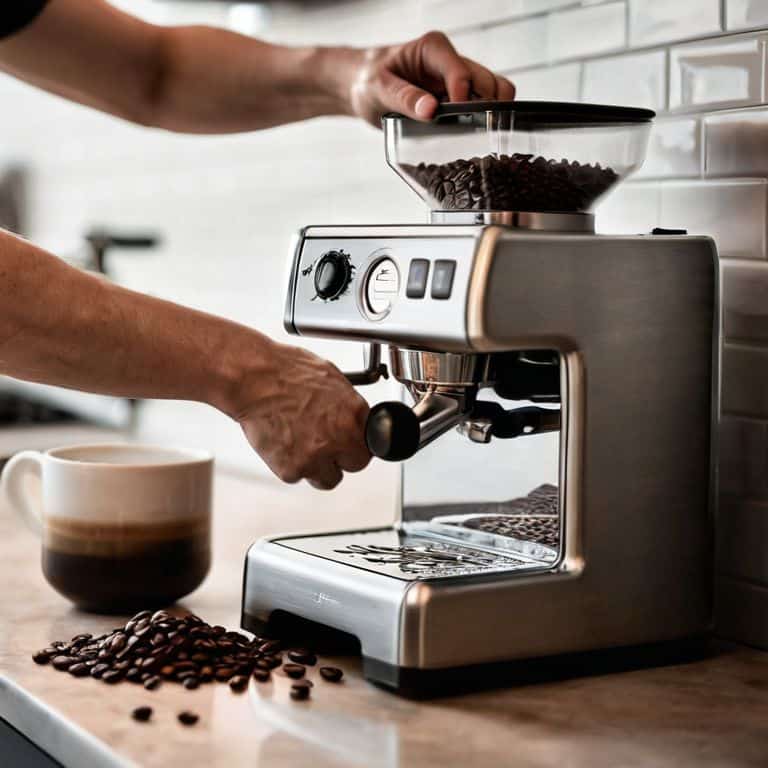
- 4. With your grind setting adjusted, it’s time to test the grind by running a few shots through your espresso machine. Pay close attention to the flow rate, and the overall taste of the coffee. If it’s too fast, you’ll need to adjust the grind to be finer – if it’s too slow, you’ll need to make it coarser. I like to use a shot timer to help me keep track of the flow rate, and to ensure that I’m getting the perfect 25-30 second shot.
- 5. As you continues to refine your grind, you’ll start to notice the subtle differences in flavor and aroma that come with each adjustment. This is where the magic happens, and where you’ll start to develop your own unique sense of taste and style. Don’t be afraid to experiment and try new things – it’s all part of the process, and it’s what makes dialing in a coffee grinder so rewarding.
- 6. Once you’ve found your optimal grind setting, take note of the details so you can replicate it in the future. Write down the grind size, the coffee-to-water ratio, and any other relevant details that will help you to achieve the same results again. I like to use a coffee journal to keep track of my progress, and to reflect on what’s working and what’s not.
- 7. Finally, maintain your grinder regularly to ensure that it continues to perform at its best. This includes cleaning the burrs, and checking for any wear and tear that may be affecting the grind. A well-maintained grinder is essential for producing high-quality coffee, and it’s what sets the professionals apart from the amateurs. By following these steps, and by continuously refining your craft, you’ll be well on your way to dialing in your coffee grinder like a pro.
Dialing in Perfection
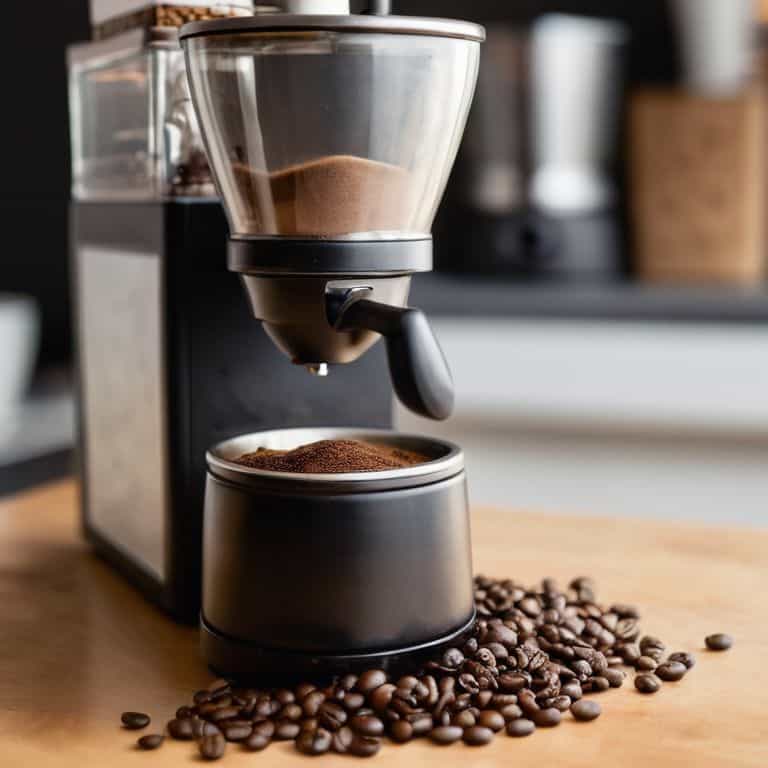
As I continue to refine my grind, I’ve come to realize the importance of coffee grind distribution. It’s not just about finding the perfect setting, but also ensuring that the grind is consistent throughout. I’ve found that using a burr grinder helps to achieve a more uniform grind, which in turn leads to a better extraction. By experimenting with different grind settings, I’ve been able to dial in the perfect balance for my morning espresso.
One of the key factors in achieving optimal grind size is grinder calibration techniques. I’ve learned that it’s essential to regularly calibrate my grinder to ensure that it’s producing the correct particle size. This involves adjusting the grind setting and testing the output to ensure that it’s within the ideal range. By doing so, I’ve been able to achieve a more consistent flavor and crema in my espresso shots.
To take my grind to the next level, I’ve started to experiment with coffee particle size analysis. By analyzing the particle size of my grind, I’ve been able to identify areas for improvement and make adjustments to my grind setting. This has allowed me to achieve a more optimal grind size for espresso, resulting in a richer and more full-bodied flavor.
Coffee Grind Distribution the Secret Sauce
To truly dial in perfection, I obsess over coffee grind distribution – the secret to a balanced extraction. It’s all about the grind’s consistency and flow. I’m talking about the difference between a channeling, under-extracted mess and a rich, full-bodied delight. By adjusting my grinder’s settings to achieve a uniform particle size, I ensure that every bean is evenly saturated, allowing the nuances of the coffee to shine through.
I’ve spent countless hours experimenting with different grind distributions, and I can confidently say that it’s the key to unlocking the perfect cup. When the grind is just right, the water flows through it like a symphony, extracting the ideal amount of flavors and oils. It’s a beautiful thing, really – and it’s what separates a good cup from a truly exceptional one.
Grinder Calibration Techniques for Optimal Espresso
To truly master the art of espresso, I’ve found that grinder calibration is crucial. It’s all about finding that sweet spot where the grind size and distribution come together in perfect harmony. I’ve spent countless hours tweaking my grinder’s settings, testing different burr combinations, and analyzing the resulting grind patterns. By doing so, I’ve developed a keen sense of how subtle changes can impact the final shot.
For optimal espresso, I recommend calibrating your grinder to produce a precise, consistent grind. This involves adjusting the burrs to achieve a specific micron range, usually between 200-500 microns, depending on the roast level and desired flavor profile. By dialing in this range, you’ll be able to extract the full potential of your coffee beans, resulting in a rich, balanced shot with a silky crema.
Fine-Tuning Your Grind: 5 Essential Tips
- Ditch the Guesswork: Invest in a Scale to Measure Your Coffee Beans by Weight, Not Volume
- Grinder Blade Maintenance is Key: Clean and Align Your Blades Regularly for Consistent Grind Quality
- Experiment with Grind Settings: Don’t Be Afraid to Try New Settings to Find the Perfect Balance for Your Brew
- Match Your Grind to Your Brew Method: From French Press to Espresso, Each Method Requires a Unique Grind Size for Optimal Flavor
- Keep it Fresh: Grind Your Beans Immediately Before Brewing to Preserve the Delicate Oils and Flavors That Make Great Coffee
Key Takeaways for Dialing in Your Coffee Grinder
Dialing in your coffee grinder is a journey, not a destination – it requires patience, experimentation, and a willingness to fine-tune your settings to bring out the unique flavor profile of your favorite beans
Understanding coffee grind distribution and grinder calibration techniques is crucial for achieving optimal espresso extraction, and it’s worth investing time in learning about the intricacies of grind size, shape, and consistency
By mastering the art of dialing in your coffee grinder, you’ll be able to unlock the full potential of your coffee beans, elevate your brewing game, and get closer to that elusive ‘god shot’ – the perfect espresso that will leave you and your taste buds in awe
The Art of Precision
Dialing in a coffee grinder is not just about finding the right setting, it’s about understanding the intricate dance between beans, burrs, and brew – it’s a journey of nuances, where every micron and every degree matters in the pursuit of the perfect cup.
Julian Vale
Mastering the Art of Dialing In
As I reflect on my journey to perfecting the grind, I realize that it’s a continuous process of refinement and experimentation. From understanding the importance of coffee grind distribution to mastering grinder calibration techniques, each step is crucial in achieving that elusive perfect cup. By following the steps outlined in this guide, you’ll be well on your way to dialing in your coffee grinder like a pro, and discovering the nuances of flavor that make every cup a unique experience. Remember, it’s all about finding that sweet spot where the flavors come together in harmony.
So, as you embark on your own journey to coffee greatness, I encourage you to stay curious, keep experimenting, and always strive for perfection in every shot. Don’t be afraid to try new things, to push the boundaries of what’s possible, and to never settle for a subpar cup. With dedication and practice, you’ll be joining the ranks of the coffee elite, and experiencing the joy of crafting truly exceptional coffee that will leave everyone wanting more.
Frequently Asked Questions
How often should I calibrate my coffee grinder to ensure optimal performance?
For me, calibration is an ongoing process – I check my grinder’s performance daily, but deep calibration happens every 1-2 weeks, depending on usage. I also recalibrate whenever I switch coffee beans or notice a flavor shift. It’s all about staying attuned to the subtleties of your equipment and the coffee it produces.
What's the ideal grind size distribution for a balanced espresso shot?
For a balanced espresso shot, I aim for a grind size distribution that’s around 60-70% of particles in the 600-1200 micron range. This allows for the perfect balance of flavor and body. I’ve found that a distribution with a sharp peak around 900 microns yields a shot with incredible clarity and depth.
Can I use a blade grinder to dial in my coffee, or is a burr grinder absolutely necessary?
Honestly, I’d advise against using a blade grinder for dialing in – the heat and inconsistency can ruin your coffee. Burr grinders are the way to go for precise control over grind size and distribution, which is crucial for achieving that perfect shot. Trust me, the upgrade is worth it.