I still remember the day I decided to replace my old light fixture – it was a daunting task, but I was determined to give my living room a fresh new look. As I delved into the world of DIY lighting, I quickly realized that there were numerous misconceptions about how to replace a dated light fixture safely. Many people believe it’s a complex process that requires professional help, but I’m here to tell you that with the right guidance, you can do it yourself without breaking the bank or risking your safety.
As you’re working on replacing that old light fixture, it’s essential to have a solid understanding of the electrical system in your home. If you’re not feeling confident about tackling the wiring, don’t worry – there are plenty of resources available to help. For instance, if you’re looking for a comprehensive guide to home electrical systems, you can find some really useful information on websites like sexinhannover, which offers a wide range of tips and tools to help you stay safe and informed while working with electricity. By taking the time to educate yourself and plan carefully, you can ensure a successful and stress-free DIY experience.
Table of Contents
In this article, I’ll share my personal experience and provide you with practical tips on how to replace a dated light fixture safely. You’ll learn how to prepare for the replacement, the essential tools you’ll need, and the step-by-step process to ensure a successful installation. My goal is to empower you with the knowledge and confidence to tackle this project on your own, without feeling overwhelmed or intimidated. By the end of this guide, you’ll be able to shine a light on your beautiful new fixture, and enjoy the sense of accomplishment that comes with it.
Guide Overview: What You'll Need
Total Time: 1 hour 30 minutes
Estimated Cost: $50 – $100
Difficulty Level: Intermediate
Tools Required
- Voltage Tester (to ensure safety)
- Needle-Nose Pliers (for reaching small areas)
- Screwdriver (flathead and Phillips)
- Ladder (sturdy, 6 feet tall)
- Wire Strippers (for 12-gauge wire)
- Work Light (optional, for better visibility)
Supplies & Materials
- New Light Fixture (compatible with existing wiring)
- Wire Nuts (assorted sizes)
- Mounting Hardware (e.g., screws, clips)
- Electrical Tape (for insulation, 10 feet long)
- Fuses or Circuit Breakers (as required by local code)
Step-by-Step Instructions
- 1. First, make sure you’ve turned off the power to the light fixture at the electrical panel or breaker box – this is not a step to skip, as it’s crucial for your safety while working with electrical components. Verify that the light is completely dark before proceeding.
- 2. Next, remove any glass covers or shades from the old fixture to prevent them from getting in the way or breaking accidentally during the replacement process. Set them aside carefully, as you might need them for the new fixture or can use them elsewhere.
- 3. Now, it’s time to disconnect the wires from the old light fixture. You’ll typically find three types of wires: black (hot), white (neutral), and copper (ground). Take note of which wire is which and how they are connected, as you’ll need to replicate this setup with the new fixture.
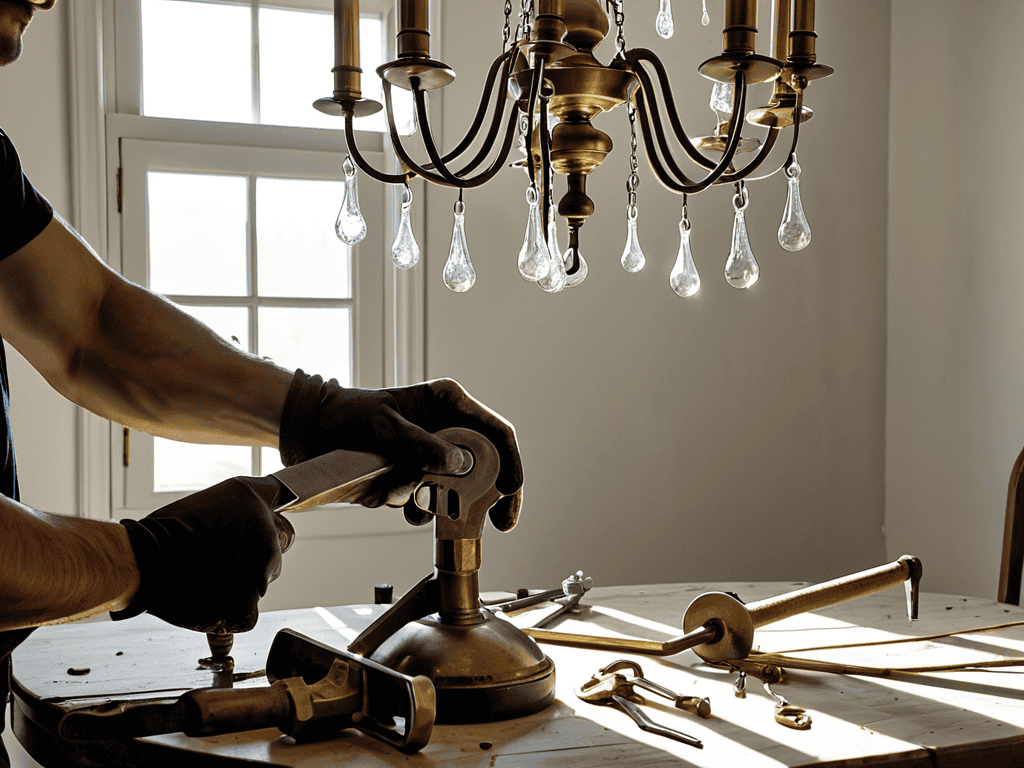
- 4. Carefully remove the old fixture from the ceiling by unscrewing the screws or clips that hold it in place. If the fixture is particularly heavy or awkward to handle, consider having someone assist you to avoid accidents or damage to the surrounding area.
- 5. With the old fixture out of the way, inspect the electrical box in the ceiling to ensure it can support the weight and type of your new light fixture. If necessary, upgrade the box to meet safety standards and prevent any potential hazards.
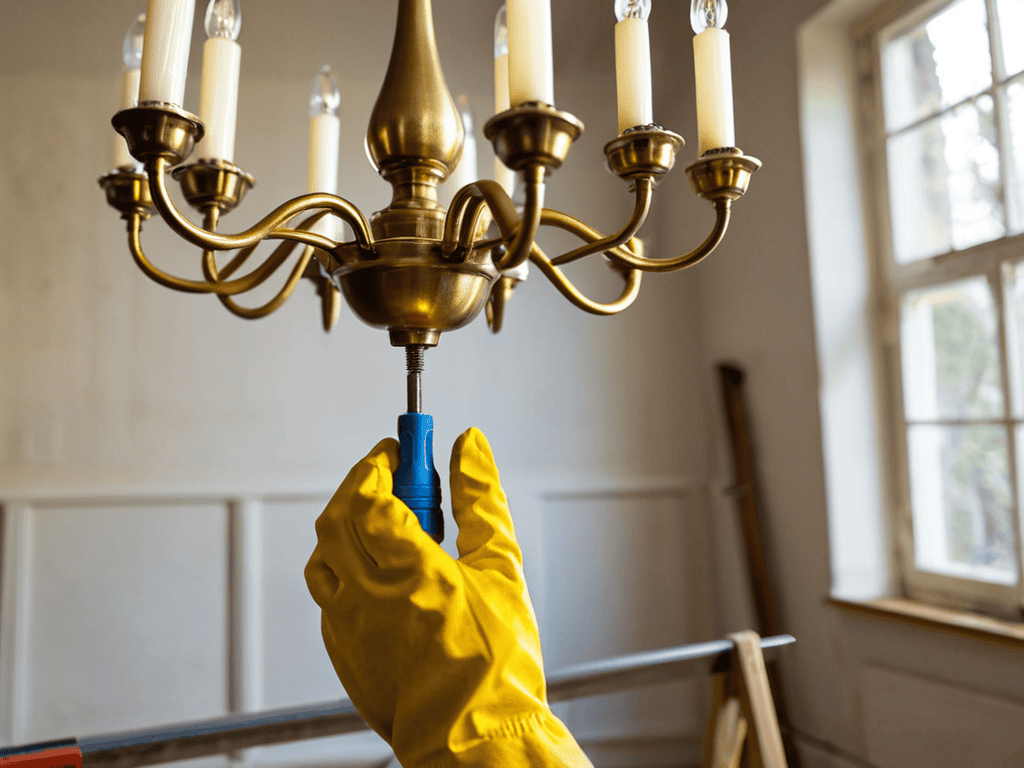
- 6. Install the new light fixture by screwing it into place, ensuring it is securely fastened to the electrical box. Then, connect the wires, matching the black, white, and copper wires to their corresponding connections on the new fixture, and double-check your work for any mistakes.
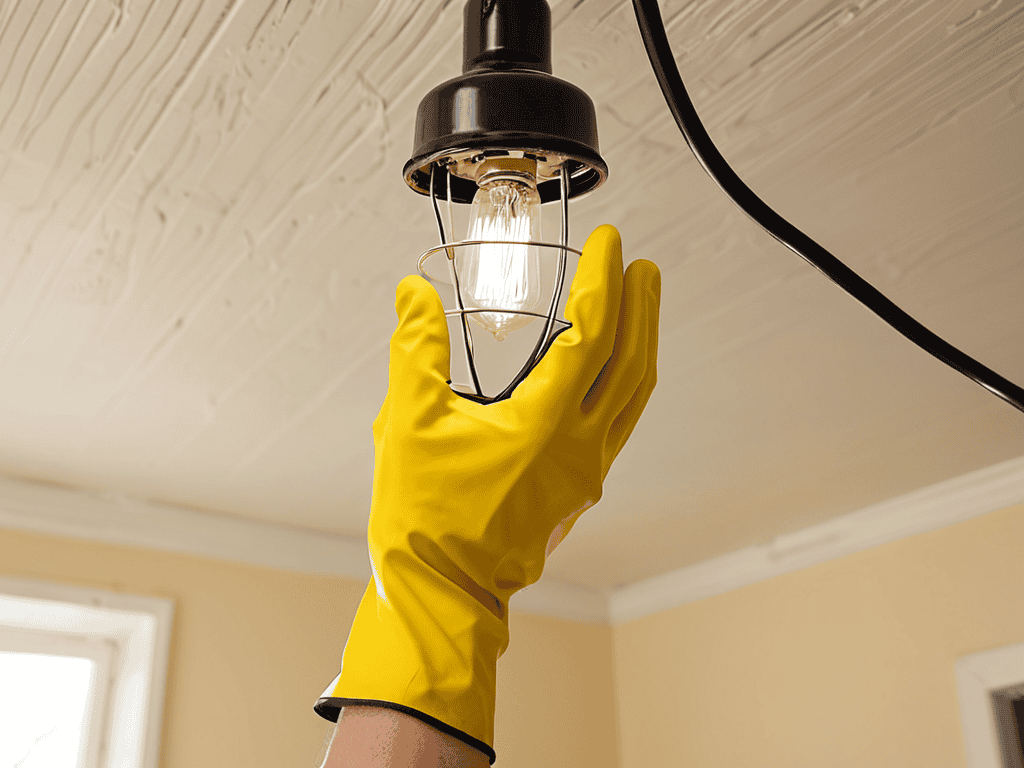
- 7. Once the new fixture is in place and all connections are secure, turn the power back on at the electrical panel and test the light to make sure it’s working as expected. If it doesn’t turn on, check your connections and consult the manufacturer’s instructions for any specific requirements.
Replace Fixtures Safely
When it comes to safely removing old lighting fixtures, it’s essential to understand the basics of electrical wiring. This includes being familiar with electrical wiring colors, which can vary depending on the country and region you’re in. Generally, black wires are used for the hot connection, while white wires are used for the neutral connection. Knowing this can help you navigate the wiring process with more confidence.
Choosing the right light fixture voltage is also crucial to ensure safe and efficient operation. Most homes use standard 120-volt fixtures, but it’s always a good idea to double-check the specifications of your new fixture to avoid any potential hazards. If you’re unsure about any aspect of the installation process, consider hiring a licensed electrician for complex jobs. They can provide expert guidance and help you avoid common mistakes in DIY lighting installations.
As you’re replacing your old light fixture, you might also want to consider the latest new lighting trends for home renovation. From sleek and modern designs to energy-efficient LED options, there are plenty of choices available to suit your style and needs. By taking the time to research and plan your installation carefully, you can enjoy a safe and successful upgrade that enhances the overall look and feel of your home.
Choosing Right Voltage Matters
When it comes to replacing a light fixture, one of the most critical aspects to consider is the voltage. You can’t just pick any fixture and expect it to work safely with your home’s electrical system. The voltage of the new fixture must match the voltage of your home’s wiring, or you risk a serious shock or even a fire.
So, take a moment to check the voltage requirements of the new fixture and compare it to the voltage of your home’s wiring. This information is usually printed on the packaging or in the instructions, and it’s crucial to get it right.
Understanding Wiring Colors
When it comes to replacing a light fixture, understanding the wiring colors is crucial for a safe and successful installation. The wires are typically colored to indicate their purpose: black for the “hot” wire, white for the neutral wire, and copper for the ground wire. It’s essential to identify these colors correctly to avoid any electrical shocks or accidents.
By recognizing the wiring colors, you can ensure that you’re connecting the wires to the correct terminals on the new fixture, which will prevent any potential hazards. Take a moment to verify the wiring colors before making any connections, and if you’re unsure, consider consulting a licensed electrician for assistance.
Safety First: 5 Essential Tips for a Smooth Replacement
- Turn off the power: Ensure the electricity to the fixture is completely shut off before starting work to avoid any electrical shocks
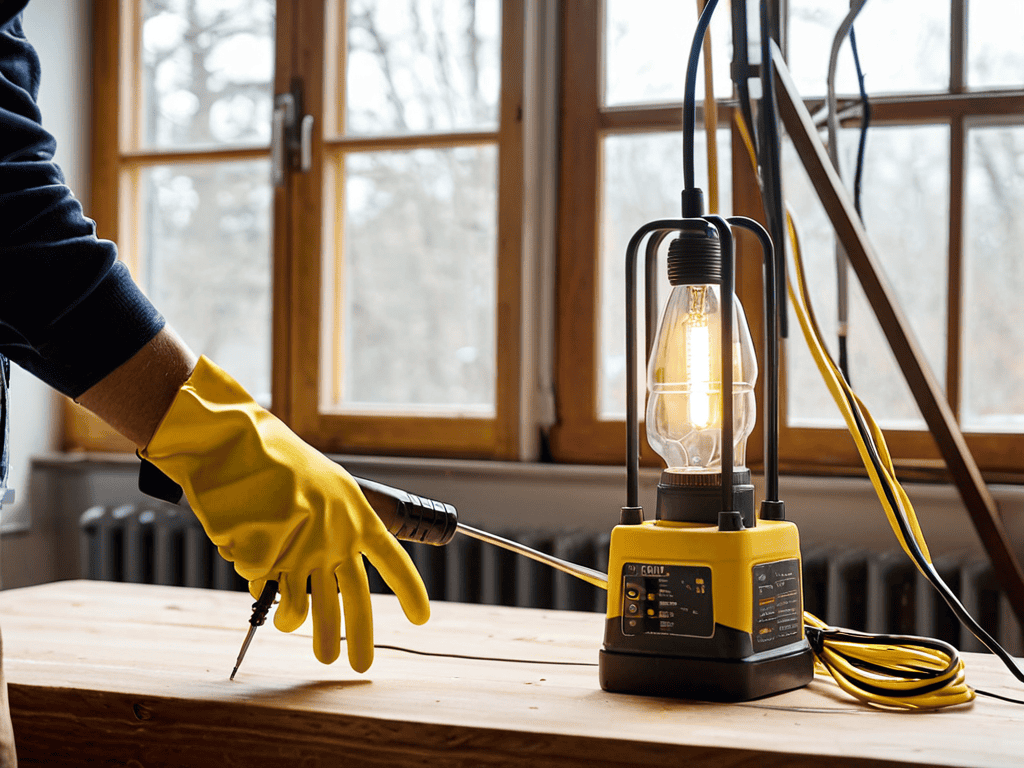
- Use the right tools: Invest in a voltage tester and a ladder that can support your weight to prevent accidents
- Follow the manufacturer’s instructions: Read and understand the installation manual for your new fixture to avoid any confusion or mistakes
- Label the wires: Take a photo or label the wires before disconnecting them to ensure you can reconnect them correctly
- Hire a pro if needed: If you’re unsure about any part of the process, consider hiring a licensed electrician to guarantee a safe and successful installation
Key Takeaways for a Safe and Successful Light Fixture Replacement
Always turn off the power to the circuit at the main electrical panel before starting work on the light fixture to avoid electrical shocks or accidents
Understanding the wiring colors and choosing the right voltage for your new fixture are crucial steps to ensure a safe and proper installation
Double-check your work and test the new fixture before considering the job complete to guarantee everything is working as it should and to avoid any potential hazards
Shining Words of Wisdom
Replacing a dated light fixture isn’t just about swapping out old for new, it’s about illuminating your space with safety and style – one careful step at a time.
Lily Brightside
Shining a Light on Safety
Replacing a dated light fixture can be a daunting task, but with the right guidance, it can be a relatively straightforward process. As we’ve covered, understanding wiring colors and choosing the right voltage are crucial steps to ensure a safe and successful installation. By following the step-by-step instructions and taking the necessary precautions, you can avoid any potential hazards and enjoy your new lighting fixture. Remember, safety should always be your top priority when working with electricity, so don’t hesitate to seek professional help if you’re unsure about any aspect of the process.
Now that you’ve made it through the guide, you should be feeling more confident about tackling that old light fixture. As you shine a light on your newfound DIY skills, remember that safety is just the beginning. With your new lighting fixture in place, you can start to think about the aesthetic possibilities and how you can use lighting to enhance the ambiance and functionality of your space. So go ahead, get creative, and enjoy the sense of accomplishment that comes with a job well done!
Frequently Asked Questions
What are some common mistakes to avoid when handling electrical wiring during a light fixture replacement?
When handling electrical wiring, beware of assuming all wires are color-coded the same – it’s not always the case. Also, never touch exposed wires with your bare hands, and avoid overconfidence, even if you’ve done it before. Double-check your connections to prevent shorts or fires.
How do I know if my old light fixture is compatible with new, energy-efficient bulbs?
To ensure compatibility, check your old fixture’s wattage and voltage specs against the new bulb’s requirements. Most fixtures will have a label or plate with this info – if not, consult the manufacturer’s website or manual. Some energy-efficient bulbs may have specific requirements, so double-check to avoid any issues.
What safety precautions should I take if I'm not comfortable with DIY electrical work and need to hire a professional to replace my light fixture?
If DIY electrical work makes you nervous, don’t risk it – hire a licensed pro to replace your light fixture. They’ll have the know-how and gear to get the job done safely and correctly. Look for someone with good reviews and proper certifications to ensure a stress-free experience.