I still remember the day I discovered the best aeropress recipes to try weren’t just about following a formula, but about understanding the nuances of coffee extraction. As a barista champion, I’ve seen my fair share of Aeropress enthusiasts who swear by a specific method, only to be disappointed by the results. The common myth is that the Aeropress is a forgiving brewer, but I’m here to tell you that’s not entirely true. In reality, it’s a precise instrument that requires a deep understanding of coffee-to-water ratios and grind sizes to produce a truly exceptional cup.
As I share my favorite Aeropress recipes with you, I promise to cut through the hype and provide you with experience-based advice that’s rooted in my years of experimenting with this incredible brewer. My goal is to empower you with the knowledge to unlock the full potential of your Aeropress, and to help you discover the perfect balance of flavors that will elevate your coffee game. Whether you’re a seasoned coffee enthusiast or just starting out, I’ll guide you through the process of mastering the Aeropress, and show you how to create truly exceptional cups of coffee that rival those of your favorite cafes.
Table of Contents
Recipe Details
Ingredients
- 17-20 grams of coffee medium to dark roast
- 240-260 ml of water heated to 93°C
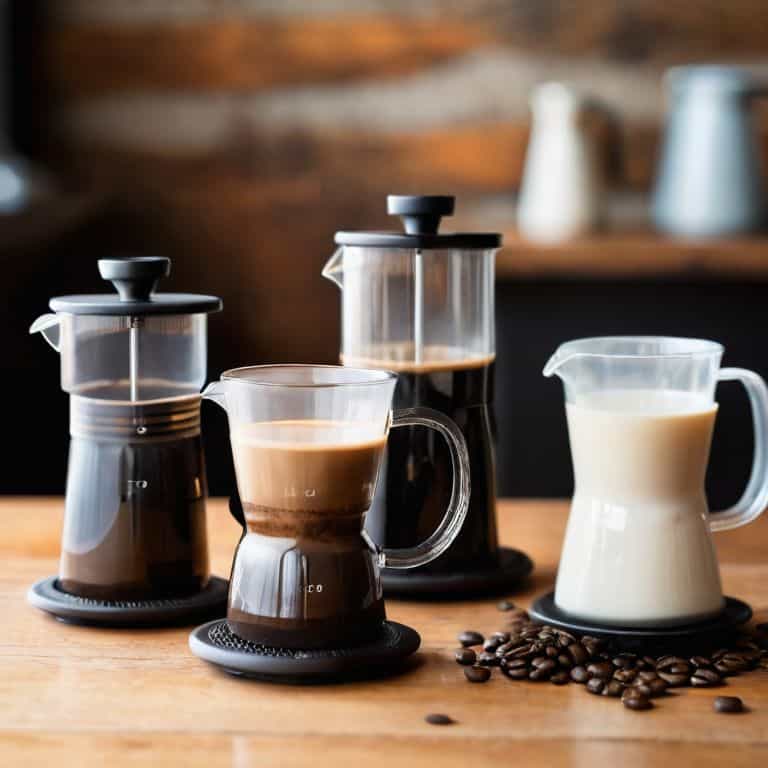
- Milk or cream optional
- Sugar or sweetener optional
Tools & Supplies
- Aeropress coffee maker
- Kettle
- Scale
- Spoon or stirrer
Recipe Instructions
Step 1
To begin, select a high-quality coffee bean that suits your taste preferences, and grind it to a medium-coarse grind, which is ideal for Aeropress brewing. I personally prefer a single-origin Ethiopian or Kenyan coffee for its bright acidity and fruity notes.
Step 2
Next, heat water to a temperature between 93°C and 96°C, as this range allows for the optimal extraction of coffee solids. I’m quite particular about my water temperature, as it can greatly impact the final flavor of the brew. Make sure to use fresh, filtered water to prevent any impurities or odors from affecting the taste.
Step 3
Place the Aeropress on a flat surface and add 17 grams of coffee grounds to the brewing chamber. Level out the grounds to ensure even extraction, and then pour a small amount of hot water (about 30-40 grams) over the coffee to saturate it. This step is crucial, as it helps to release the CO2 from the coffee and prepares it for the main brewing process.
Step 4
Allow the coffee to bloom for about 45 seconds, which will enable the coffee to release its CO2 and start to extract the desired flavors and oils. After the blooming process, pour the remaining 230 grams of hot water over the coffee in a circular motion, making sure to saturate all the grounds evenly.
Step 5
Stir the mixture gently to ensure all the coffee grounds are in contact with the water, and then place the plunger on top of the Aeropress. Allow the coffee to steep for exactly 2 minutes and 15 seconds, as this will enable the optimal extraction of the coffee solids. Be careful not to over-extract, as this can result in a bitter taste.
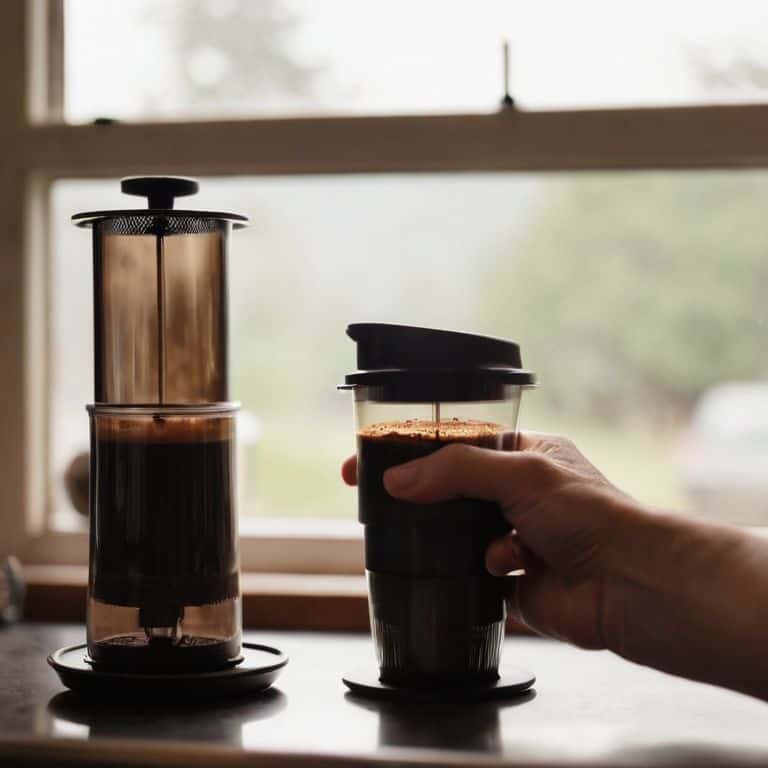
Step 6
Slowly press the plunger down to separate the coffee grounds from the liquid, being careful not to press too hard and introduce any undesirable bitterness into the brew. The resulting coffee should be smooth, full-bodied, and rich in flavor, with a silky texture that’s a hallmark of a well-brewed Aeropress coffee.
Unlock Best Aeropress Recipes
As I delve deeper into the world of Aeropress brewing, I’m reminded of the importance of precise coffee to water ratio. This delicate balance is what sets a good cup apart from a great one. I’ve found that a ratio of 1:15 to 1:17 works beautifully for most Aeropress recipes, but feel free to experiment and find your own sweet spot.
When comparing aeropress vs french press, it’s clear that the Aeropress offers a cleaner, more nuanced flavor profile. This is due in part to the Aeropress’s unique brewing technique, which allows for a smoother extraction of flavors. For those new to Aeropress, I recommend starting with aeropress coffee recipes for beginners and gradually experimenting with more complex flavor profiles.
To take your Aeropress game to the next level, consider trying cold brew with aeropress. This involves steeping coarse-ground coffee in cold water for an extended period, resulting in a smooth, low-acidity brew. By mastering this technique, you’ll be well on your way to creating a wide range of delicious Aeropress brews.
Mastering Aeropress Brewing Techniques
To truly master Aeropress brewing, it’s essential to understand the nuances of water temperature and coffee-to-water ratio. I’m meticulous about using water between 93°C and 96°C, as this allows for the perfect extraction of my carefully selected coffee beans. Experimenting with different ratios has also become a passion of mine – I’ve found that a 1:15 to 1:17 ratio yields a beautifully balanced cup.
By focusing on these details, you’ll be able to coax out the unique flavors and aromas of your favorite coffee beans. Remember, the key to mastering Aeropress brewing is to be precise and patient, making adjustments incrementally until you find your perfect cup. With practice and dedication, you’ll be well on your way to brewing cafe-quality coffee in the comfort of your own home.
Optimizing Coffee to Water Ratio for Perfection
To truly elevate your Aeropress game, you need to dial in the perfect coffee-to-water ratio. I’m talking about a range of 1:15 to 1:17 – any higher or lower, and you’ll throw off the delicate balance of flavors. For my signature Aeropress brew, I use 17 grams of coffee to 255 grams of water. This ratio allows for a full-bodied extraction that’s both nuanced and rich. By experimenting with small adjustments, you’ll find your sweet spot and unlock a world of flavor possibilities.
I recommend starting with a 1:16 ratio and tweaking from there, as this will give you a solid foundation for exploration. Remember, the key is to find the harmony that works for your taste buds, so don’t be afraid to get a little scientific and track your results.
Elevate Your Brew: 5 Expert Tips for Unlocking the Best Aeropress Recipes
- Experiment with diverse coffee beans to find the perfect roast level and flavor profile that complements your Aeropress brewing technique
- Precision is key: invest in a scale to measure coffee and water with exacting grams for optimal extraction
- Play with brewing times: from 1-4 minutes, to discover how different steeping periods impact the flavor and body of your coffee
- Temperature control is crucial: aim for a brew temperature between 93°C and 96°C for the ideal extraction and a balanced cup
- Don’t underestimate the power of water quality: use filtered water and consider experimenting with different mineral levels to find the perfect balance for your Aeropress brews
Key Takeaways for Elevating Your Aeropress Game
Experimenting with precise coffee-to-water ratios is crucial for unlocking the perfect Aeropress brew, and understanding how these ratios impact flavor profile is essential for mastering the technique
Temperature control and grind size play a significant role in the extraction process, with optimal temperatures ranging between 195°F and 205°F and grind sizes varying depending on the desired brewing method
Practicing mindful, deliberate brewing techniques can elevate your Aeropress experience, transforming the daily ritual into a form of active meditation that connects you with the nuances of specialty coffee and fosters a deeper appreciation for the craft
The Pursuit of Perfection
The best Aeropress recipes are not just about following a formula, but about understanding the intricate dance between coffee and water, and mastering the subtle nuances that elevate a good brew to a sublime one.
Julian Vale
Elevating Your Coffee Experience

As we’ve explored the best Aeropress recipes to try, it’s clear that mastering this brewing method is all about precision and passion. From optimizing coffee to water ratio to experimenting with different grind sizes and brewing times, the key to unlocking the perfect cup is in the details. By following the steps and techniques outlined in this article, you’ll be well on your way to creating cafe-quality coffee in the comfort of your own home. Whether you’re a seasoned coffee enthusiast or just starting out, the Aeropress is an incredibly versatile tool that can help you achieve your coffee goals.
As you continue to experiment and refine your Aeropress skills, remember that the pursuit of the perfect cup is a journey, not a destination. It’s about the sensory experience of sipping a expertly crafted coffee, and the joy of sharing that with others. So don’t be afraid to try new recipes, to push the boundaries of what’s possible with the Aeropress, and to always strive for that elusive god shot. With practice, patience, and a willingness to learn, you’ll be well on your way to becoming a coffee master, and the perfect cup will be within your reach.
Frequently Asked Questions
What is the ideal water temperature for brewing Aeropress coffee?
For me, the ideal water temperature for brewing Aeropress coffee is between 93°C and 96°C. I’ve found that this range brings out the optimal balance of flavors and acidity in the coffee. Any higher, and you risk burning the coffee; any lower, and you might end up with a under-extracted brew.
How do I adjust the coffee-to-water ratio to suit my taste preferences?
To adjust the coffee-to-water ratio, I recommend starting with a 1:15 to 1:17 ratio and tweaking to your taste. If you prefer a stronger cup, decrease the ratio to 1:12 or 1:13. For a lighter cup, increase it to 1:18 or 1:19. Remember, it’s all about finding your perfect balance – experiment and taste as you go to dial in your ideal ratio.
Can I use the Aeropress to make other types of coffee drinks, such as lattes or cappuccinos?
While the Aeropress shines with pour-overs and espressos, it can also be used to craft lattes and cappuccinos. Simply brew a strong shot, then top with steamed milk and a layer of foam – I like to use a thermometer to heat my milk to precisely 140°F for optimal texture. Experiment with ratios to find your perfect balance.