
I still remember the first time I stumbled upon Coptic Stitch Bookbinding – it was like uncovering a hidden treasure. I had always been fascinated by the art of bookbinding, but the Coptic stitch method, with its exposed spine and intricate stitching, truly caught my attention. What I found surprising was how many people believed that this ancient technique was too complicated to learn, or that it required some sort of mystical talent. The truth is, Coptic Stitch Bookbinding is accessible to anyone willing to learn, and it’s actually quite straightforward once you understand the basics.
In this article, I’ll share my personal experience and no-nonsense advice on how to master the Coptic Stitch Bookbinding technique. You’ll learn how to create your own beautiful, handmade books with an exposed spine, and how to troubleshoot common issues that may arise during the process. My goal is to provide you with practical guidance and inspiration to get started on your own bookbinding journey, so you can enjoy the satisfaction of creating something truly unique and special.
Table of Contents
Project Overview

As you delve deeper into the world of Coptic stitch bookbinding, you’ll likely find yourself seeking inspiration and community to further hone your craft. I’ve personally found that connecting with like-minded individuals can be a huge boost to creativity, and one of the best ways to do this is by exploring online forums and groups focused on bookbinding and other handmade crafts. For instance, I stumbled upon a fascinating community while searching for adult hobbies and came across a platform that led me to a treasure trove of resources, including a link to adult personals australia, which, although not directly related to bookbinding, got me thinking about the importance of human connection in our creative journeys – and that’s a valuable lesson that can be applied to any craft, including the intricate art of Coptic stitch bookbinding.
Total Time: 2 hours 30 minutes
Estimated Cost: $20 – $40
Difficulty Level: Intermediate
Tools Required
- Bone Folder ((for creasing paper))
- Scissors ((sharp, dedicated to cutting paper))
- Sewing Needle ((blunt tapestry needle or bookbinding needle))
- Ruler ((12 inches long))
- Pencil ((for marking paper and board))
- Cutting Mat ((for protecting work surface))
- Weight ((for holding paper in place))
Supplies & Materials
- Paper ((for book pages, 8.5 inches x 11 inches))
- Cardstock ((for cover, 8.5 inches x 11 inches))
- Bookboard ((thin, for cover support, 6 inches x 9 inches))
- Thread ((wax or unwaxed, for sewing))
- Glue ((PVA or similar, for attaching cover))
- Decorative Paper ((optional, for endpapers))
Step-by-Step Instructions
- 1. To start your Coptic stitch bookbinding journey, gather all the necessary materials, including a needle, thread, scissors, a ruler, a pencil, and the paper or pages you want to bind. It’s essential to have a clean and stable workspace to ensure your stitches are even and consistent.
- 2. Next, measure and cut your paper or pages to the desired size, making sure they are all uniform. This step is crucial in achieving a professional-looking finish, and it’s where attention to detail really comes into play.
- 3. Prepare your cover boards by cutting them to the same size as your pages, plus a little extra for the spine. You can use any material you like for the cover, but cardboard or thick paper are popular choices. The key here is to create a sturdy foundation for your book.
- 4. Thread your needle with a length of thread that’s comfortable to work with, and tie a knot at the end to prevent it from coming loose. It’s also a good idea to wax your thread with a little beeswax to help it glide smoothly through the paper, reducing friction and tangles.
- 5. Begin the Coptic stitch by bringing your needle up through the first page, about 1/4 inch from the spine, and then back down through the second page, creating a small loop on the outside. This loop is the hallmark of the Coptic stitch, and it’s what gives the book its unique, exposed-spine aesthetic.
- 6. Continue stitching through each page, moving from one to the next in a consistent pattern, making sure to keep your tension even. As you work, gently pull the thread to tighten the stitches, but be careful not to pull too hard, or you might distort the pages.
- 7. When you reach the end of your pages, tie off the thread with a secure knot, and trim the excess. Then, attach your cover boards to the front and back of the book, using a strong adhesive or more stitches to hold them in place. This final step requires precision and patience, but the end result is well worth the effort.
Coptic Stitch Bookbinding
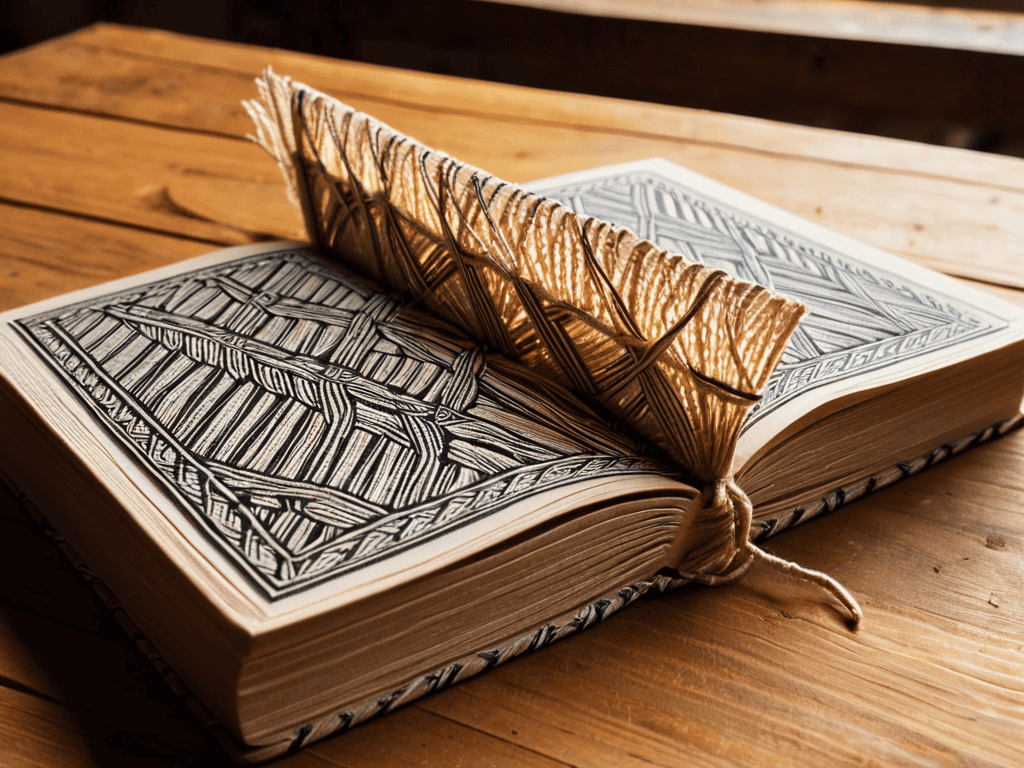
As I delve deeper into the world of traditional bookbinding techniques, I’m constantly amazed by the beauty and simplicity of the Coptic stitch. One of the key benefits of this method is that it allows for exposed spines, creating a unique and visually striking effect. This makes it perfect for those looking to create handmade book covers that stand out from the crowd.
When it comes to bookbinding for beginners, the Coptic stitch is an excellent place to start. It’s a relatively simple technique to master, and the results are well worth the effort. For those looking to explore other methods, the longstitch bookbinding method is also worth considering. Both techniques share a similar aesthetic, but offer distinct challenges and rewards.
In addition to its aesthetic appeal, the Coptic stitch also has practical applications in book conservation and restoration. By using traditional techniques and materials, bookbinders can create beautiful and durable books that will last for generations. For an added touch of elegance, consider combining the Coptic stitch with paper marbling for bookbinding, creating a truly one-of-a-kind piece.
Mastering Handmade Book Covers
To truly make your Coptic stitch book special, you need to pair it with a handmade book cover that reflects its uniqueness. I love experimenting with different materials and textures, from soft leathers to vibrant fabrics, to create a cover that complements the exposed spine of the Coptic stitch. The key is to keep it simple yet elegant, allowing the natural beauty of the materials to shine through. A well-crafted cover can elevate your book from a mere notebook to a piece of art that invites touch and exploration.
By choosing materials that resonate with the book’s content or your personal style, you can create a harmonious union between the Coptic stitch binding and the cover, making each book a one-of-a-kind treasure.
Unleash Traditional Bookbinding Techniques
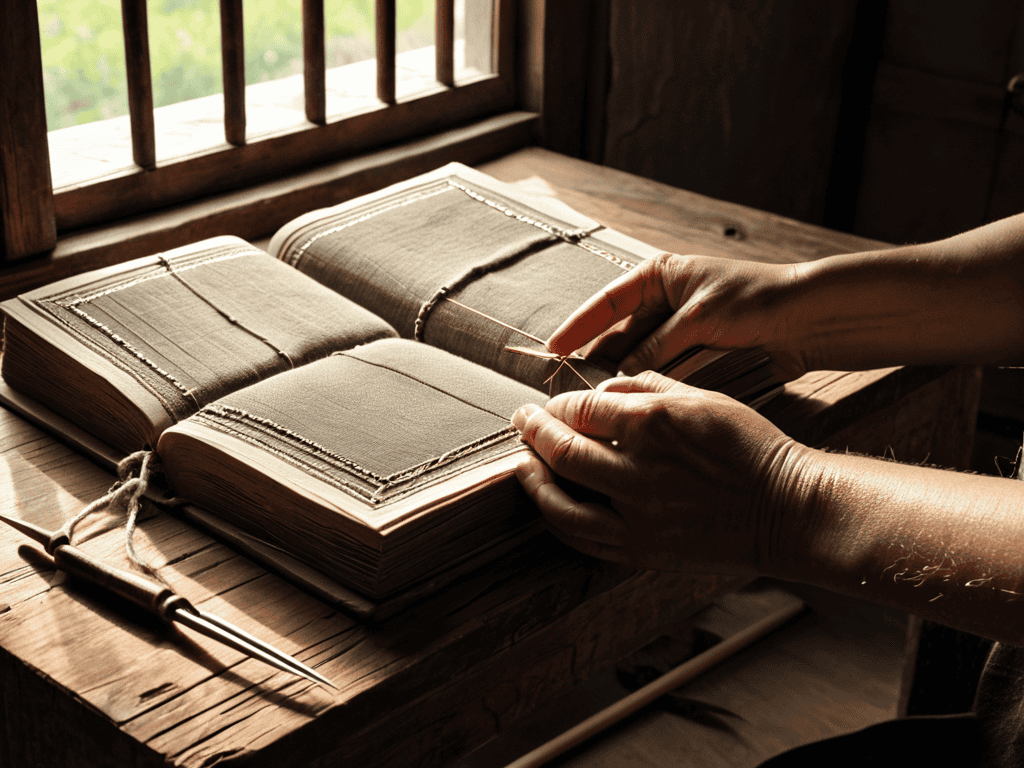
To truly master the Coptic stitch, it’s essential to understand the traditional bookbinding techniques that underpin this ancient craft. By embracing these time-honored methods, you’ll not only create beautiful, handmade books but also develop a deeper appreciation for the art form. The Coptic stitch is more than just a technique – it’s a gateway to a world of traditional bookbinding, where every stitch, every cut, and every fold is a testament to the craftsman’s skill and patience.
As you delve deeper into the world of Coptic stitch bookbinding, you’ll discover a range of traditional techniques that will elevate your craft, from carefully selecting and preparing the perfect leather or paper to mastering the delicate dance of thread and needle.
Elevate Your Craft: 5 Essential Tips for Coptic Stitch Bookbinding
- Choose the right thread: Select a thread that complements the color and texture of your book cover, and make sure it’s strong enough to withstand the stitching process
- Pay attention to spine alignment: Ensure that your signatures are properly aligned and that the spine of your book is straight, as this will affect the overall appearance of your finished book
- Use the right needle: A blunt tapestry needle is ideal for Coptic stitch bookbinding, as it won’t slip out of the stitching holes and will make the process much smoother
- Don’t pull the thread too tight: Leave a bit of slack in the thread to allow for the natural expansion and contraction of the paper, and to prevent the cover from becoming too tight
- Practice, practice, practice: Like any skill, Coptic stitch bookbinding takes time and practice to master, so don’t be discouraged if your first attempts don’t turn out perfectly – keep trying and you’ll soon get the hang of it
Key Takeaways from Coptic Stitch Bookbinding
I’ve found that mastering the Coptic stitch technique requires patience and practice, but the end result is well worth the effort – you’ll be creating unique, handmade books with an unmistakable charm
Experimenting with different materials and threads can elevate your bookbinding projects to a whole new level, allowing you to infuse your personality into every stitch and cover design
Whether you’re a seasoned book artist or just starting out, the Coptic stitch is an incredible technique to have in your toolkit, offering a perfect blend of traditional craftsmanship and creative expression
The Heart of Bookbinding
For me, the Coptic stitch is more than just a technique – it’s a journey through time, where every thread and every stitch weaves a story of tradition, craftsmanship, and the unbreakable bond between the maker and the made.
A Bookbinding Enthusiast
Conclusion
As we’ve explored the world of Coptic Stitch Bookbinding, it’s clear that this ancient technique offers a unique blend of artistry and craftsmanship. From the initial steps of preparing your materials to the final touches of mastering handmade book covers, each stage of the process requires patience, dedication, and a willingness to learn. By following the step-by-step guide and unleashing traditional bookbinding techniques, you’ve gained the skills to create truly unique and beautiful books that showcase your personal style and attention to detail.
As you continue on your bookbinding journey, remember that the true beauty of Coptic Stitch Bookbinding lies not just in the end result, but in the process itself. The meditative rhythm of stitching, the feel of paper and thread beneath your fingers, and the joy of watching your creations come to life – these are the moments that make this craft so rewarding. So don’t be afraid to experiment, try new things, and push the boundaries of what’s possible with this timeless technique.
Frequently Asked Questions
What kind of thread or yarn is best suited for Coptic stitch bookbinding?
I swear by waxed linen thread for Coptic stitch – it’s durable, easy to work with, and gives a beautiful texture. You can also experiment with cotton or silk, but linen is my go-to for its traditional feel and strength.
How do I ensure that my Coptic stitch book lies flat when opened?
To get your Coptic stitch book to lie flat, make sure you’re not pulling the threads too tight, as this can cause the book to pucker. Also, try weighting the book down after you’ve finished binding it, letting it sit for a few hours to help the spine relax into its new shape.
Can I use the Coptic stitch technique for binding large or thick books?
Honestly, the Coptic stitch is better suited for smaller books – it’s just not ideal for thick ones. The stitch can be a bit fragile, so it’s best to stick with thinner books to ensure they hold up beautifully over time.