I still remember the day I decided to take on my kitchen, determined to give it a fresh new look without breaking the bank. I had heard that DIY kitchen upgrades were a cost-effective way to boost the value of my home, but I was skeptical. Would it really be worth the sweat and tears? As I dove into the world of DIY renovations, I discovered that many of the myths surrounding kitchen makeovers were just that – myths. For instance, the idea that you need to be a skilled carpenter or have a huge budget to achieve a beautiful kitchen is simply not true.
As you’re planning your DIY kitchen upgrade, it’s essential to have a solid understanding of the materials and tools you’ll need to bring your vision to life. I’ve found that having a reliable local classifieds resource can be a game-changer in finding unique, gently-used items or skilled professionals to help with the project. For instance, I recently stumbled upon a fantastic kitchen island on nzgirls, which not only saved me a pretty penny but also added a touch of character to my kitchen that I wouldn’t have found in a big-box store. By exploring these types of resources, you can stay within your budget and still achieve a high-end look that reflects your personal style.
Table of Contents
In this article, I’ll share my personal experience and practical advice on how to successfully complete DIY kitchen upgrades. You’ll learn how to transform your kitchen into a culinary haven without sacrificing your savings. From choosing the right materials to executing a flawless design plan, I’ll guide you through the process with honest, no-hype tips that will make your kitchen renovation journey a breeze. Whether you’re a seasoned DIY enthusiast or a beginner, this guide will provide you with the necessary tools and confidence to take on your kitchen makeover and turn it into a stunning space that reflects your personal style.
Guide Overview: What You'll Need
Total Time: 2 hours 30 minutes to several days
Estimated Cost: $100 – $5000
Difficulty Level: Intermediate / Hard
Tools Required
- Utility Knife (with extra blades)
- Drill (with screwdriver and drill bits)
- Tape Measure (for measuring spaces)
- Level (to ensure even installation)
- Pencil and Marker (for marking walls and surfaces)
- Saw (for cutting lumber or countertops)
- Sandpaper (for smoothing out surfaces)
- Paintbrush or Roller (for applying paint or finishes)
Supplies & Materials
- 2-in x 4-in lumber (for framing or supporting structures)
- Backsplash Tiles (for kitchen backsplash)
- Countertop Material (e.g., granite, quartz, or laminate)
- Paint or Stain (for finishing or refinishing cabinets or walls)
- New Faucet (for sink upgrade)
- Lighting Fixtures (for under-cabinet or ceiling lighting)
- Cabinet Handles or Knobs (for updating cabinet hardware)
- Adhesive or Epoxy (for bonding materials together)
Step-by-Step Instructions
- 1. First, assess your kitchen to determine which areas need the most attention, and make a list of the upgrades you want to tackle. This will help you prioritize your projects and create a realistic timeline for completion. Consider the layout, the condition of your cabinets and countertops, and the overall aesthetic you want to achieve.
- 2. Next, gather your tools and materials, including a drill, screwdriver, hammer, tape measure, and any specific supplies required for your projects, such as paint, new hardware, or tile. Having everything you need on hand will save you time and frustration in the long run.
- 3. Then, start with the basics by giving your kitchen a good cleaning and removing any clutter or unnecessary items. This will give you a clean slate to work with and help you get a better sense of the space. Take down any curtains or rugs, and cover your countertops and floors to protect them from dust and debris.
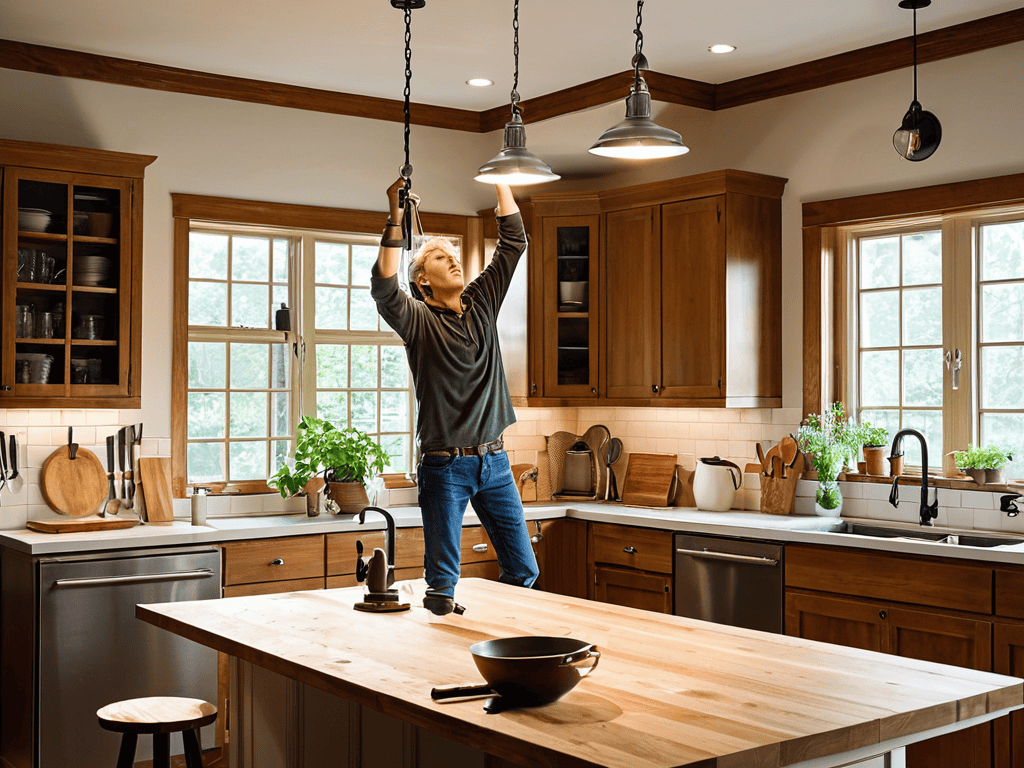
- 4. After that, focus on upgrading your lighting, which can completely transform the ambiance of your kitchen. Consider installing new fixtures, adding under-cabinet lighting, or even just replacing your existing light bulbs with brighter, more energy-efficient options.
- 5. Once you’ve tackled the lighting, move on to your cabinets, which are often one of the most visible and functional elements of your kitchen. You can update your cabinets by painting or refinishing them, replacing the hardware, or even just adding some decorative trim or molding.
- 6. Next up, tackle your countertops, which can be a bit more involved, but are still a DIY-friendly project. You can refinish your existing countertops, install new laminate or tile, or even try your hand at concrete or butcher block.
- 7. Finally, add some finishing touches by installing any new backsplashes, updating your faucet or sink, or adding some decorative elements, such as a kitchen island or new window treatments. This is your chance to get creative and really make your kitchen shine.
Diy Kitchen Upgrades
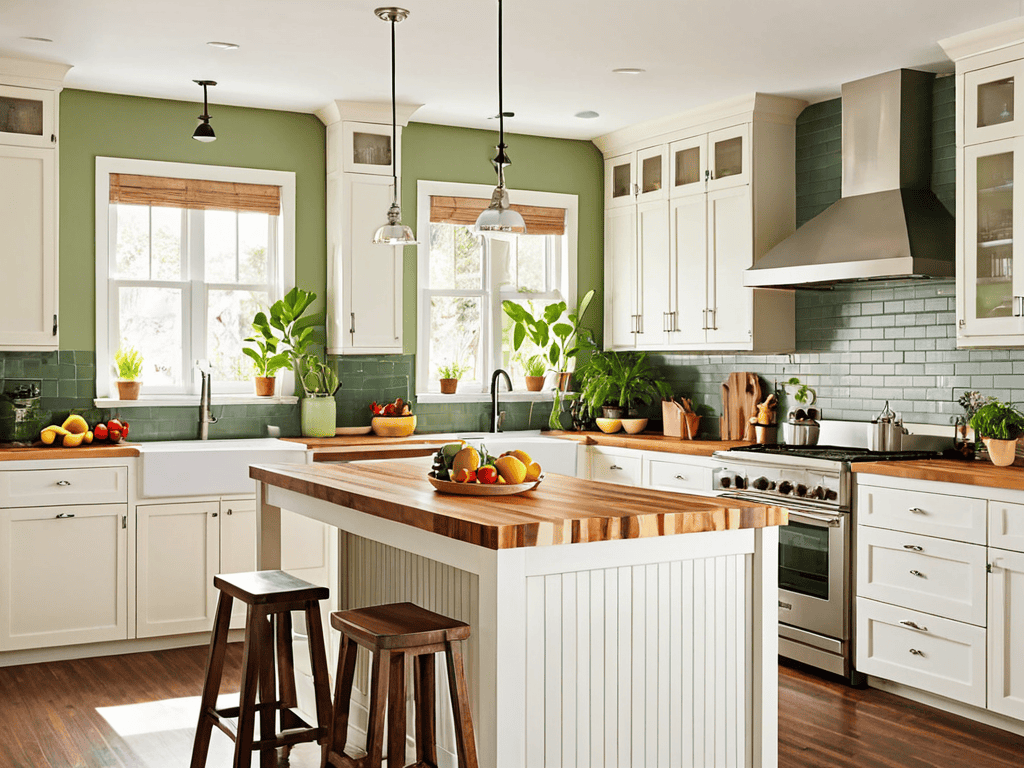
When it comes to giving your kitchen a fresh new look, budget friendly kitchen remodel ideas are a must. One of the most impactful changes you can make is to update your kitchen island. Consider exploring kitchen island design ideas that incorporate additional storage and seating, making the most of your kitchen’s footprint. This can be a game-changer for small kitchens, where every inch counts.
To take your kitchen renovation to the next level, think about diy kitchen cabinet refacing. This simple yet effective technique can completely transform the look and feel of your kitchen without breaking the bank. By refacing your cabinets, you can update the style and material to match your new kitchen aesthetic. Plus, it’s a great way to reduce waste and make your renovation more sustainable.
For a truly polished look, don’t forget to consider your kitchen countertop material comparison. With so many options available, from laminate to granite, it can be overwhelming to choose the right one. Take the time to research and compare different materials, considering factors like durability, maintenance, and style. By making an informed decision, you can ensure your new countertops are both functional and beautiful, completing your kitchen renovation with flair.
Budget Friendly Kitchen Remodel Tips
To keep your kitchen remodel within budget, consider repurposing or refinishing existing materials instead of replacing them. For example, you can refinish your cabinets or update the hardware for a fresh new look. Additionally, shopping for second-hand or discounted materials can help reduce costs. Look for sales or discounts on the items you need, and don’t be afraid to get creative with materials you already have on hand.
By thinking outside the box and getting a little crafty, you can achieve the kitchen of your dreams without breaking the bank. Simple changes like painting the walls or updating the lighting fixtures can also make a big impact without a big price tag.
Kitchen Island Design Inspiration
When it comes to kitchen islands, the possibilities are endless. I’ve seen everything from rustic wooden carts to sleek, modern countertops. For my own kitchen, I’m drawn to a design that combines functionality with a touch of warmth. A kitchen island with built-in storage and a butcher block top is my ultimate goal. Not only will it provide extra counter space, but it’ll also add a cozy, organic feel to the room.
I’ve been scouring Pinterest and design blogs for inspiration, and I’m loving the idea of adding a few decorative elements, like pendant lights or a show-stopping range hood, to give my kitchen island some personality. Whether you’re a fan of minimalist chic or eclectic charm, there’s a kitchen island design out there to suit your style.
5 Essential Tips to Nail Your DIY Kitchen Upgrade
- Measure Twice, Cut Once: Double-check your measurements to avoid costly mistakes and ensure a seamless installation process
- Repurpose and Upcycle: Breathe new life into old materials and fixtures to add a touch of uniqueness and personality to your kitchen
- Lighting Makes a Difference: Update your lighting fixtures to create a warm and inviting ambiance that makes your kitchen feel more spacious and modern
- Get Creative with Storage: Maximize your kitchen’s storage potential with clever hacks and DIY solutions that keep your countertops clutter-free
- Don’t Forget the Finishing Touches: Pay attention to the small details, such as hardware and decor, to bring your DIY kitchen upgrade together and make it feel like a high-end renovation
Key Takeaways for a Successful DIY Kitchen Upgrade
I’ve learned that with a little creativity and elbow grease, you can totally transform your kitchen without breaking the bank, from repurposing old materials to finding affordable alternatives to expensive appliances
A well-designed kitchen island can be a game-changer, not just for adding extra counter space and storage, but also for creating a beautiful focal point in the room that reflects your personal style
Whether you’re a seasoned DIY pro or a total beginner, the most important thing is to have fun and be patient with yourself throughout the process, because the end result is going to be so worth it – a kitchen that’s truly yours and perfect for cooking up memories with loved ones
Transforming Spaces
There’s something therapeutic about tearing down the old and building something new with your own two hands – DIY kitchen upgrades are not just about saving money, they’re about investing a piece of yourself into the heart of your home.
Amanda Green
Bringing Your DIY Vision to Life

As we’ve explored the world of DIY kitchen upgrades, it’s clear that with a little creativity and sweat equity, you can completely transform your kitchen into a space that’s not only functional but also a reflection of your personal style. From budget-friendly tips to kitchen island design inspiration, we’ve covered the essential steps to help you get started on your DIY journey. Whether you’re looking to update your cabinets, install new countertops, or simply add a fresh coat of paint, the key to a successful DIY project is to have fun and be willing to get a little messy.
So, as you embark on your own DIY kitchen upgrade adventure, remember that it’s okay to think outside the box and try new things. Don’t be afraid to experiment with different materials, colors, and designs until you find the perfect combination that works for you. With patience, persistence, and a willingness to take risks, you can create a kitchen that’s truly one-of-a-kind and a space where you’ll love spending time with family and friends.
Frequently Asked Questions
What are some common mistakes to avoid when undertaking a DIY kitchen upgrade?
Honestly, I’ve learned the hard way – measuring errors, inadequate prep, and not accounting for plumbing/electrical are total DIY kitchen upgrade killers. Don’t be like me, take your time, double-check everything, and plan for those pesky utilities!
How can I ensure that my DIY kitchen upgrades are up to code and meet local regulations?
Before starting your DIY kitchen upgrade, I always recommend checking with your local government for specific building codes and regulations. You can usually find this info on their website or by giving them a quick call. Trust me, it’s better to be safe than sorry and avoid any potential fines or headaches down the line!
What are some creative ways to repurpose or reuse existing kitchen materials during a DIY upgrade?
I love breathing new life into old materials! Consider repurposing old cabinets as pantry storage, transforming vintage windows into kitchen shelves, or upcycling ceramic tiles into a unique backsplash – it’s amazing how a little creativity can reduce waste and add character to your kitchen.