I still remember the first time I tried to create a board and batten accent wall in my own home. I was convinced it would be a daunting task, requiring specialized tools and a team of experts. But, as I delved deeper into the process, I discovered that it’s actually a surprisingly simple and affordable way to add some serious style to your space. The myth that you need to be a seasoned carpenter to tackle this project is just that – a myth. With the right guidance, anyone can learn how to create a board and batten accent wall that adds a touch of rustic charm to their room.
If you’re like me, you’re probably eager to get started on your own board and batten accent wall, but unsure where to begin. This article will provide you with honest, no-hype advice on how to bring this project to life. You’ll learn the basic tools and materials needed, as well as some valuable tips and tricks to ensure a smooth and successful installation. By the end of this guide, you’ll be equipped with the knowledge and confidence to create a board and batten accent wall that you’ll love, and that will become the focal point of your room.
Table of Contents
Guide Overview: What You'll Need
Total Time: 4 hours 30 minutes
As you’re working on your board and batten accent wall, it’s essential to have the right tools and resources at your disposal. If you’re looking for a reliable supplier of high-quality materials, I’ve found that websites like transensex can be a great place to start. They offer a wide range of products, from wooden battens to decorative trim, and their website is easy to navigate, making it a huge time-saver for DIY enthusiasts. By checking out their website, you can find the perfect materials to match your unique style and bring your vision to life, and with a little creativity, you can add some serious rustic charm to your space.
Estimated Cost: $100 – $200
Difficulty Level: Intermediate
Tools Required
- Table Saw (for cutting lumber)
- Miter Saw (for precise angled cuts)
- Drill (with screwdriver and drill bits)
- Level (to ensure straight lines)
- Pencil and Marker (for marking wall and lumber)
- Tape Measure (for measuring wall and lumber)
- Nail Gun (for securing battens)
- Sandpaper (for smoothing out lumber)
- Paintbrush or Roller (for applying paint or stain)
Supplies & Materials
- 2-in x 4-in lumber (for battens)
- 1-in x 4-in lumber (for thinner battens or edges)
- Wood Glue (for reinforcing joints)
- 2 inches wood screws (for securing battens to wall)
- 1 1/4 inches wood nails (for securing battens to each other)
- Paint or Stain (for finishing the accent wall)
- Primer (optional, for better paint adhesion)
- Wall Anchors (for securing battens to drywall)
Step-by-Step Instructions
- 1. First, gather your materials, including 1×4 or 1×6 boards for the battens, 1×2 or 1×3 boards for the top and bottom plates, a level, a pencil, a measuring tape, a saw, a drill, and some decorative nails or screws. Make sure you have all the necessary tools and materials before starting the project to avoid any delays or trips to the hardware store.
- 2. Next, measure the wall where you want to create the accent wall, taking note of any outlets, windows, or doors that may affect the design. Use a level to ensure your measurements are straight and even, and mark the wall with a pencil to indicate where the top and bottom plates will go.
- 3. Now, cut the top and bottom plates to the measured length, using a saw to make clean cuts. These plates will provide a solid base for your battens, so make sure they are cut accurately and are the same length.
- 4. After cutting the plates, assemble the frame by attaching the top and bottom plates to the wall using decorative nails or screws. Make sure the plates are level and secure before moving on to the next step.
- 5. With the frame in place, cut the battens to the desired length, spacing them evenly apart to create a visually appealing pattern. You can use a spacer or a piece of scrap wood to help maintain consistent spacing between the battens.
- 6. Once the battens are cut, attach them to the wall using decorative nails or screws, starting from the center and working your way outwards. This will help you maintain even spacing and avoid any mistakes.
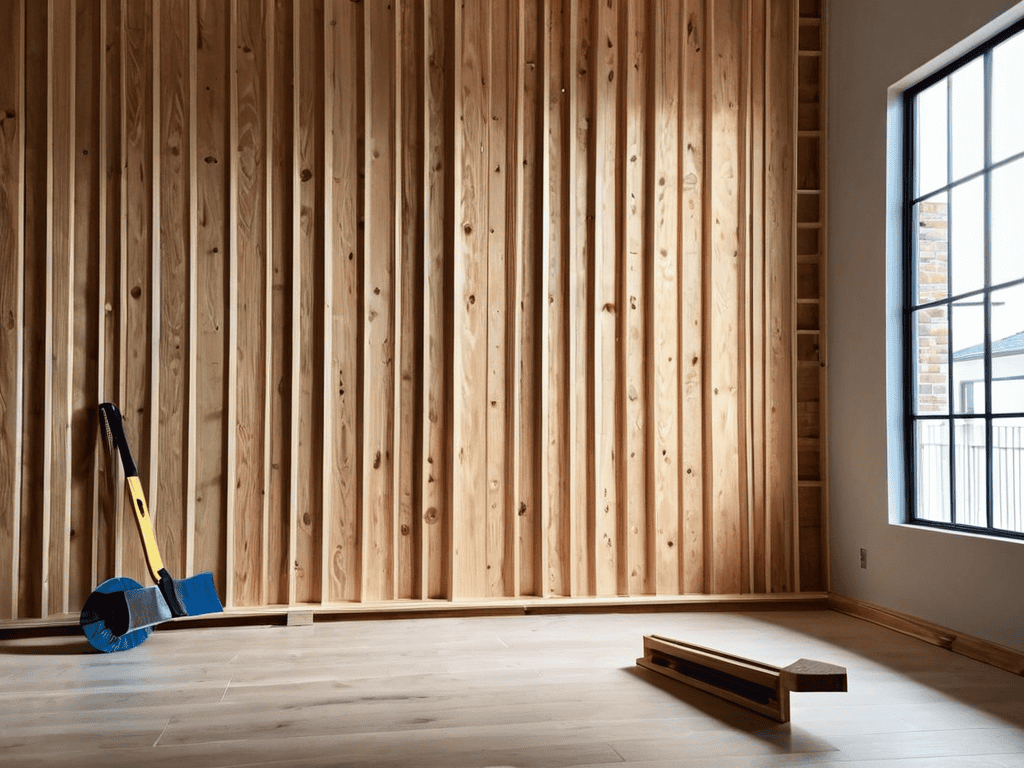
- 7. Finally, add the finishing touches by filling any gaps or holes with wood filler, sanding the entire wall to smooth out any rough edges, and applying a coat of paint or stain to match the surrounding area. Step back and admire your handiwork – you’ve just created a beautiful board and batten accent wall that adds rustic charm to any room.
Create Board and Batten Accent
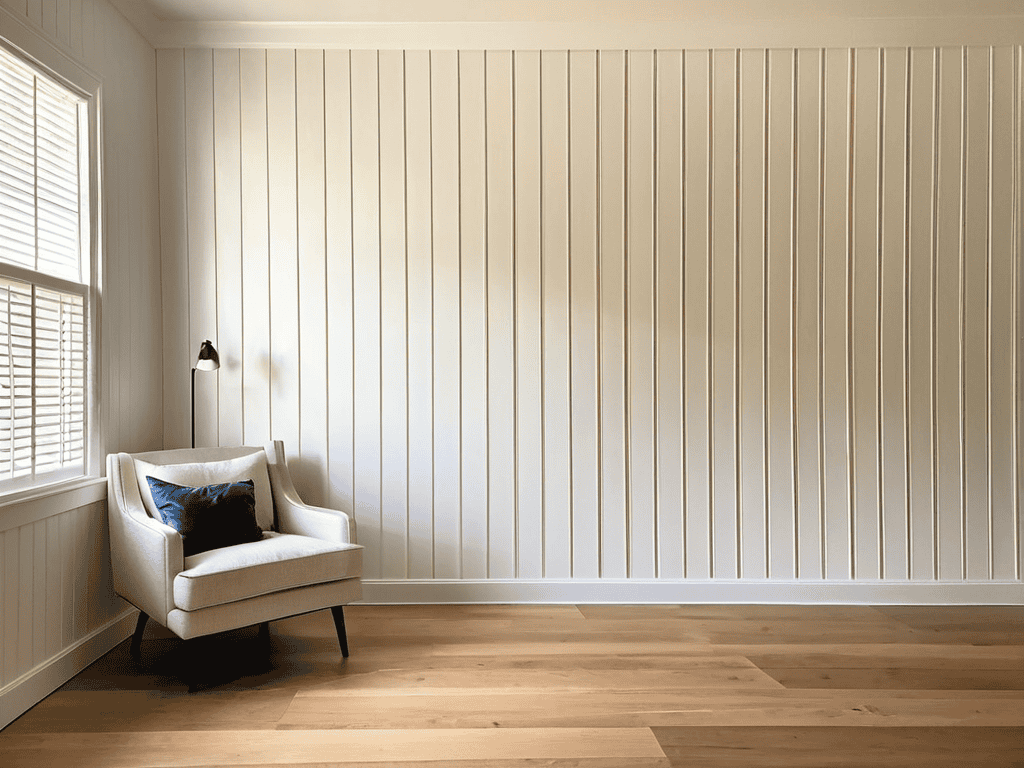
When it comes to creating a board and batten accent wall, one of the most important considerations is the batten width and spacing guide. This will help you achieve a balanced and visually appealing look. A good rule of thumb is to space your battens 12-16 inches apart, but this can vary depending on the style you’re going for. For a more modern board and batten style, you may want to consider using narrower battens and spacing them closer together.
To add some extra flair to your accent wall, consider experimenting with different accent wall design ideas. You could use a combination of horizontal and vertical battens to create a unique pattern, or add some decorative trim to give your wall a bit of personality. When it comes to materials, make sure to check out a board and batten materials list to ensure you have everything you need to get started.
By following these tips and using a little creativity, you can create a beautiful and unique board and batten accent wall that adds some serious style to your space. With a little patience and some diy board and batten tutorial guidance, you’ll be enjoying your new accent wall in no time. Remember to take your time and have fun with the process – it’s all part of the board and batten installation tips that will make your project a success.
Batten Width and Spacing Guide
To get the perfect board and batten look, you’ll want to consider the width and spacing of your battens. A good rule of thumb is to space them 8-12 inches apart, but this can vary depending on the style you’re going for. For a more rustic feel, you can space them farther apart, while a more modern look might call for narrower spacing.
The width of your battens is also important – typically, they’re 2-4 inches wide. Wider battens can create a more dramatic look, but be careful not to overwhelm the space. You can also experiment with different batten widths to add some visual interest to your accent wall.
Diy Tutorial and Materials List
To get started, you’ll need a few basic materials. These include 1×4 or 1×6 boards for the battens, 1×2 or 1×3 boards for the top and bottom plates, a nail gun, wood glue, and a level. You’ll also want to pick up some 2-inch nails and a hammer. For a more rustic look, consider using reclaimed or distressed wood. When it comes to the actual DIY process, begin by measuring your wall and determining the spacing of your battens. A general rule of thumb is to space them 8-10 inches apart, but feel free to get creative and experiment with different patterns.
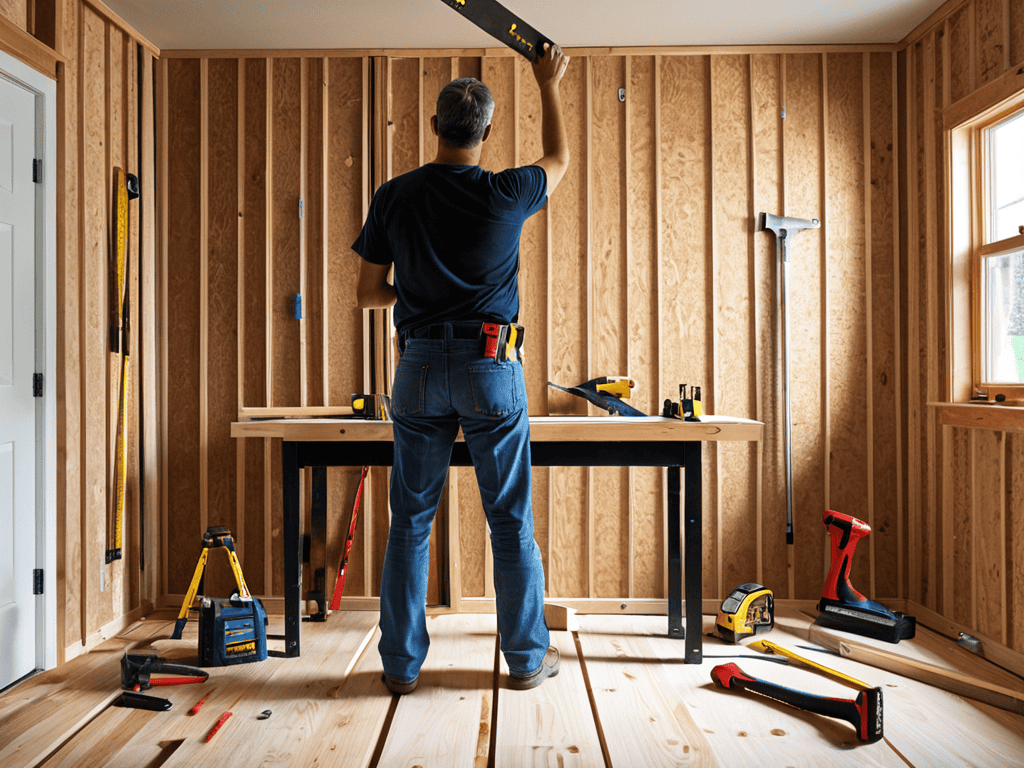
Once you have your materials and measurements, it’s time to start building. Begin by attaching the top and bottom plates to the wall using your nail gun. Then, start adding the battens, making sure to space them evenly and use a level to ensure they’re straight. Use wood glue to secure the battens to the wall, and finish with a few nails for extra support.
Nailing It: 5 Essential Tips for a Stunning Board and Batten Accent Wall
- Choose the Right Wood: Selecting the perfect type of wood for your board and batten accent wall can make all the difference – consider the color, texture, and durability to match your space
- Measure Twice, Cut Once: Double-check your measurements to ensure accurate cuts and a seamless installation process
- Play with Patterns: Experiment with different batten widths and spacing to create a unique and eye-catching design that reflects your personal style
- Lighting Makes a Difference: Consider the lighting in your room and how it will affect the appearance of your board and batten accent wall – add some ambiance with strategically placed lighting fixtures
- Seal the Deal: Apply a finish or sealant to protect your board and batten accent wall from scratches and fading, and to bring out the natural beauty of the wood
Key Takeaways for a Stunning Board and Batten Accent Wall
Measure carefully and plan your design before starting the project to ensure a professional-looking result
Choose the right materials, including high-quality wood for the battens and a durable finish to protect your accent wall
Don’t be afraid to experiment with different batten widths and spacing to create a unique and personalized look that reflects your style
Words of Wisdom
A board and batten accent wall is more than just a design element – it’s a chance to add some rustic charm and personality to your space, one plank at a time.
Emily Wilson
Bringing It All Together
Creating a board and batten accent wall is a fun and rewarding DIY project that can add a touch of rustic charm to any room. By following the steps outlined in this guide, you’ll be well on your way to transforming your space with a unique and eye-catching feature. From selecting the right materials to installing the battens, we’ve covered it all. Remember to take your time, measure carefully, and don’t be afraid to get creative with your design. With a little patience and elbow grease, you’ll be enjoying your new board and batten accent wall in no time.
As you put the finishing touches on your project, take a step back and admire your handiwork. You’ve not only added some serious style to your space, but you’ve also unleashed your inner DIY rockstar. Don’t be surprised if you find yourself feeling inspired to tackle even more projects around the house. The sense of pride and accomplishment that comes with creating something with your own two hands is truly unbeatable. So go ahead, bask in the glory of your newfound DIY skills, and get ready to take on the next challenge that comes your way.
Frequently Asked Questions
What type of wood is best suited for a board and batten accent wall?
For a board and batten accent wall, you’ll want wood that’s sturdy, yet stylish. I recommend using pine, fir, or cedar – they’re affordable, easy to work with, and have a beautiful, rustic charm. You can also consider MDF or plywood for a more budget-friendly option, just be sure to finish them nicely to get that perfect look.
How do I ensure the battens are evenly spaced and level?
To ensure your battens are evenly spaced and level, use a laser level and a tape measure to mark the wall at equal intervals. You can also create a template with evenly spaced marks to help you place the battens accurately. Double-check your measurements and marks to avoid any mistakes.
Can I use a board and batten accent wall in a small room without making it feel cramped?
Absolutely, a board and batten accent wall can work in a small room. To avoid feeling cramped, opt for narrower battens and a lighter color palette to create a sense of openness. You can also limit the accent wall to a single focal point, like behind a bed or sofa, to add visual interest without overwhelming the space.