I still remember the frustration of trying to tame the beast of my espresso machine‘s pressure when I first started competing in barista championships. It seemed like every adjustment I made would throw off the entire shot, and I just couldn’t seem to crack the code. But after years of experimentation and countless hours of practice, I finally figured out the secret to how to adjust your espresso machine’s pressure. It’s not just about following the manufacturer’s guidelines; it’s about understanding the delicate dance between pressure, temperature, and coffee.
In this article, I’ll share my hard-won knowledge with you, and walk you through the step-by-step process of adjusting your espresso machine’s pressure to achieve the perfect shot. You’ll learn how to diagnose common issues, make precise adjustments, and troubleshoot problems that can make or break your brew. My goal is to demystify the process and give you the confidence to take control of your espresso machine, so you can focus on crafting the perfect cup every time. Whether you’re a seasoned barista or just starting out, this guide will give you the practical advice you need to master the art of espresso and take your coffee game to the next level.
Table of Contents
- Guide Overview: What You'll Need
- Step-by-Step Instructions
- Taming Espresso Pressure
- Fine-Tuning the Pressure: 5 Expert Tips for Espresso Perfection
- Key Takeaways for Espresso Machine Pressure Adjustment
- The Pressure Principle
- Conclusion: Mastering the Art of Espresso Machine Pressure
- Frequently Asked Questions
Guide Overview: What You'll Need

Total Time: 1 hour 15 minutes
Estimated Cost: $10 – $30
Difficulty Level: Intermediate
Tools Required
- Allen wrench (3/8 inch and 1/2 inch sizes)
- Screwdriver (flathead and Phillips)
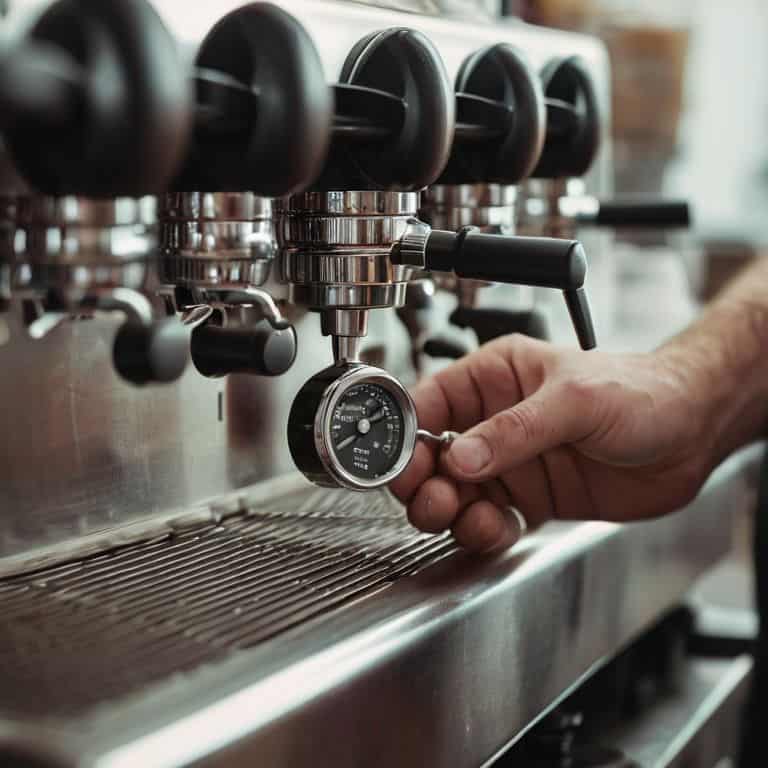
- Pressure gauge (compatible with your espresso machine’s pressure system)
Supplies & Materials
- Gasket or seal kit (for your specific espresso machine model)
- Spring or piston adjustment tool (if required by your machine’s design)
Step-by-Step Instructions
- 1. First, do this: before you even think about adjusting the pressure of your espresso machine, make sure you’ve got a good understanding of the basics of espresso extraction. I mean, it’s not just about slapping some coffee grounds in a portafilter and hoping for the best – there’s a delicate balance of variables at play here, and pressure is just one piece of the puzzle.
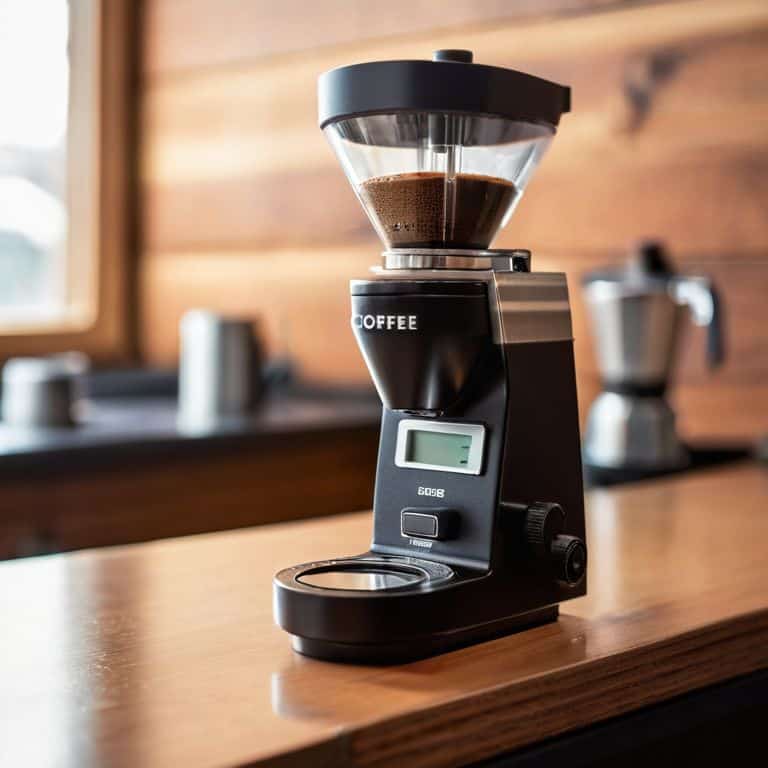
- 2. Next, you’ll want to familiarize yourself with your machine’s specific pressure adjustment mechanism. This can vary pretty widely depending on the make and model, so don’t be afraid to break out the manual or do some online research if you’re not sure. On my own machine, I’ve got a clever little pressure gauge that gives me a precise reading of the pressure in bars.
- 3. Now it’s time to start adjusting – but before you do, make sure you’ve got a solid benchmark shot to compare against. This means pulling a shot of espresso with your machine’s current pressure settings, and taking note of the flavor profile, crema texture, and overall quality. This will give you a basis for comparison as you tweak the pressure.
- 4. With your benchmark shot in mind, it’s time to start making adjustments – and I always recommend starting with small increments. Don’t try to make huge changes all at once, or you’ll end up with a shot that’s completely unbalanced. Instead, try tweaking the pressure in 0.5 bar increments, and see how it affects the flavor and quality of the shot.
- 5. As you’re adjusting the pressure, be sure to pay close attention to the flow rate of the espresso. If the pressure is too high, you’ll end up with a shot that’s over-extracted and bitter – while too low, and you’ll get a shot that’s under-extracted and weak. I like to think of it as finding the perfect balance between the two.
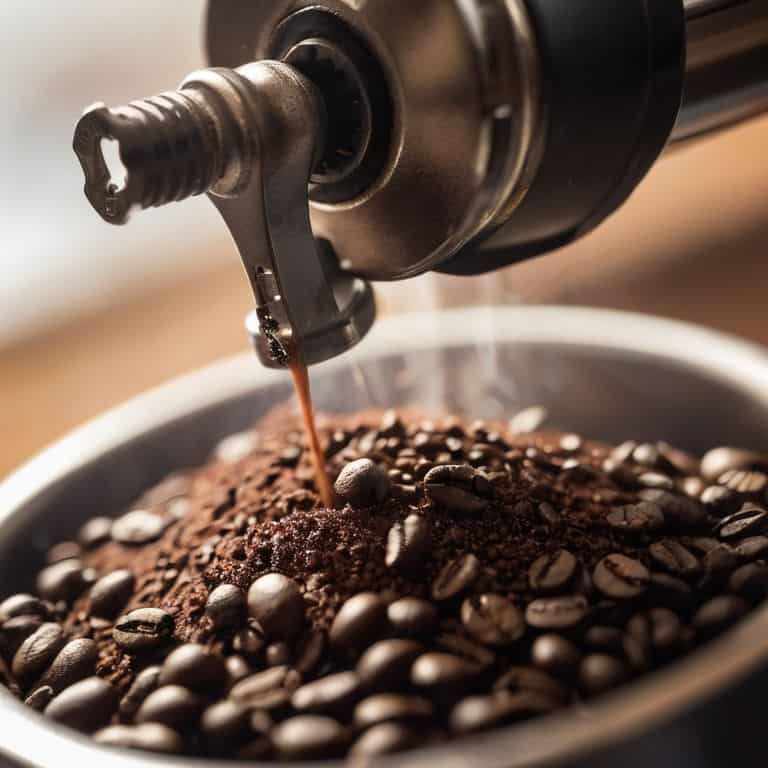
- 6. Once you’ve found a pressure setting that seems to be working, it’s time to fine-tune the grind of your coffee beans. This is where things can get really nuanced, as the grind size will affect the flow rate and overall extraction of the shot. I like to use a distributor to ensure an even grind, and then make tiny adjustments from there.
- 7. Finally, it’s time to lock in your settings and start pulling shots with your newly adjusted pressure. Remember to keep an eye on the temperature of your machine, as well – even small fluctuations can affect the flavor and quality of the shot. And don’t be afraid to make further adjustments as needed – after all, the pursuit of the perfect shot is a lifelong journey.
Taming Espresso Pressure
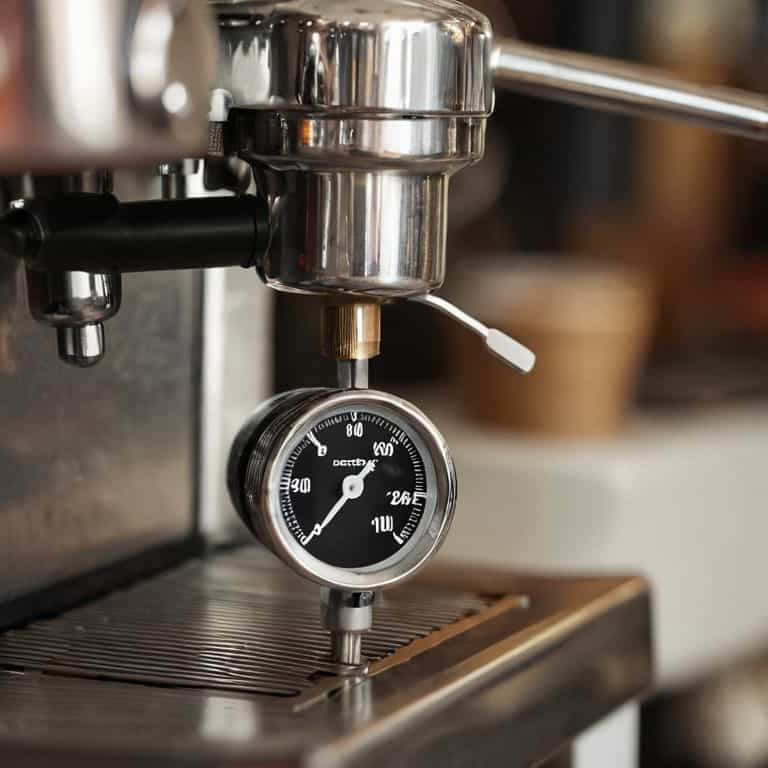
As I delve deeper into the world of espresso, I’ve come to realize that precise calibration is key to unlocking the perfect shot. One often overlooked aspect is the installation of a pressure gauge, which can be a game-changer in terms of espresso machine calibration tips. By having a clear visual indication of the pressure, I can make adjustments on the fly to ensure optimal flow. This, in turn, allows me to focus on other crucial factors like grind size and temperature.
When it comes to troubleshooting under extraction issues, I’ve found that modifying the espresso machine for better pressure control can be a highly effective solution. This might involve tweaking the grind settings or experimenting with different roast levels to find the sweet spot. By doing so, I can avoid the pitfalls of over-extraction and instead achieve a beautifully balanced shot. It’s all about finding that optimal flow, where the flavors are in perfect harmony.
In my experience, importance of temperature in espresso extraction cannot be overstated. Even slight variations in temperature can throw off the entire extraction process, resulting in a subpar shot. To mitigate this, I always ensure that my machine is at the ideal temperature before attempting to adjust the pressure. By combining this attention to temperature with adjusting grind for optimal flow, I can consistently produce shots that are nothing short of exceptional.
Calibration Tips for Perfection
To truly tame the beast, I’ve found that calibration is key. It’s all about finding that sweet spot where your machine hums in harmony with your coffee. I spend hours tweaking the pressure, testing and retesting until I get it just right. For me, it’s about precision – I’m talking micro-adjustments to the pump, careful monitoring of the gauge, and a deep understanding of how my machine responds to different roasts and grind sizes.
By calibrating your machine with this level of attention, you’ll be amazed at the difference it makes in your shot. The flavors will pop, the crema will be silky, and you’ll be one step closer to that elusive ‘god shot’. Trust me, it’s worth the effort – every subtle adjustment brings you closer to coffee nirvana.
Troubleshooting Under Extraction
When I notice under extraction in my shots, I know it’s time to tweak the pressure. This usually means my grind size is off or the tamping isn’t even. To fix it, I adjust the grind to a finer setting and re-tamp, making sure it’s level and firm. Sometimes, it’s also about the water temperature – if it’s too low, the extraction will suffer.
I recall a particularly stubborn machine that would consistently under extract. After some trial and error, I discovered the issue was with the machine’s pressure gauge. A simple calibration fixed the problem, and the shots began to flow with the perfect balance of flavors. It’s all about paying attention to the details and making those micro-adjustments to get the best out of your machine.
Fine-Tuning the Pressure: 5 Expert Tips for Espresso Perfection
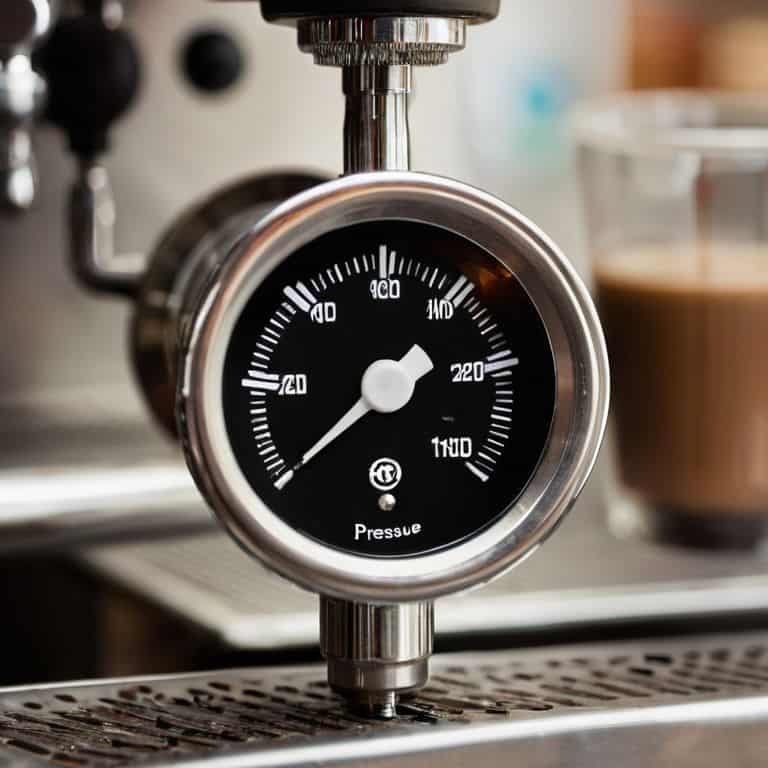
- Monitor your machine’s pressure gauge obsessively, as tiny fluctuations can make or break your shot
- Experiment with different roast levels and origins to find the optimal pressure range for your unique beans
- Pay attention to the sound of your machine – a well-tuned espresso machine should produce a smooth, even hiss during extraction
- Invest in a high-quality pressure gauge to ensure accuracy, as the stock gauge may not provide the level of precision you need
- Keep a pressure adjustment log to track changes and identify patterns, just as I do with my own vintage espresso machine collection
Key Takeaways for Espresso Machine Pressure Adjustment
I’ve learned that tweaking the pressure of my espresso machine is an art that requires patience, and the payoff is well worth the effort – a perfectly balanced shot that brings out the best in my carefully selected coffee beans
Calibrating my machine to the optimal pressure has been a game-changer, and I recommend taking the time to understand how different pressures affect the extraction process, from the bloom to the final drop
By mastering the subtleties of espresso machine pressure, I’ve been able to troubleshoot common issues like under-extraction and channeling, and I’m confident that with practice and attention to detail, you can achieve the same level of control and consistency in your own espresso creations
The Pressure Principle
The key to unlocking the perfect shot isn’t just about adjusting the pressure, it’s about understanding the delicate harmony between your machine, the beans, and the brew – it’s a symphony of subtleties, where every micron and degree matters.
Julian Vale
Conclusion: Mastering the Art of Espresso Machine Pressure
As we’ve explored the world of espresso machine pressure, it’s clear that precision is key. From the initial setup to troubleshooting under extraction, every step requires attention to detail and a deep understanding of the intricate dance between your machine, the coffee, and the environment. I’ve shared my own journey, including the calibration tips that helped me tame the beast of espresso pressure, and I hope these insights have been as invaluable to you as they have been to my own pursuit of the perfect shot.
Now, as you embark on your own quest for espresso mastery, remember that the pursuit of perfection is a lifelong journey, not a destination. Don’t be afraid to experiment, to push the boundaries of what’s possible, and to geek out over the minutest details – for it’s in these moments of obsessive passion that we truly come alive as baristas, and the world of coffee opens up to us in all its glorious, nuanced complexity.
Frequently Asked Questions
What is the ideal pressure range for a commercial espresso machine versus a home machine?
For commercial machines, I aim for 9-10 atmospheres, while home machines typically require 8-9 atmospheres. The key is finding the sweet spot that brings out the best in your coffee, so don’t be afraid to experiment and adjust to your taste.
How often should I calibrate my espresso machine's pressure to ensure consistent shots?
For consistent shots, I recommend calibrating your espresso machine’s pressure every 1-3 months, depending on usage. However, if you notice a drop in shot quality or flavor, it’s time to recalibrate – trust your taste buds, they’re the best indicator. Regular calibration ensures optimal performance and helps you achieve that elusive ‘god shot’.
Can incorrect pressure settings cause damage to my espresso machine or affect its longevity?
Incorrect pressure settings can indeed harm your machine and shorten its lifespan. I’ve seen it happen to fellow baristas – a faulty gauge or miscalibrated pump can lead to premature wear on the seals and pistons, causing leaks and costly repairs down the line.