I still remember the first time I struggled with a channeling espresso shot – it was like my machine was mocking me. The frustration of watching your perfectly good espresso beans turn into a bitter, over-extracted mess is a feeling many of us know all too well. When I set out to learn how to fix a channeling espresso shot, I was met with a plethora of generic advice that seemed to overlook the nuances of the issue. But what if I told you that the key to resolving this problem lies not in blindly following troubleshooting guides, but in understanding the delicate balance of your espresso machine and the beans you’re using?
As someone who’s spent years perfecting the art of espresso, I’m excited to share my no-nonsense approach to tackling channeling espresso shots. In this article, you’ll learn the practical, step-by-step techniques I’ve developed through years of experimentation and competition. From adjusting your grind size to fine-tuning your brewing temperature, I’ll walk you through the process of how to fix a channeling espresso shot and achieve the perfect shot every time. By the end of this guide, you’ll be equipped with the knowledge and skills to diagnose and resolve even the most stubborn channeling issues, and take your espresso game to the next level.
Table of Contents
Guide Overview: What You'll Need
Total Time: 30 minutes to 1 hour
Estimated Cost: $0 – $20
Difficulty Level: Intermediate
Tools Required
- Scale (for measuring coffee and water)
- Grinder (for adjusting coffee grind)
- Tamper (for ensuring even coffee distribution)
- Espresso machine (with adjustable settings)
Supplies & Materials
- Coffee beans (fresh and suitable for espresso)
- Water (filtered and at the correct temperature)
- Espresso machine cleaning solution (for descaling and cleaning the machine)
Step-by-Step Instructions
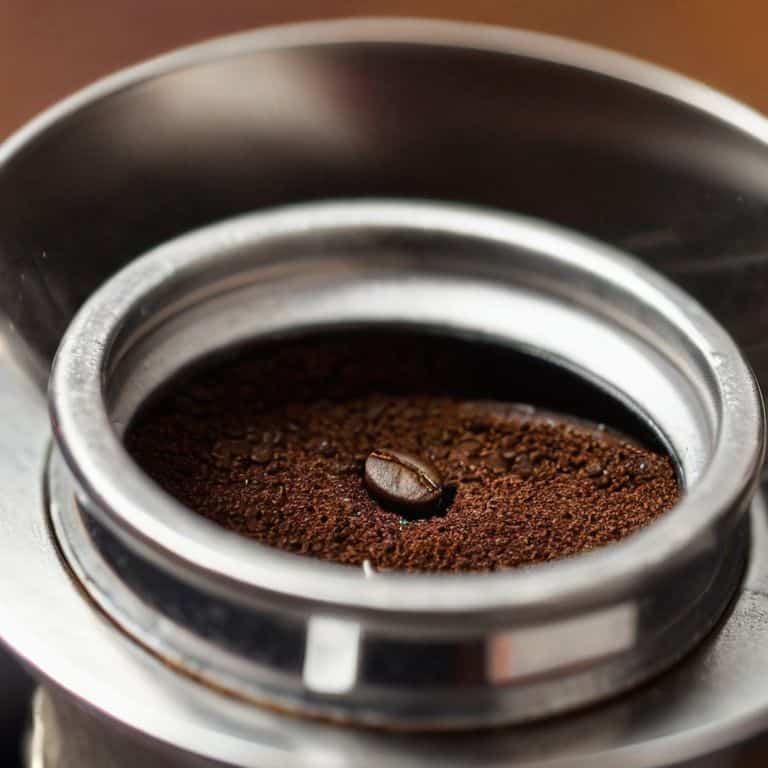
- 1. First, let’s dial in our grind size, as this is often the culprit behind a channeling espresso shot. I recommend using a high-precision grinder that allows for micro-adjustments, as this will enable you to fine-tune your grind to the perfect consistency. For a standard espresso roast, I typically aim for a grind setting that’s slightly finer than kosher salt.
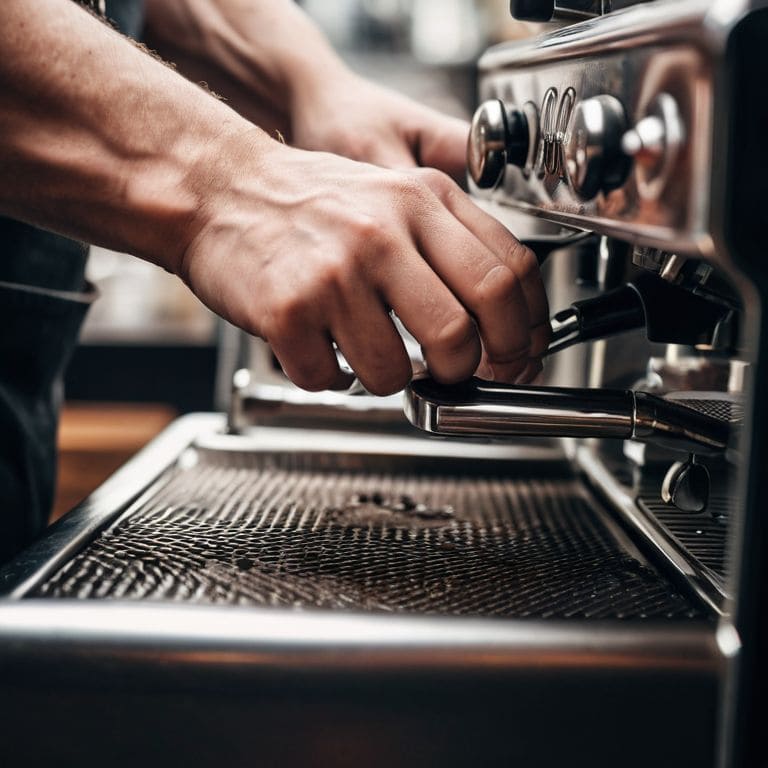
- 2. Next, we need to ensure our tamping technique is on point. A consistent tamp is crucial in preventing channeling, as it helps to evenly distribute the water through the coffee grounds. I like to use a leveling tool to guarantee my tamp is perfectly even, and I apply about 30 pounds of pressure to compress the grounds.
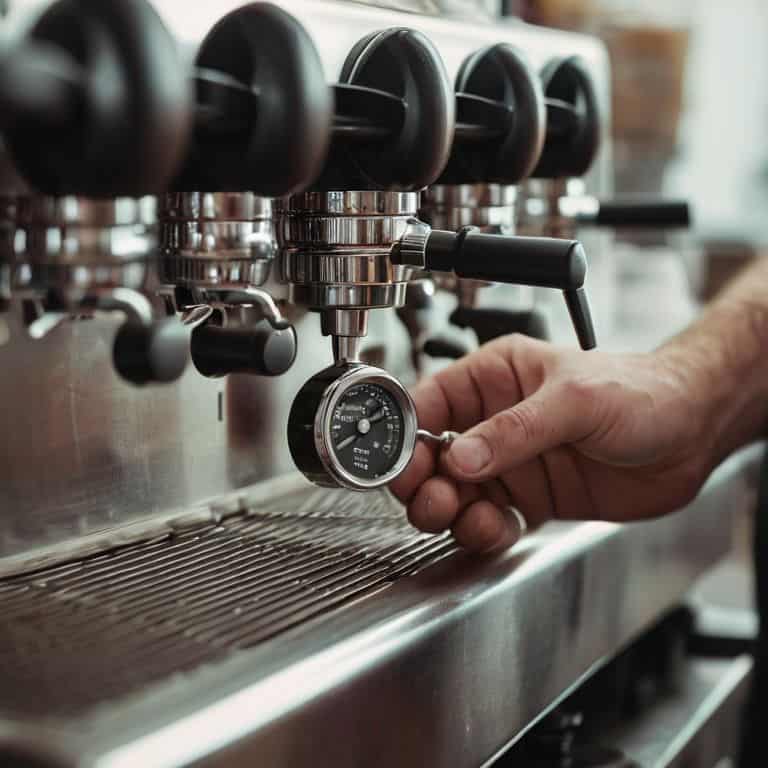
- 3. Now, it’s time to check our brewing temperature. If the water is too hot or too cold, it can lead to uneven extraction and, you guessed it, channeling. I aim for a temperature between 195°F and 205°F, which is the optimal range for espresso brewing. Use a thermometer to verify your machine’s temperature, and adjust as needed.
- 4. With our grind, tamp, and temperature in check, let’s move on to distributor design. Some espresso machines come equipped with a built-in distributor, while others may require a separate tool. I swear by the evenness it brings to the coffee bed, which is essential for preventing channeling. If you don’t have a distributor, consider investing in one – it’s a game-changer.
- 5. The pre-infusion phase is another critical step in preventing channeling. This initial burst of water helps to saturate the grounds and prevent any weak spots in the coffee bed. I recommend a pre-infusion time of around 4-6 seconds, depending on the specific coffee and roast level. Pay attention to the sound of the machine during this phase – it should be a smooth, gentle hiss.
- 6. Now, let’s talk about coffee-to-water ratio. This is where many baristas go wrong, as an imbalance can lead to channeling and other extraction issues. I typically aim for a ratio of 1:2 to 1:3 (coffee to water), depending on the desired strength and flavor profile. Experiment with different ratios to find what works best for your taste preferences.
- 7. Finally, it’s time to pull the shot and observe the results. If you’ve followed the previous steps, you should be rewarded with a rich, full-bodied espresso that’s free from channeling. Pay close attention to the shot’s texture and flavor, as these will indicate whether you’ve achieved the perfect balance of extraction and crema. If not, don’t be discouraged – it’s all part of the pursuit of perfection.
Fixing Channeling Espresso
As I delve deeper into the world of espresso shot troubleshooting, I’ve come to realize that channeling causes and solutions are often intertwined with the nuances of grind size and distribution. When adjusting grind size for espresso, it’s essential to consider the type of coffee beans and roast level, as these factors can significantly impact the flow of water through the coffee. I’ve found that a slightly coarser grind can help to prevent channeling, but this must be balanced with the risk of under-extraction.
In my experience, improving espresso distribution is crucial to preventing channeling. This can be achieved through a combination of optimal espresso tamping pressure and careful distribution of the coffee grounds in the portafilter. By ensuring that the coffee is evenly distributed and tamped with the right amount of pressure, you can help to prevent water from flowing too quickly through the coffee, which can lead to channeling.
To take your espresso game to the next level, it’s also important to consider espresso machine maintenance tips, such as regular cleaning and descaling of the machine. This will help to ensure that your machine is functioning properly and that you’re getting the best possible shot of espresso every time. By combining these tips with a thorough understanding of grind size and distribution, you’ll be well on your way to pulling perfect shots with ease.
Adjusting Grind Size Matters
When it comes to fixing channeling espresso, adjusting grind size is a crucial step. I’ve found that even the slightest variation can make a significant difference. If your grind is too fine, it can lead to over-extraction and channeling. On the other hand, a grind that’s too coarse can result in under-extraction. To find the perfect balance, I recommend experimenting with tiny adjustments – we’re talking 0.1mm increments. Yes, it’s that precise.
By fine-tuning your grind size, you’ll be able to optimize the flow of water through the coffee, reducing the likelihood of channeling. I like to think of it as finding the “sweet spot” where the coffee and water are in perfect harmony. It’s a game of millimeters, but trust me, it’s worth the effort. With a little patience and practice, you’ll be pulling shots like a pro in no time.
Troubleshooting Espresso Shot
When I’m troubleshooting an espresso shot, I always start by checking the grind size. Even a minor adjustment can make a huge difference. I recall a time when I was competing in the national Barista Championship, and my shot was channeling due to an inconsistent grind. I quickly adjusted my grinder and was able to pull a perfect shot. Now, I always emphasize the importance of precise grind size to my students.
I also pay close attention to the water temperature and pressure. A deviation of just a few degrees or pounds can affect the flavor and quality of the shot. By carefully calibrating these variables, home baristas can achieve cafe-quality results and move closer to the elusive ‘god shot’.
Taming the Channel: 5 Expert Tips to Perfect Your Espresso Shot
- Verify Your Grind Size: Ensure it’s not too fine, as this can lead to channeling; I aim for a grind that’s slightly coarser than sand, around 200-250 microns
- Temperature Tango: Monitor your brewing temperature closely; the ideal range is between 195°F and 205°F, anything outside this can lead to inconsistent extraction
- Tamper Like a Pro: A level, evenly compressed puck is crucial; invest in a good tamper and practice your technique to avoid any air pockets that can cause channeling
- Brew Water Chemistry: The pH level of your water can significantly affect the taste; I recommend using water with a pH between 6.5 and 7.5 for optimal extraction
- Machine Maintenance Magic: Regularly clean and descale your espresso machine; old, mineral-rich water can alter the taste and cause channeling due to improper water flow
Key Takeaways for a Perfect Shot
I’ve learned that adjusting the grind size is crucial to preventing channeling in espresso shots – it’s all about finding that sweet spot where the water flows evenly
Temperature control is also vital, as even a degree or two off the ideal range can lead to an unbalanced extraction and a channeling mess
By combining precise grind size adjustments with optimal water temperature and a well-maintained machine, home baristas can significantly reduce channeling and get closer to that elusive ‘god shot’
Taming the Channel
A channeling espresso shot is not a failure, but a symptom of a deeper harmony waiting to be achieved between grind, tamp, and temperature – it’s our job as baristas to listen and adjust, to dance with the nuances of our craft until the perfect shot is born.
Julian Vale
Mastering the Art of Espresso

As we conclude our journey to fix a channeling espresso shot, it’s essential to remember that every detail matters. From adjusting grind size to tweaking brewing temperatures, each step plays a crucial role in achieving the perfect shot. By following the troubleshooting guide and understanding the importance of grind size, you’ll be well on your way to crafting espresso that rivals that of professional baristas. Whether you’re a novice or an experienced home barista, perseverance and practice are key to unlocking the secrets of exceptional espresso.
So, as you continue to refine your skills and pursue the perfect shot, remember that the true beauty of espresso lies not just in its flavor, but in the meditative process of creation. With each carefully crafted shot, you’re not only delighting your senses, but also honing your craft and deepening your appreciation for the art of espresso. Keep experimenting, keep pushing the boundaries, and most importantly, keep savoring the journey – for in the world of espresso, the pursuit of perfection is a lifelong passion.
Frequently Asked Questions
What are the most common causes of channeling in espresso shots and how can I identify them?
Channeling in espresso shots – my arch-nemesis. It’s usually caused by inconsistent grind size, incorrect tamping, or flawed machine distribution. I identify channeling by the shot’s uneven flow, a hollow or bubbly sound, and a disappointing flavor profile. Let’s dive into the specifics and get your shots back on track.
How do I know if I need to adjust my grind size or my tamping technique to fix a channeling espresso shot?
To diagnose, I pay attention to the shot’s flow and flavor. If it’s channeling, I first check my grind size – is it too fine or too coarse? Then, I assess my tamping technique, ensuring it’s level and even. A simple test: adjust grind size and re-pull; if the issue persists, it’s likely tamping.
Can using a different type of coffee bean or roast level affect the likelihood of channeling in an espresso shot and if so, how?
Absolutely, the type of coffee bean and roast level can influence channeling. Lighter roasts, for instance, can be more prone to channeling due to their denser, more brittle structure. I’ve found that switching to a slightly darker roast or a bean with a higher oil content can help minimize channeling, but it’s all about finding that sweet spot.