As I stood in my Parisian patisserie, gazing at a batch of homemade ice cream that had frozen into an icy, crystalline mess, I couldn’t help but think about the age-old question: how to prevent ice crystals in homemade ice cream. It’s a conundrum that has plagued dessert lovers for centuries, and one that I’ve dedicated myself to solving. The common wisdom says that ice crystals are inevitable, that they’re just a natural part of the freezing process. But I’m here to tell you that’s simply not true – with the right techniques and a bit of patience, you can create smooth, creamy ice cream that’s free from those pesky ice crystals.
So, what’s the secret to making ice cream that’s as smooth as silk? In this article, I’ll share my no-nonsense advice on how to prevent ice crystals in homemade ice cream, gleaned from years of experience in some of the world’s top patisseries. You’ll learn the simple tricks and techniques that will take your ice cream game to the next level, from the importance of temperature control to the role of air incorporation. By the end of this guide, you’ll be well on your way to creating decadent, crystal-free ice cream that’s sure to impress even the most discerning palates.
Table of Contents
Guide Overview: What You'll Need
Total Time: 30 minutes to 1 hour
Estimated Cost: $10 – $20
Difficulty Level: Easy
Tools Required
- Mixing Bowl (stainless steel or glass)
Supplies & Materials
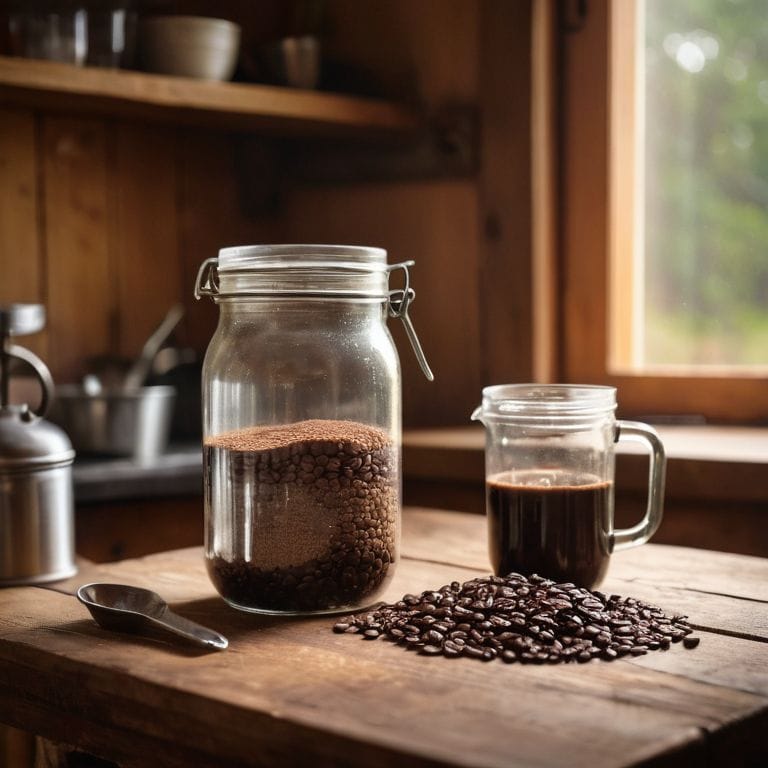
- Granulated Sugar for balancing freezing point
- Corn Syrup for inhibiting ice crystal growth
- Egg Yolks for adding richness and stability
- Stabilizers like Guar Gum or Carrageenan for enhancing smoothness and preventing ice crystals
Step-by-Step Instructions
- 1. First, let’s start with the basics: to prevent ice crystals from forming in your homemade ice cream, you need to understand the importance of temperature control. This means keeping your mixture at a consistent, low temperature throughout the freezing process. I like to think of it as a delicate dance between hot and cold, where every step counts.
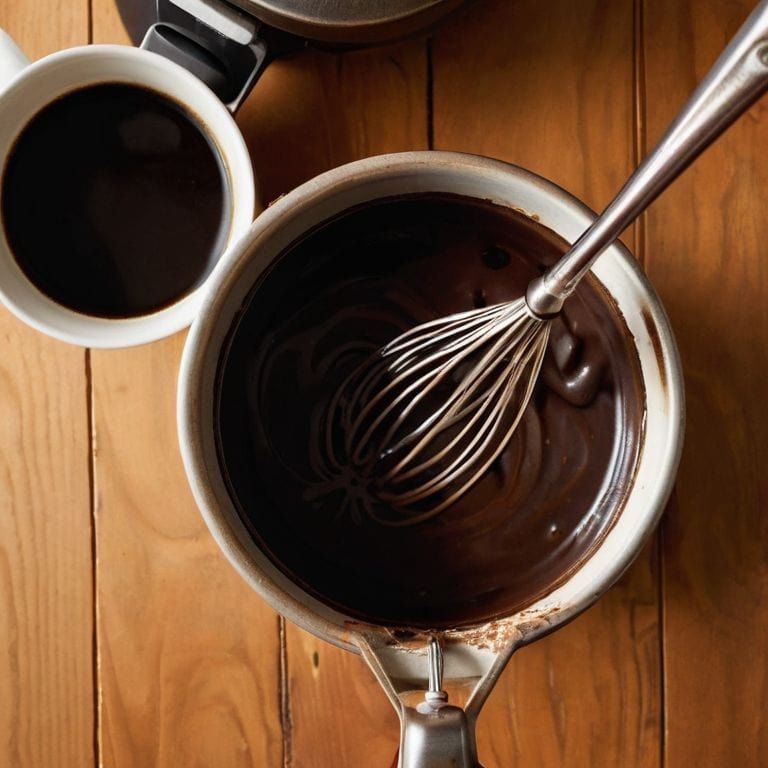
- 2. Next, you’ll want to prepare your ice cream base, and this is where the magic happens. I always insist on using high-quality ingredients, including freshly ground espresso – yes, you read that right, espresso in ice cream is a game-changer. Whisk together your cream, sugar, and flavorings (don’t forget that espresso!) until they’re perfectly combined, then cover the mixture and refrigerate it for at least 2 hours or overnight to allow the flavors to meld.
- 3. Now it’s time to churn your ice cream base, and this is the part where most people go wrong. You see, over-churning can lead to ice crystals forming, so it’s essential to find that sweet spot. I recommend churning your mixture in an ice cream maker according to the manufacturer’s instructions, but keep a close eye on it – you want it to be smooth and creamy, not too thick or too thin.
- 4. While your ice cream is churning, let’s talk about air incorporation. This is a crucial step in preventing ice crystals from forming, as it helps to break down any ice that may be forming and distributes it evenly throughout the mixture. To incorporate air, simply stop the ice cream maker every 30 minutes or so and use a fork to gently scrape the mixture and introduce some air.
- 5. Once your ice cream has finished churning, it’s time to transfer it to an airtight container and place it in the freezer to harden. But here’s the thing: you can’t just leave it there – you need to temper the mixture every 30 minutes or so to prevent ice crystals from forming. This involves removing the container from the freezer and giving the mixture a good stir, then placing it back in the freezer to continue hardening.
- 6. As your ice cream hardens, you can start to think about adding any mix-ins or flavorings you like. I’m a big fan of artisanal chocolate chips or candied espresso beans – they add a touch of sophistication and whimsy to the finished product. Simply fold your mix-ins into the ice cream mixture once it’s reached the desired consistency, then return it to the freezer to harden completely.
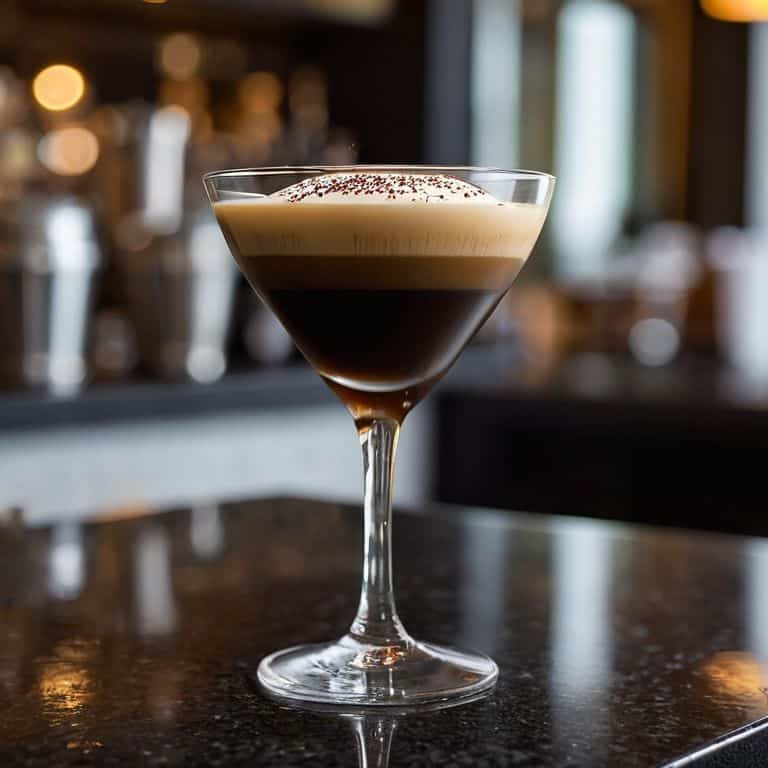
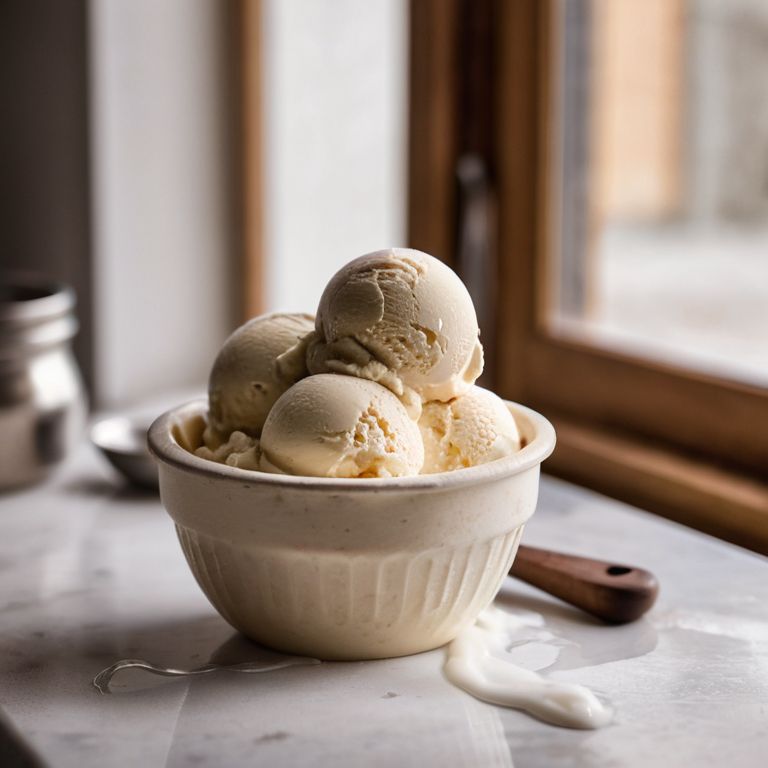
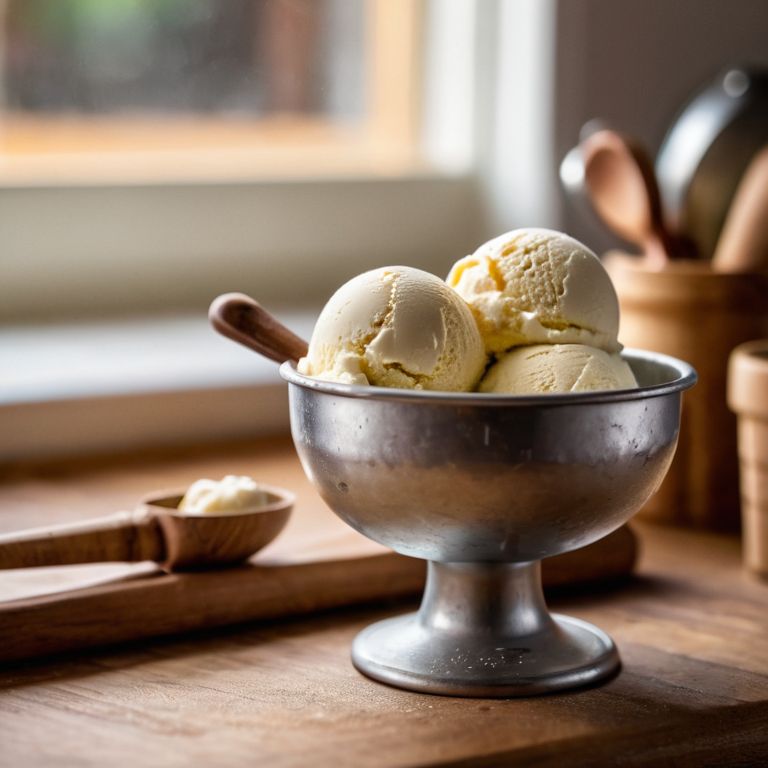
- 7. Finally, it’s time to serve your ice cream and enjoy the fruits of your labor. I like to scoop mine into beautiful, vintage cocktail glasses (I have a bit of a weakness for vintage glassware, if you hadn’t noticed) and top it with a sprinkle of cocoa powder or a drizzle of chocolate sauce. The key is to make it look as beautiful as it tastes – after all, we eat with our eyes first, don’t we?
Seductive Creaminess Found

As I delve deeper into the world of creamy, crystal-free ice cream, I find myself obsessed with the art of tempering. This crucial step can make or break the texture of our beloved dessert. By carefully heating and cooling our mixture, we can create a stable crystal structure that’s less prone to ice crystal formation. It’s all about finding that perfect balance, where our ice cream is smooth, creamy, and utterly seductive.
When it comes to ice cream churning techniques, I always say that slower is better. By churning our mixture at a slower pace, we can introduce less air and prevent the formation of ice crystals. This, combined with the importance of aging our ice cream base, can result in a texture that’s nothing short of luxurious. I like to think of it as giving our mixture time to mature, much like a fine wine or a rich, bold coffee.
In my quest for the perfect scoop, I’ve also experimented with stabilizers for creamy ice cream, such as glycerin. This humble ingredient can help to inhibit the growth of ice crystals, resulting in a smoother, more even texture. Of course, it’s all about balance – too much glycerin can leave our ice cream tasting cloyingly sweet. But when used in moderation, it can be a powerful tool in our pursuit of creamy, crystal-free perfection.
Aging Base for Luxe Texture
To take our ice cream to the next level, I swear by aging the base. This simple step allows the flavors to mature and meld together, resulting in a luxuriously smooth texture. I like to think of it as giving the mixture time to develop a sophisticated personality. By refrigerating the base for at least 24 hours, the ingredients can fully integrate, creating a depth of flavor that’s simply divine. Trust me, darling, the wait is worth it.
As the base ages, the flavors will start to reveal their nuances, much like a fine wine or a rich, bold coffee. This is where the magic happens, and our ice cream transforms into a truly decadent treat. The aging process will also help to eliminate any icy textures, leaving us with a silky, creamy delight that’s sure to seduce even the most discerning palates.
Tempering Secrets for Silky Ice
To achieve that sublime, silky texture, I swear by the art of tempering. It’s a delicate dance of heating and cooling that stabilizes the crystals in your mixture, ensuring a smooth, even consistency. For my creamy concoctions, I always temper my eggs and sugar mixture by slowly pouring the warm cream into it, whisking constantly. This gentle coaxing prevents the eggs from scrambling and the sugar from crystallizing, resulting in a velvety base that’s simply irresistible.
By mastering the tempering process, you’ll unlock the secret to a seductively smooth ice cream that will leave everyone weak in the knees. Trust me, darling, the extra step is worth it – your taste buds will thank you, and so will your guests. Now, let’s talk about the perfect pairing for your silky ice cream… a shot of freshly brewed espresso, perhaps?
Crystal-Free Seduction: 5 Tips to Tempt Your Taste Buds
- Use an ice bath to rapidly chill your mixture, darling – this will help prevent those pesky ice crystals from forming in the first place
- Incorporate a small amount of alcohol, like a luxurious liqueur, to lower the freezing point and create a smoother texture
- Don’t over-churn, sweetheart – this can introduce air and lead to the formation of ice crystals, ruining your silky smooth ice cream
- Age your base mixture for at least 24 hours to allow the flavors to mature and the mixture to stabilize, reducing the likelihood of ice crystals
- Add a pinch of guar gum or xanthan gum to improve the texture and prevent ice crystals from forming – trust me, it’s a game-changer for homemade ice cream
Indulgent Ice Cream Insights
Embracing the art of tempering is crucial, as it allows for a harmonious balance of flavors and textures, transforming your homemade ice cream into a sublime, crystal-free delight
Aging your ice cream base is an often-overlooked step, but trust me, darling, it’s essential for unlocking that luxurious, velvety texture that will leave your taste buds weak in the knees
By combining these carefully crafted techniques with the finest ingredients and a dash of creativity, you’ll be well on your way to crafting indulgent, sophisticated ice cream creations that will impress even the most discerning palates, and perhaps, just perhaps, pair exquisitely with a rich, bold cup of freshly brewed coffee
The Secret to Seduction
To craft ice cream that’s as smooth as a summer kiss, remember that temperature is temptation – it’s all about coaxing the mixture into a silky surrender, where every molecule is in perfect harmony, and ice crystals dare not intrude.
Elena Petrova
The Sweet Victory of Crystal-Free Ice Cream
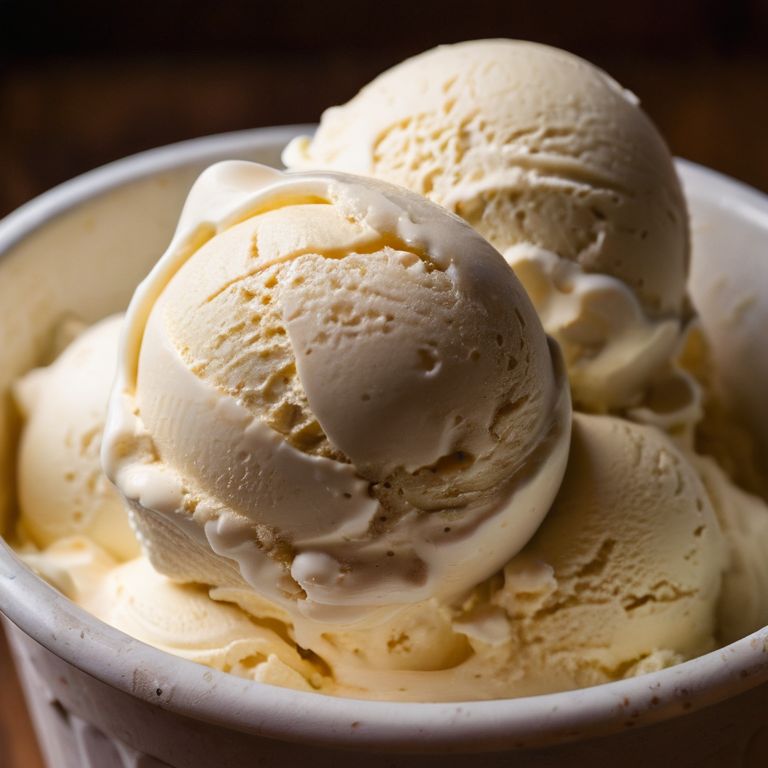
As we conclude our journey to prevent ice crystals in homemade ice cream, let’s recap the essential steps that have brought us to this sweet victory. We’ve learned the importance of tempering, aging our base, and using high-quality ingredients to create a silky smooth texture. By mastering these techniques, we’ve not only elevated our ice cream game but also developed a deeper appreciation for the art of dessert-making. Whether you’re a seasoned pastry chef or a curious beginner, the secrets to crystal-free ice cream are now within your reach.
So, the next time you indulge in a scoop of your freshly made, crystal-free ice cream, remember that the true magic lies not just in the taste, but in the luxurious experience it provides. As you savor each bite, paired perfectly with a shot of freshly ground espresso, recall the passion and dedication that went into crafting this dessert. Let this be your inspiration to continue pushing the boundaries of flavor and creativity, and always strive to make every dessert a masterpiece that delights the senses.
Frequently Asked Questions
What's the ideal temperature for churning ice cream to prevent ice crystals from forming?
Darling, the ideal temperature for churning ice cream is between 18°F and 20°F. This is where the magic happens, and you’ll be rewarded with a silky, crystal-free treat. Trust me, I’ve experimented with various temperatures, and this sweet spot is the key to a lush, indulgent ice cream experience that will leave you weak in the knees.
Can I use any type of sugar in my ice cream base, or are there specific types that help prevent ice crystals?
Darling, not all sugars are created equal. For a silky, crystal-free ice cream, I swear by using superfine or caster sugar, as they dissolve more effortlessly, reducing the risk of ice crystals forming.
How long do I need to age my ice cream base to ensure a smooth, crystal-free texture?
The aging process, darling! For a truly luxe texture, I recommend aging your ice cream base for at least 24 hours, but ideally 48 to 72 hours. This allows the flavors to mature and the mixture to stabilize, resulting in a silky, crystal-free delight. Trust me, the wait is worth it!